
 |
| The Airfix Jungle Outpost |

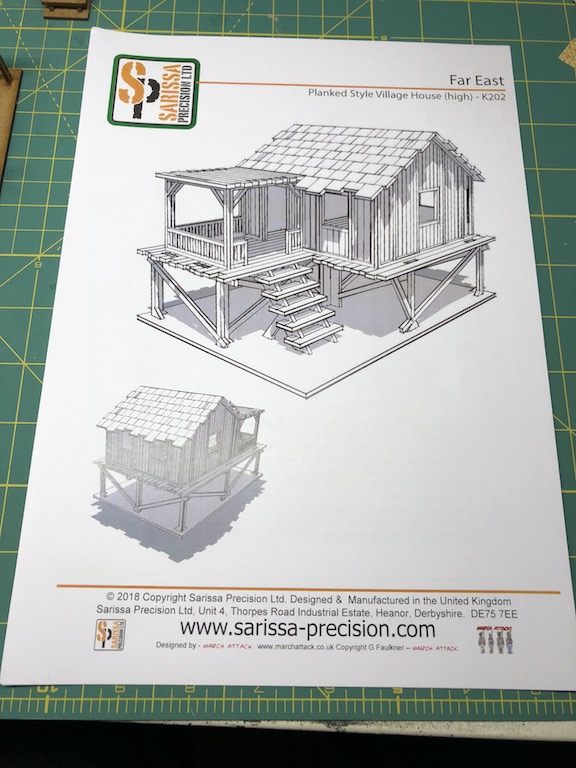
They both went together very easily, but did look particularly chunky and very much like MDF laser cut buildings. In this state they weren't going to fit in with the Airfix huts.


I wanted to find a way to give them a similar thatched look to the Airfix buildings. A few years ago I had considered scratch building some tropical buildings and bought several textured A4 sheets of decorative paper that I had seen in an art supplies store. I had tucked these away and almost forgotten about them, but it has turned out they may be perfect for this job, particularly the roof.


I thought that worked well, but felt it could do with some more embellishment and character. Firstly I wanted to line the main ridge so I cut out a section, scored it lightly and folded it before sticking it down.
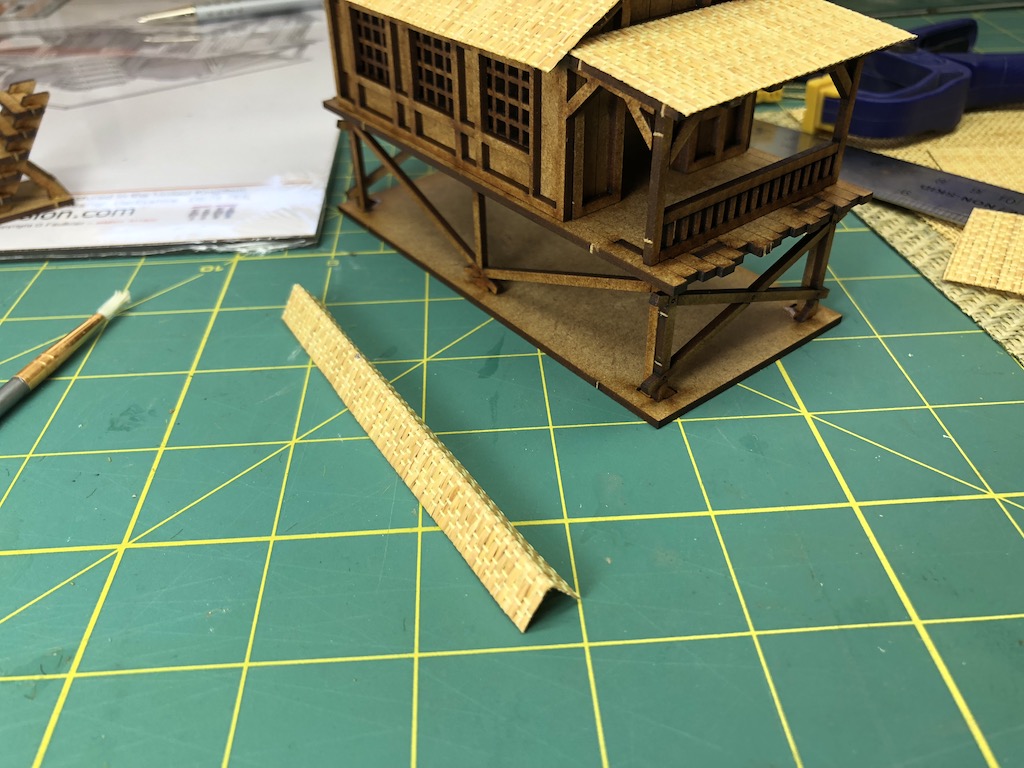
I also cut some thinner strips for the edges of the balcony roof.

One of the ugliest parts of any MDF model is the plugs that are visible from any of the joins. Nothing screams out 'MDF building' louder than the appearance of a few of these. I didn't bother with these with my first MDF buildings and I regret that. One day I will go back and rectify those, like this Normandy barn.

The huts have the same issues. So far that was solved for the roof, but I wanted to do something about the side walls.

The MDF joins aside, the wall lacked any character and so I decided I would try to use the same roof material for the side walls.

That worked well. I did the other side, but left the end walls, as these are engraved with wooden planks. Something still seemed to be missing from the roof so I added a strip of wood from a wooden skewer to run along the top of the ridge.

This was all coming to life nicely and that inspired me to replicate the window shutters that feature in the Airfix huts. I cut squares to size from the same material as the walls and roof. I mounted these on some card to give them more rigidity and glued them into place.

Finally I add some texture to the hut floor using one of the other sheets of textured paper.

This was a relatively quick and easy job for a very pleasing result. It almost seems a shame that I plan to paint it, but I will need to if they are to blend in with the existing huts. The scale works well, as you can see here with a Eureka 20mm Australian bren gunner.

And here was how it looked before the textured paper was added:

The difference between this hut and the other hut before it got a makeover shows what a difference the extra material makes.

I followed the same process for the second hut.


As this one already had the texture of wooden planks on the exterior walls I've decided to leave them as they are, that way each building can have a slightly different character. Here they are together.


I think they bear a reasonable similarity to the Airfix buildings, particularly when they are both seen in their unpainted states.

I wanted to have them on bases to match their Airfix counterparts, so I cut out a similar sized piece of MDF and then took the Dremel sanding tool and smoothed off the edges of both the MDF and the bases that come with the huts before gluing the hut bases to the MDF.


Both bases were then given some texture with sand, sprinkled over a layer of PVA glue.


Once that was dry the entire base and hut was covered with a grey primer from a rattle can.


They were then given a base coat using Dulux emulsion household acrylic paints, in this case I used Log Cabin as the dark brown base colour. I buy these in sample pots from one of the major hardware stores. It's an inexpensive way to cover a large area.


Next I dry bushed the thatch on the roof, window shutters and the walls in a mix of Deep Bamboo and Arava.

I then dry brushed all the wood in a dark grey (Western Myall) and then a light grey (Timeless Grey) and applied some of this to the thatch work to tie all the colours together.


I was trying to match the faded wood effect I had on the Airfix huts.

I gave the ground work a dry brush and applied my first layer of flock, some Noch scatter. I like to put this down as a base on to which I will apply some static grass.


I added static grass and a few shrubs, before the final touch of a couple of palm trees that I had left over from my Pacific Palm Trees project. With that I'm calling them done.


While the Airfix buildings don't look as chunky as these from Sarissa I think I've done enough to make them look reasonably compatible together. This should give me enough huts for the scenarios in the Malaya 1942 campaign, not to mention other Pacific settings.
Here they are with my new paddy fields and some additional jungle terrain.


Lovely work Mark, they really look the part.
ReplyDeletecheers John
Really great work, they have come up a treat
ReplyDeleteTruly excellent work.
ReplyDeleteBrilliant transformation
ReplyDeleteA remarkably impressive improvement.
ReplyDeleteCdlT
The mdf buildings look so much better with your transformation applied, well done indeed.
ReplyDeleteExcellent result!
ReplyDeleteThank you everyone, it's amazing how for relatively little work you can transform one of these into something with its own character.
ReplyDeleteExcellent work!1 how about a pic with the Sarissa kits next to the Airfix ones.
ReplyDeleteGreg, that I can do, but at the moment the Airfix huts are at my opponent Dave's house, where we've been playing the Malaya campaign. Once I have them all together I will do some comparison pictures.
DeleteBrilliant result, nice work.
ReplyDeleteReally great tutorial on how to pretty up those MDF buildings. They came out nicely. Your terrain is really above average. 😀
ReplyDeleteSplendid, you have lifted them from the ordinary to the extraordinary.
ReplyDeleteCool!!!
ReplyDeleteThanks for sharing this tutorial. You made these models look fantastic.
ReplyDeleteLooks amazing! Out of interest, do you have any leads on that texture paper? I cant seem to find any!
ReplyDeleteI bought them from Eckersleys, a chain of art stores here in Australia. I imagine similar chains overseas like Michaels or Hobby Lobby in the US do the same thing.
Delete