Monday 26 October 2020

Osprey's Black Ops review

Black Ops is a set of miniature wargame rules written by Guy Bowers and published by Osprey. It describes itself as "a skirmish wargame of tactical espionage combat that recreates the tension and excitement of modern action-thrillers such as the Bond and Bourne films".

The rules themselves are composed of fairly familiar mechanics, but what sets Black Ops apart is the concept of the stealth mission. In these games the defender has limited opportunities for activation until the attacker triggers events which generate noise or suspicion and alert the defender. Those events vary from something relatively benign, like climbing over a wall, to something much more violent, like gunning down a guard. The aim for the attacker is to get as far into their mission as possible before the enemy can respond in force. Once the defender discovers they are under attack the game reverts to a more traditional structure where both players are free to activate their units.

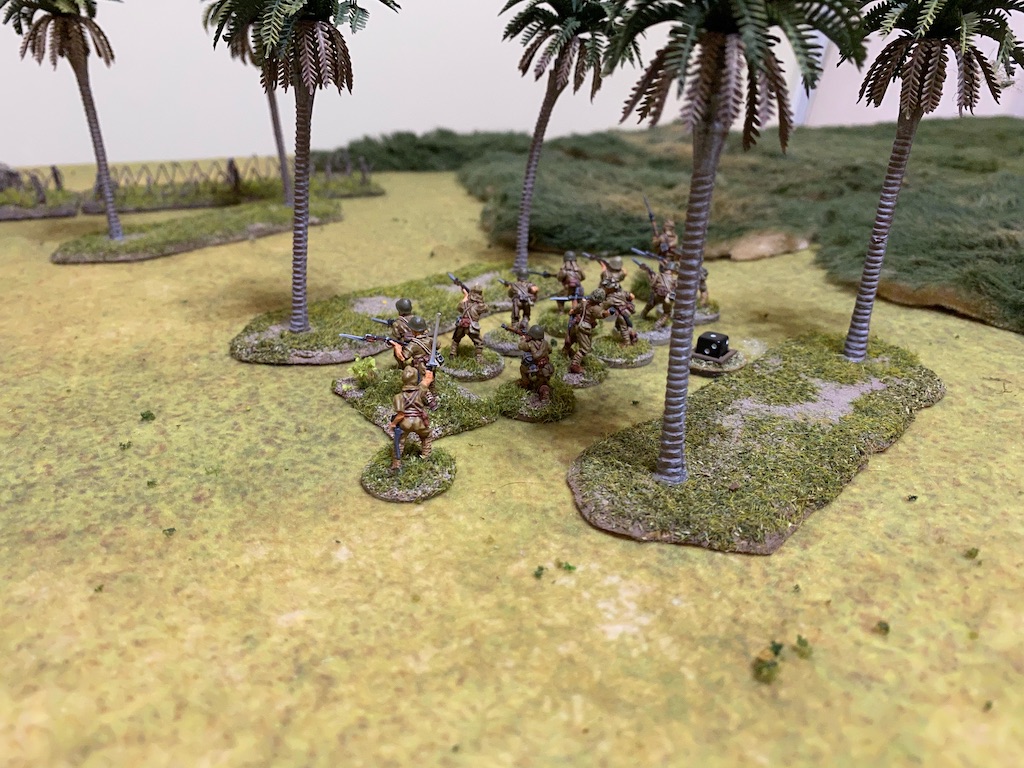
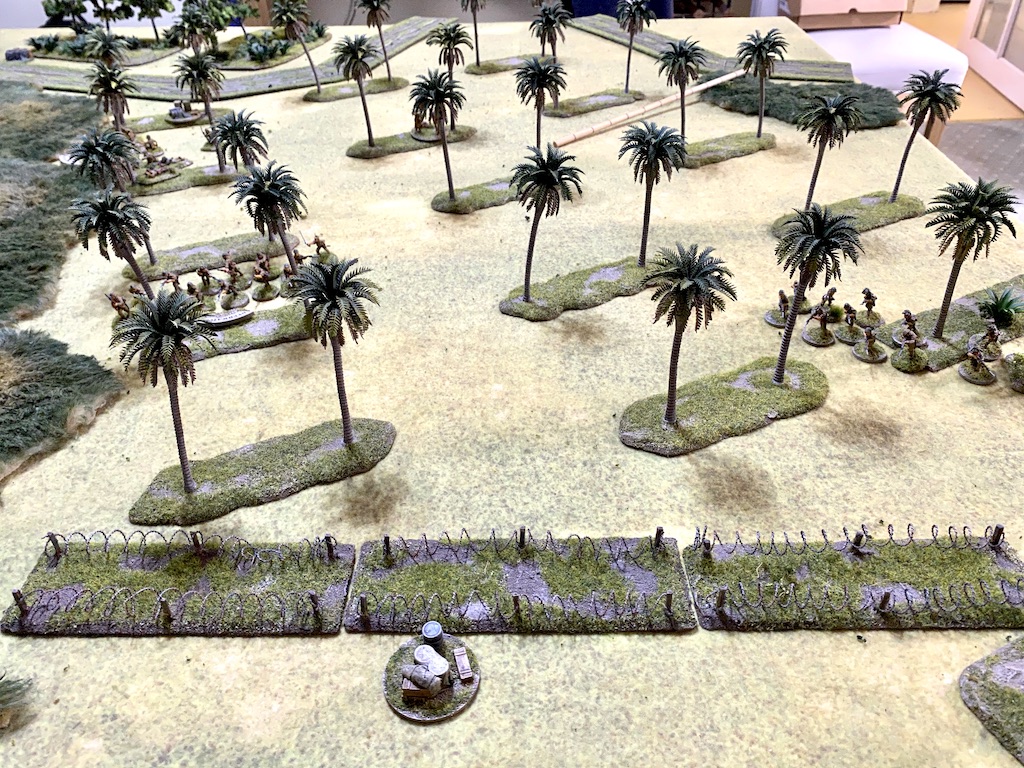
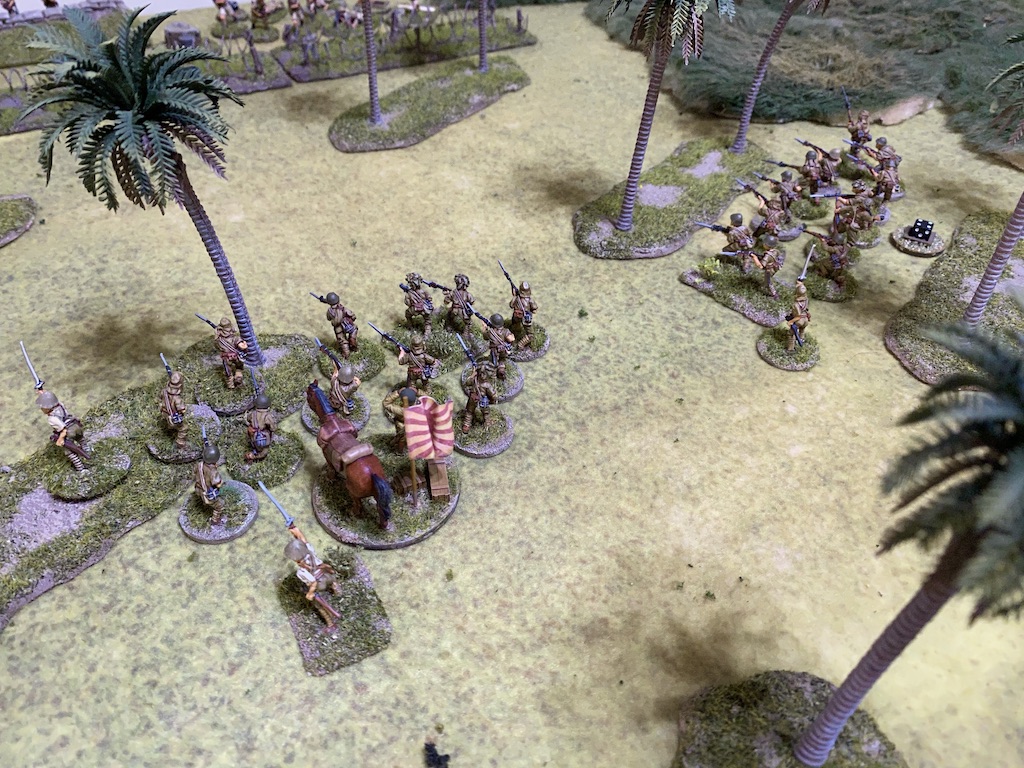
My first attempt at the rules was undertaking a stealth mission set in Afghanistan during the Soviet occupation in the 1980s. I would play the mujahideen, trying to capture a Russian scientist located in a small compound in the centre of a village. 


The compound was to be guarded by a group of Russian conscripts who would probably prefer to be somewhere else, in fact anywhere else, as long as it wasn't Afghanistan. Angola, perhaps.


In hindsight this might not have been the best scenario for a stealth mission as the mujahideen, while fanatical and committed to their cause, lack the training and skill of a special forces team. Nonetheless, their opponents were hardly a high grade of soldier and their commitment to their cause was nothing to get excited about. Having decided the basic premise of the scenario each player then builds a force using a point system from lists provided in the rule book. Within the confines of the rules and those lists players are free to put together the force they think can best win them the mission.

The game is driven by a card mechanic that will be familiar to anyone who has played a set of rules like Muskets and Tomahawks. In the case of Black Ops a regular deck of playing cards is used. Certain types of units or characters are activated when their card type is drawn. This falls into one of four categories - Jacks for regular soldiers, Queens for specialists, Kings for heavies (generally heavy weapons) and Aces for well, Aces (leaders or particularly well skilled fighters). Each side has two cards of each type plus one Joker. Cards for both sides are shuffled into a single deck, placed face down and drawn one at a time to activate units during a turn. A Joker will allow an Ace to have an additional action or to order someone near him to have an additional action. As each card type will come up twice each turn, except for the Joker, there is a very variable sequence to how play will unfold.

There is no specific command and control mechanism, units will automatically activate on their card. Aces are normally also leaders and so these characters have the ability to command others when the Joker is drawn, but that's about the extent of their control.

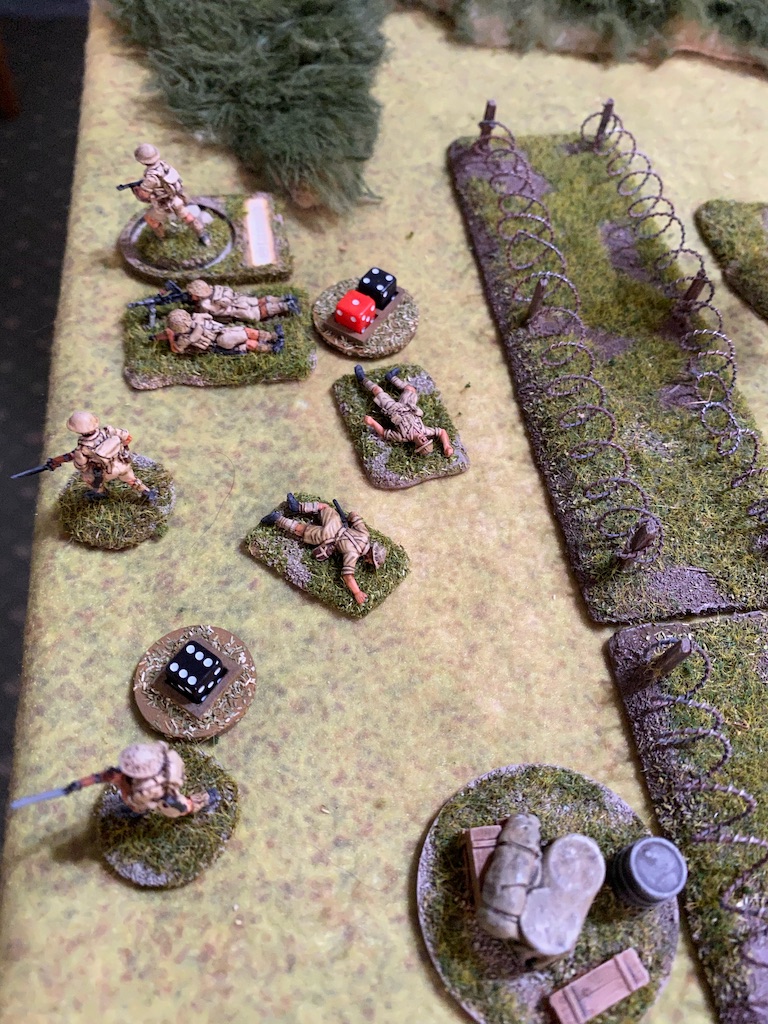
Firing, movement and morale are all fairly straightforward, the one noteworthy element is the suppression rule. A character can choose to lay down suppressive fire instead of targeting another character. All 'hits' from this fire are recorded on the target location. When a figure who has been targeted with suppressive fire activates they have three choices - act and receive that marked suppressive fire as actual fire; remain where they are and hunker down (and not be hit by the suppressive fire), or withdraw away from the fire (the only way you can move without taking the hits from the suppressive fire). More suppressive 'hits' than the number of figures in the targeted area will also instigate a morale check. There's only so much fire a character is prepared to take and I think it captures the flavour of suppressive fire quite well.

As you might expect in a set of rules about stealth missions there are provisions for hidden units and for hidden movement. This is an important part of the game, something I can say only with the benefit of hindsight. Unfortunately it was not something I made the most of while playing this game (yeah, yeah... I know... it's a stealth game and moving around hidden might be a good idea). 

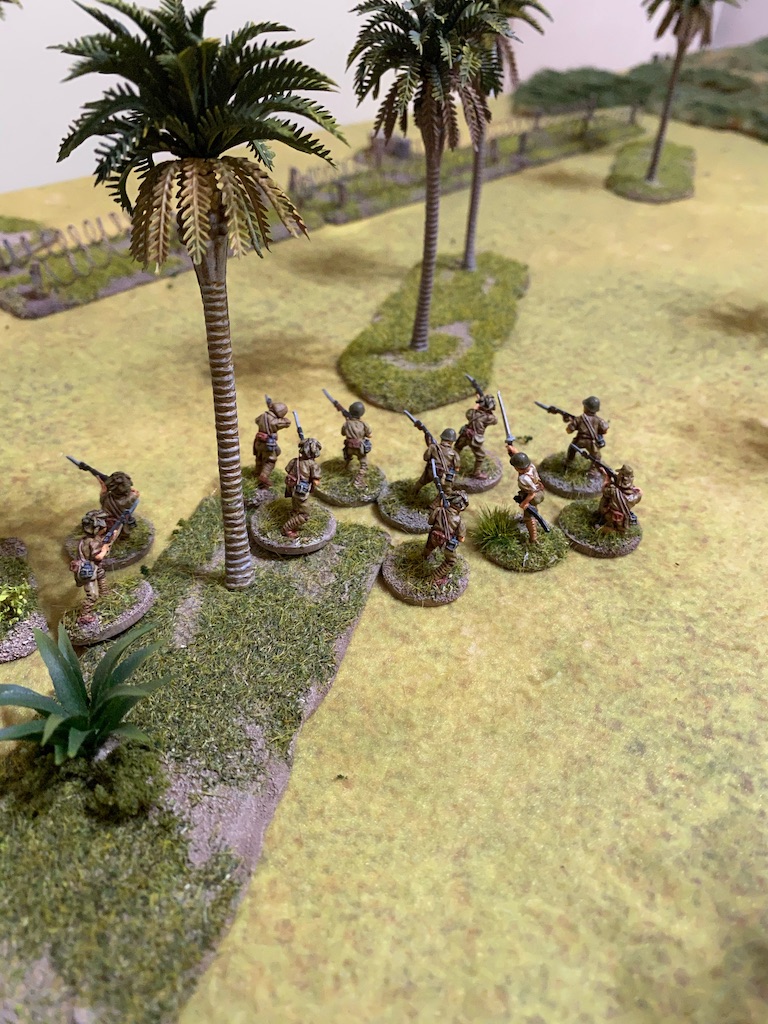
So, how did our game play out? As already mentioned, my mujahideen lacked the subtle approach and blundered around the village generating noise, something I could have handled much better. 

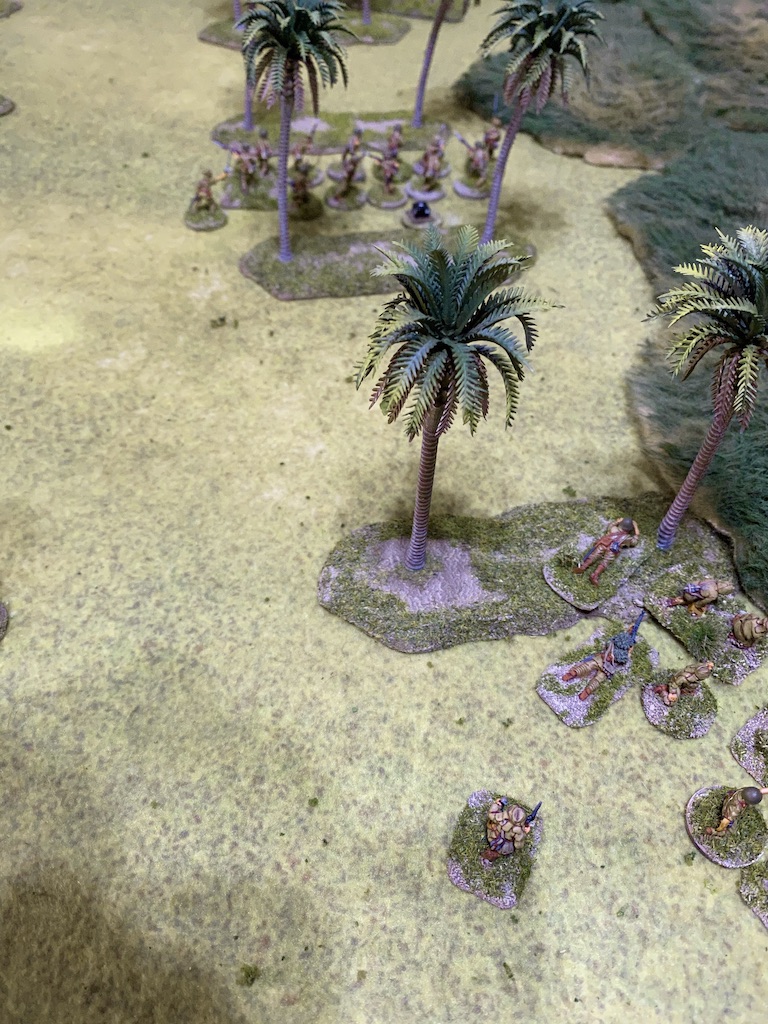
However they did manage to eliminate a few of the guards who were in isolated positions, like one unfortunate soul who wandered rather aimlessly from his post into a dark alley and came to a grisly end at the hands of three mujahideen fighters.


A group of four mujahideen reached the compound and burst into the first building. It was a fortuitous move. They were lucky to stumble upon the scientist, the target for their mission. 


Her guards were determined not to let her go without a fight and they dealt mercilessly with each Afghan as he entered the room. 


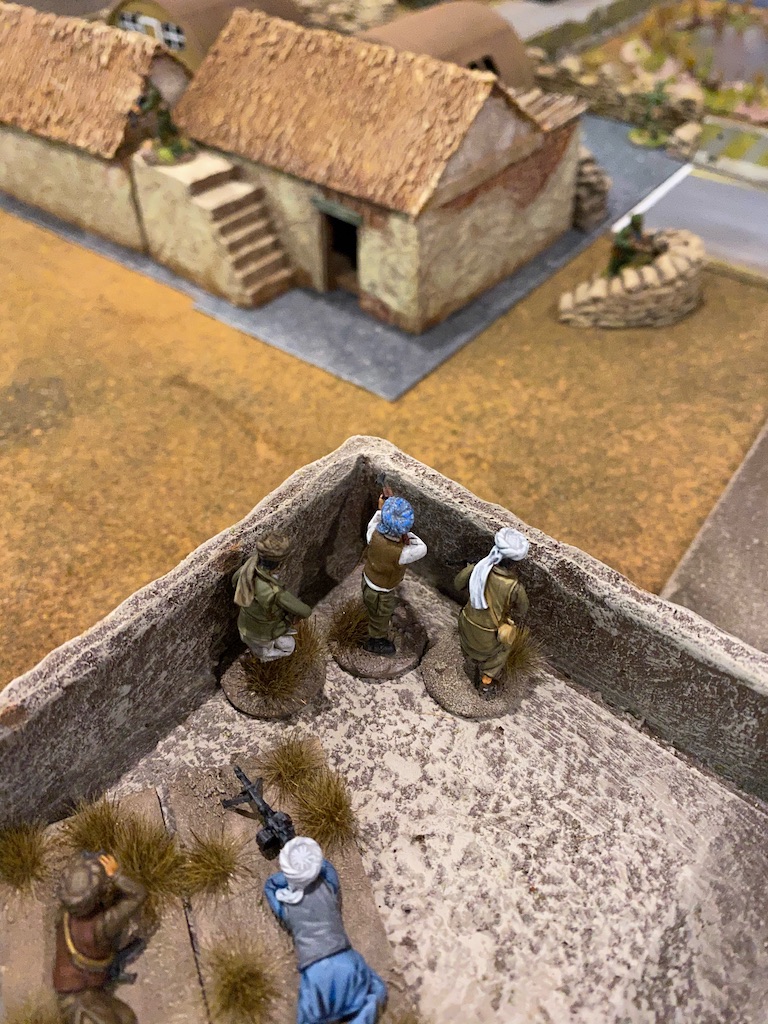
Despite the valour of the guards a few fighters forced their way in. It was clearly a dangerous spot and so the scientist made a quick exit into the centre of the compound.


She was hotly pursued by the Afghan leader, who managed to capture her before she reached safety.


The other fighters made their way around to the main entrance of the compound to lend a hand.


By now the Russians were on full alert and it wasn't long before a wild melee ensued in the centre of the compound. The scientist was manhandled in a wild tussle between the mujahideen and her compatriots while hand to hand fighting raged around her. As is clearly evident, this lacked all the finesse one would expect were this a special forces' extraction, in fact the lack of combat ability demonstrated by both sides made this closer to slapstick. There are times when you actually do need to bring a knife to a gun fight.

Just when it looked like the mujahideen would gain the upper hand a Russian BTR APC returned to the compound from a patrol mission and that was enough to see the Afghans make a graceful exit without their scientist.  

Despite my hamfisted tactics this was an enjoyable game that generated a good narrative. As is always the case when trying new rules there is much that could be done differently a second time. Overall these are a very playable set of rules. As much as I have enjoyed playing Force on Force I could find myself using Black Ops for small encounters and not just the stealth missions - they provide a quick, flowing game with plenty to keep both players actively involved.

There are a few things that I felt were a bit clunky. Given the size of the playing area I'm not sure the rules for weapon ranges need to be as detailed as they are, having three range bands for modern weapons on a 4'x4' table in 28mm seems excessive. I think those could be streamlined and made simpler. I also felt the close combat results could be more decisive, we had a protracted melee in the compound mainly because both sides were evenly matched in their poor fighting skills which meant neither could force a result.

Overall I felt the rules were quick enough to pick up and gave an enjoyable game that will play out in a couple of hours, so perfect for a club night. I'm keen to give them another go.


Saturday 17 October 2020

Last Stand on Opium Hill Scenario 1

Last Stand on Opium Hill is a four map campaign for Chain of Command set in Singapore in February 1942 just prior to the surrender. It represents a classic backs-to-the-wall defence, where a small British force must try to hold off a very aggressive Japanese attack. My regular opponent Dave will play the British and I will take the Japanese. The campaign was published in Issue 101 of Wargames, Soldiers and Strategy and you can find more historical background to the campaign; the special rules used; the figures and the terrain, in this post about getting ready for Last Stand on Opium Hill.

The campaign opens with the initial push by the Japanese 56th Infantry regiment to clear the Pasir Panjang ridge. The ridge is significant as a key position, overlooking Singapore itself and the supply dumps, Normanton Oil Depot, and the hospital at Alexandria. 

Three rifle companies of the Malaya Regiment are spread out over the ridge with a single company in reserve. Their opponents are the Japanese 56th Infantry regiment, veterans of campaigning in China and Malaya who have been recruited from tough coal miners from Kyushu. They have been fighting for the previous four days and are supported by armour and artillery.

Map © Rosio Espin and Karwansaray BV
Originally published in Wargames, Soldiers and Strategy #101

The first scenario is a defensive battle, with B Company of the 1st Malays attempting to hold their position overlooking Reformatory Road and the Japanese trying to find a way through. This will be a Probe scenario and the Japanese need to find a way to push a unit across the table to the British table edge (that, or simply drive them from the table).


This could well be a tough assignment for the Malaya regiment. We will play across the short edge of the table which tends to favour Japanese tactics. At this early stage of the war they can take advantage of the Jungle Fighters characteristic to have their patrol markers spaced at 14" from each other and to move up to 14". This can make for a very aggressive patrol phase where they might expect to cover a lot of ground. The option to use a Ruse as support compounds the effect of Jungle Fighters. It allows the Japanese player to move one of their jump-off-points up to 18" further forward during the course of the game, with the potential to have Japanese units emerge suddenly and very unexpectedly close to the British table edge.

The patrol phase is short and the Japanese end up with jump-off-points in good positions in the plantation. The British elect to be positioned further back near the table edge. Tactically this makes sense and gives them time to react before the Japanese attack falls upon their positions.

Map © Rosio Espin and Karwansaray BV
Originally published in Wargames, Soldiers and Strategy #101

The British start with force morale at ten and the Japanese at nine, so the Japanese will not have it all their own way. There is a difference in force ratings of -3 which means the British receive an additional three support points. After rolling for supports the Japanese will have four and the British five. 

Given the short distance my Japanese will have to travel I want to make this as easy as possible. I intend to use a Ruse as support to help me deploy units even further forward. While that should give the Japanese a deployment advantage I hope to impede British deployment by calling on a pre-game barrage. I've used this combination of tactics before and had remarkable success (not to mention a bit of luck) pulling off a very successful attack against the Australians during one of the scenarios in the Malaya 1942 campaign. I hope to try and repeat that here.

Before we start Dave places three sections of barbed wire in front of the jump-off-point at the back of the plantation. He's expecting the Japanese to come this way and experience has taught him he needs to do all he can to impede rapid Japanese progress. The plantation is the obvious avenue of approach as it provides some cover but doesn't hinder movement. British jump-off-points are well positioned to cover the open grassland which could be a potential killing field should the Japanese choose to come that way. The dense jungle on the Japanese right flank is too slow to move through and with a British jump-off-point well positioned there it's the least attractive option. 


The British have the higher force morale and the opening phase. Despite the threat to deployment presented by the pre-game barrage Dave decides to hold off and remain concealed until he can see how the attack unfolds.

The Japanese on the other hand waste no time. A rifle squad and the grenade discharger squad deploy into the plantation where they are joined by the Gunso, the platoon second in command. This has become my standard opening move when attacking as the Japanese. The rifle squad and grenade dischargers can be commanded by the Gunso and make for a solid base of fire. The two remaining rifle squads give options to approach from both flanks or push hard in one direction and exploit any success.


The corporal of the rifle squad and the Gunso busy themselves putting all of the teams onto overwatch. 


The British refuse to be committed and remain concealed during their phase. That becomes a decision they may live to regret. The next Japanese command roll is 66643 - a double phase and the end of the turn. It's a double edged sword as far as the Japanese are concerned. The end of the turn will see the lifting of the effects of the pre-game barrage and enable the British to deploy without hindrance. However, as they have yet to deploy any units the double phase is a very welcome opportunity for the Japanese to push forward aggressively. 

The Gunso orders the rifle squad to move at the double through the plantation towards the barbed wire. 


A second Japanese rifle squad deploys into the centre of the plantation and are placed on overwatch.


This now puts two Japanese squads very close to the British jump-off-point and table edge. There is however the matter of the barbed wire to impede their progress. With that the phase ends as does the turn and with it the pre-game barrage.

Note that the squad on the left that had been placed on overwatch should have had that marker removed at the turn end, so please ignore it.


In the following phase the corporal on the right rallies off the shock that his squad picked up following their dash through the plantation. With his men back in order he places them on overwatch. 


With a squad on overwatch to provide covering fire the squad on the left take it in turn to move at the double. The corporal leads them forward. 


They move fast and advance 13” through the plantation. The corporal then rallies the shock they just acquired from the rapid move. 


With one squad on overwatch and another working its way around the flank the Japanese are set up to respond to any British deployment or to try a dash around the wire. 


With the Japanese very close to a possible scenario victory an urgent response is called for from the British. Their command roll of 65332 is ideal and allows the whole platoon to burst into action. The first section breaks concealment. They are entrenched behind the barbed wire and open fire at the nearest Japanese. 


The effects are immediate. Two of the Japanese are hit and the squad suffers a point of shock. 


A second section also appears behind the wire. They are not entrenched, but they too open fire.


It looks like my Japanese squads have run right into the teeth of the defence. The squad corporal is wounded and will be out of action for the remainder of the turn. To make matters worse his wounding is a blow to Japanese morale which drops two points down to seven. The squad also suffer another four points of shock.  


However it's not going all the British way. The Japanese squad on overwatch responds and fires back across the wire at the recently deployed section. 


They suffer a casualty in each team and the section corporal is hit. He too is wounded and out of action for the remainder of the turn, but unlike the Japanese the Malay Regiment is made of sterner stuff and it has no negative effect on their force morale. 


The third section from the platoon deploys from the central jump-off-point into the open ground and fires into the plantation. 


The Japanese don't suffer any casualties but the sudden burst of fire from an unexpected direction is enough to inflict four points of shock on the squad. 


One of the Japanese grenade discharger teams that was on overwatch fires off a round at the recently deployed squad. 


This is their first shot and their rudimentary aiming means they fire wide of their target.


That was a very sudden and violent reaction from the waiting British. The Japanese response needs a little consideration. The squad on the left has about 12" or so to reach the table edge. It's possible they could reach it this phase if they chose to move at the double and they are lucky enough to find the going good.  It's a risk as they are carrying some shock which will certainly slow them down. Failure to cover the distance in time would leave them horribly exposed to murderous fire and grenades from the entrenched British section. I might be better off trying to inflict casualties on the British in order to convince them to break off and withdraw from the table.

The grenade discharger squad unleash a volley of grenades at the section in the open. 


They fail to hit their mark or have any effect.


In order to even up the firefight and bring my third rifle squad into action I use a Ruse to bring a jump off point forward. 


This will allow the third squad to deploy right into the firing line with unhindered line of sight through the plantation. 


They open fire immediately at the section behind the wire.


The British take a further two casualties and another two points of shock which puts them very close to pinning. 


There is an opportunity here to see if I can drive that section off the table. It's time for the platoon commander to come to the fore and direct the action. With that the Rikugun deploys into a central position from where he can command most of the platoon. 


He orders the squad on the right to open fire at the same target.


The British lose another two men, which is enough to pin the section. The Rikugun then orders the squad on his left to fire at the same target. 


None of the British section are hit, but they suffer a further six points of shock which is enough to break the section.


They are forced to retreat which sees them rout from the table. The sight of a section breaking and an NCO routing from the field rattles the remaining sections and their force morale drops three points to seven.


The British cannot afford to take too many casualties. They have only a single platoon as replacements for the whole campaign and must conserve this initial platoon for future games. There's a time to stand and fight, but this is not it. In the next phase Dave announces his remaining sections will withdraw from the table. A wise move I think given the circumstances.

This was always likely to be a short and sharp action with much decided in the initial firefight. Today it went the way of the Japanese despite the fact they walked right into the toughest part of the defence.

The British suffered six casualties which means three will be lost permanently, two are wounded and will miss the next game and one is patched up quickly to return immediately. A defeat sees the CO's opinion drop to -1, the same for the Men's opinion.

The Japanese suffered light casualties, losing only two men. One will be lost permanently and the other wounded and will miss the next game. The victory sees the CO's opinion rise to +1 as does the Men's opinion.

The Japanese now push on across the ridge and in our next game they will attempt to clear the defenders from the Buena Vista village. You can read what happens in that game in this post.

You find reports for all the games in this campaign and many other campaigns on the Chain of Command Campaign AAR page here.

Last Stand on Opium Hill a campaign for Chain of Command appears in Issue 101 of Wargames, Soldiers and Strategy Magazine. My thanks to the magazine and publisher for permission to reproduce the maps.

If you are interested in more action set in the Far East you can follow another campaign between the Australians and Japanese that takes place in Malaya a few weeks prior to this current campaign. Click here for the first game report for the Malaya 1942 campaign.