

This is the assault on the first key feature of the ridge, a hill the British nicknamed The Pyramid. Infantry from the Dogra Regiment ('the Dogras') and armour from the Carabiniers sought to drive the Japanese from the position following a particularly heavy air and artillery bombardment.
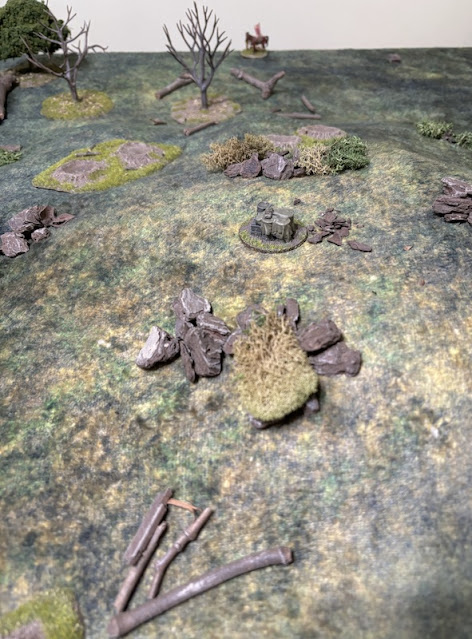
The terrain here is not jungle. The high points on the ridge are covered with grass and brush offering no real cover. The slopes are wooded but this is not thick woodland and will be treated in this game as if they were orchards.

This scenario is an Attack on an Objective from the main rule book. The objective jump-off-point is on the top of The Pyramid feature. The Japanese have two platoons to defend three maps and must divide these between them before the campaign begins. The exact number of Japanese holding any of the maps is unknown to the British, so they are not sure what they will be up against.
The British start with their force morale at nine while the Japanese are at eight. Jump-off-points are positioned as shown below.

Before the game begins the Hurricanes attack, targetting the jump-off-point on the objective.

We roll to see what effect it will have and the Japanese will need to spend two CoC points to make it available.


The platoon sergeant joins them.


That brings them to within line of sight of the hill with not far to travel to reach the objective.


That has the British approaching through the light woods on both sides of the hill.


While that brings them close to the objective I have no doubt the Japanese will react before they can reach it.


The section on the left flank also advances.


As expected, the Japanese waste no time responding. Dave spends two of his CoC points and frees up the jump-off-point on the hill.


Suddenly the British section find themselves engaged from close range.


A stream of bullets and grenades comes their way. The section suffers seven points of shock and one of the men in the Bren team is a casualty.


Unfortunately the Japanese position is well concealed and both tanks miss.

They have a line of sight through the trees and target the section opposite.

Their initial burst of fire has little effect and the Dogra rifle team suffers only a couple of points of shock.


The sergeant then orders the newly arrived section to advance.

He wants them up where they can support the men on the hill.


From there he can better control the assault on the bunker.


It takes its toll and the Japanese lose two men and suffer three points of shock.


The squad's Gocho (junior leader) rallies the remaining point of shock and has his men continue targeting the section in the woods.

This next round of gunfire proves more deadly than the first and the British suffer two casualties and four points of shock.


Shock has accumulated quickly and he needs to bring them to good order before the Japanese move any closer.

He spends the whole phase rallying off shock.


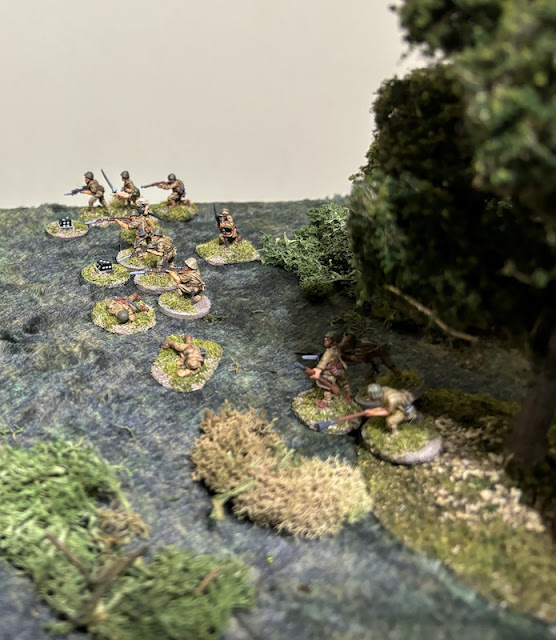
The section's remaining Bren gunner is killed and that sees the team wiped out. Despite the loss British morale holds steady.


Casualties amongst the Dogras continues to mount and they lose another two men and suffer more shock.

This time they target some of the spider holes and successfully block their line of sight. That greatly reduces the amount of fire the Japanese can bring to bear.


The section loses another man and suffers additional shock, enough to break what remains of the rifle team.

There is only so much withering fire the surviving men can stand.

They've seen enough and fall back into the woods. With that British morale drops to eight.


Once again their fire is particularly accurate and the section loses another two men. To make matters worse the corporal is wounded and put out of action for the rest of the turn. This time British force morale remains steady.

Few men of that section remain - the Bren team is reduced to a single gunner while the rifle team has only two surviving men. Were in not for the presence of the platoon lieutenant they would be pinned down.


It's a difficult shot and the commander assists the gunner sight the gun.

The commander's assistance proves invaluable. He makes it possible for a net 12 on the effect roll. That sees the HE round smash into the bunker aperture. The Gocho is wounded and out of action for the remainder of the turn. The LMG team lose a man and suffer three points of shock. The effect of the blast leaves the occupants suppressed and unable to activate in their next phase.


Their aim is good.


The mortar team lose one man and the PIAT team suffer a point of shock.

In the woods the Gunso orders the squad forward.

It barely bothers the Japanese who suffer a single point of shock!

The Japanese squad loses two men and suffers shock. That's a better result.


While it has no effect other than to add a couple of points of shock it has the potential to slow down any Japanese advance.

Over on the other flank the British section attempts a flanking move around the hill.

They don't advance enough to escape the arc of fire from the bunker but should be able to do so in their next move.


They target the bunker but their aim is not good and the round falls off target. While it doesn't land where intended it could prove useful in keeping the section covered as it makes a move around the side of the hill.


Their accuracy is not as good this time around and the shot fails to hit the bunker (while I can live with the miss I wonder if there is a case for some type of hit bonus for a tank targeting a bunker, especially if it has already hit the target or is firing at it repeated times?).


That proves its undoing - the PIAT team is wiped out and the surviving crew member from the 2” mortar team suffers a point of shock. The loss of the PIAT team sees British force morale fall to six.


If they can move as quickly again they have the potential to come into contact with the Carabinier tank.

The Dogras lose another man from the rifle team that leaves them with a single man left in each of the section's teams. They are managing to hold their position but only by the skin of their teeth.

The Japanese are not that far away and if it were not for the shock they were suffering could probably close in for the kill in their next phase.

The tank commander's attention is now divided between the threat from the sudden appearance of the tank hunter team and the squad.

He orders the bow machine gunner to target the tank hunter team.

The hits are shared with the nearby squad's rifle team. The burst of MG fire takes down one of the tank hunters and adds shock to the rifle team. The tank then follows up with fire from the main gun targeting the squad's LMG team. The rifle team lose another man that sees them reduced to two riflemen and more shock accumulates on the LMG team. Will it be enough to slow them down?

The platoon lieutenant rallies two points of shock and orders the few remaining men of the section to fire.

The relatively small amount of fire is just enough to add a point of shock to the LMG team which is all that is needed to see the Japanese pinned down. There's no doubt that without the support of the tank that Dogra section was going to be in serious trouble.

On the opposite side of the hill the Dogra section continues working its way around the flank. That takes them outside of the firing arc of the bunker and behind the plume of smoke from the 2" mortar.

The 2” mortar team themselves need to find better protection and they pull back into the woods but not far enough to escape the line of sight of the bunker on the hill.


Despite a high volume of fire the lone man with the mortar manages to survive unscathed.


It kills one of them.


This time they inflict enough shock for the lone mortar man to break and fall back. That takes British morale down to six.


The fire inflicts a pint of shock on the Bren team. While that may not seem like much the section has sustained so many casualties it wouldn't take much more shock to break them.


Before they can do so I use a CoC die to interrupt and the tank opens fire with its main gun.


The two Japanese leaders have led a charmed life, more than can be said for the men under their command. Without anyone left to order they move back towards the jump-off-point.


From there it can threaten other Japanese jump-off-points or make its way up the hill to try to eliminate the bunker.


The objective sits atop the hill and can only be approached via open ground. The Dogras will need as much help as they can gather given the Japanese have had time to build prepared positions and bunkers on the ridge. They already have the support of one tank from the Carabiniers but they will call on a second for this scenario. They will also call on a Hurribomber strike before the game begins (rules covering the Hurribomber attack are in the Far East Handbook).


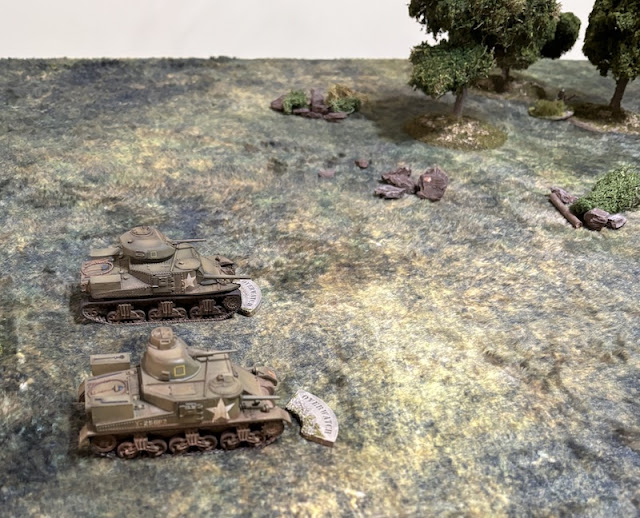
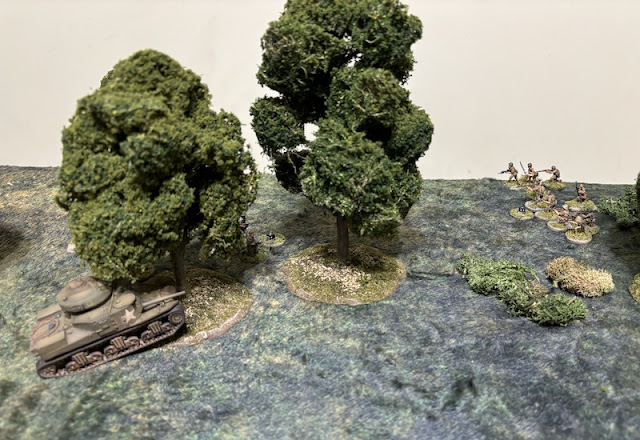
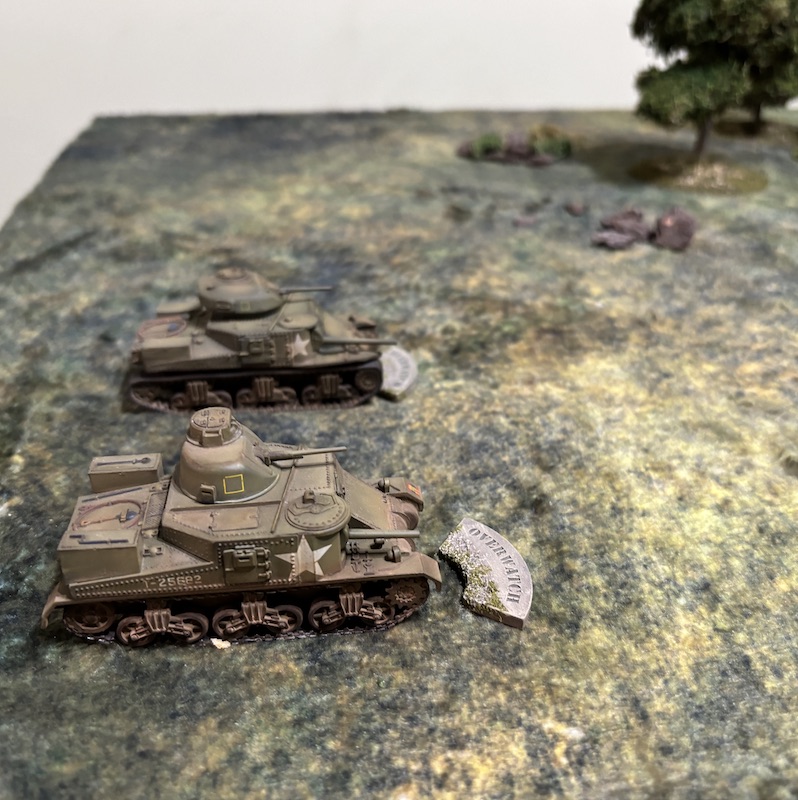
The British have the first phase and a tank from the Carabiniers takes up overwatch positions covering the hill.


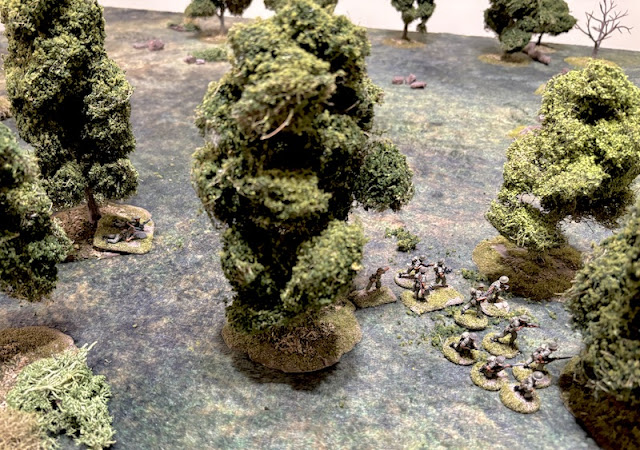
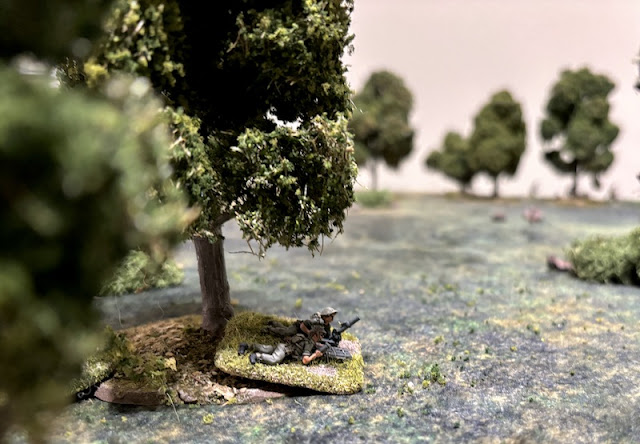
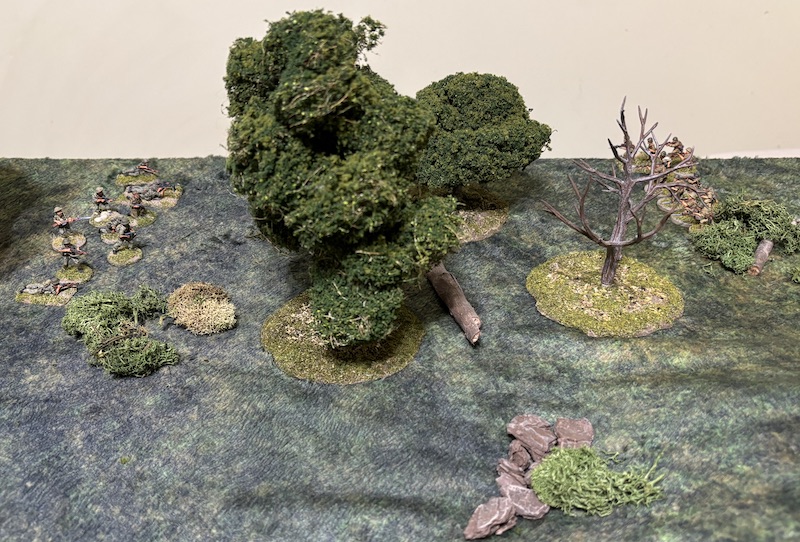
On the right flank a section deploys into the woods. They too are placed on overwatch.


The first Japanese command roll of the game is 55625. They elect to do nothing in this phase but the roll will give them three CoC points immediately, more than they need to make the objective jump-off-point available following the Hurribomber attack. Dave doesn't choose to do that now but it does make me wonder if I will find much value from the Hurribomber attack.
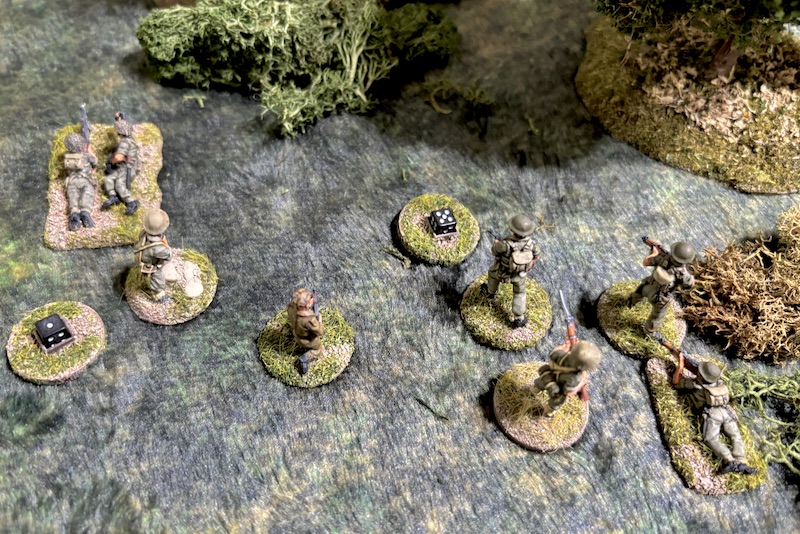
In the British phase the sergeant takes the section forward through the woods.


The 2” mortar team deploys behind them in support.


Once again the Japanese choose to watch and wait, but I do note that their command roll included another two 5s which takes their total number of CoC points to five.
Having approached the objective quickly the lone section needs to be cautious. The sergeant puts both teams on overwatch.


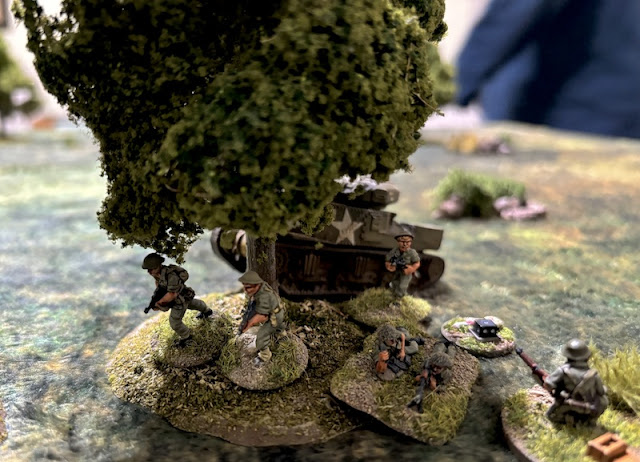
A second tank arrives to add more support and the commander puts the gunner on overwatch (as it happened the 3rd Carabiniers operated Lee tanks, so you will have to forgive the presence of the Grant in this scenario).

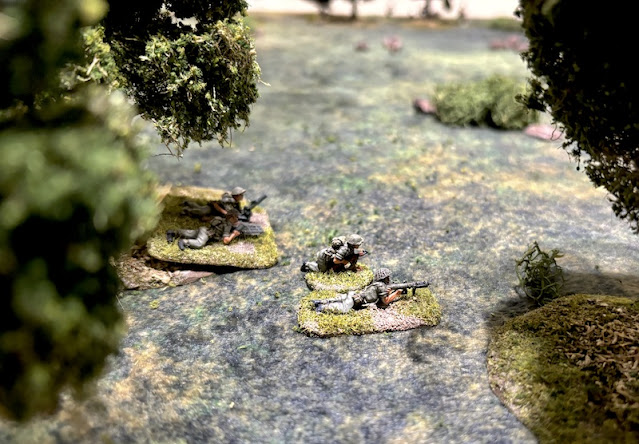
Once more the Japanese choose to wait, but they do acquire their first full CoC die. The following British command roll is 66511. While that provides a double phase the options for activation are limited. A second British section deploys into the woodland on the left flank.


The following British command roll is 66442 and I'm hoping there might be an opportunity to exploit this run of phases. The platoon sergeant directs the section nearest him to move up the hill.


If this flank is going to be the main avenue of attack then I need to feed in another section. One deploys into the woodland near the 2” mortar team.


The next command roll will see the run of British phases come to an end, but it allows them to maintain their momentum and push up the hill. This time the section does so with more caution, moving tactically.


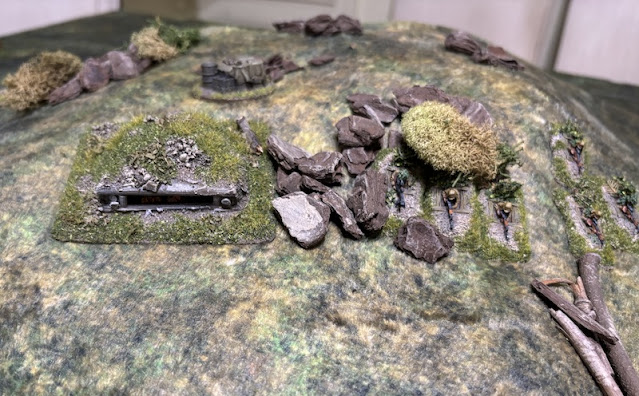
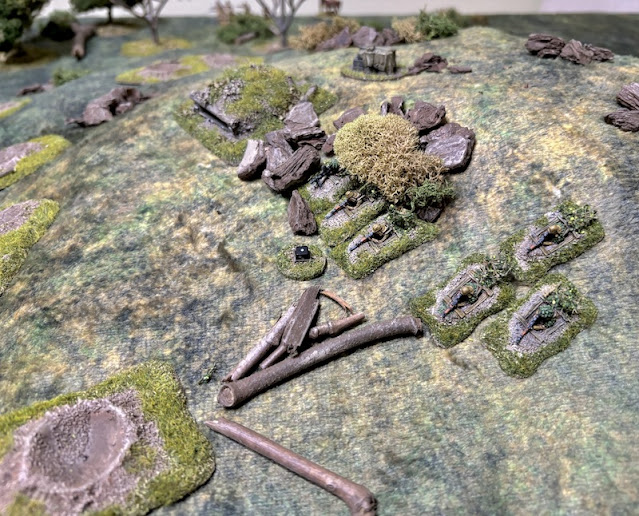
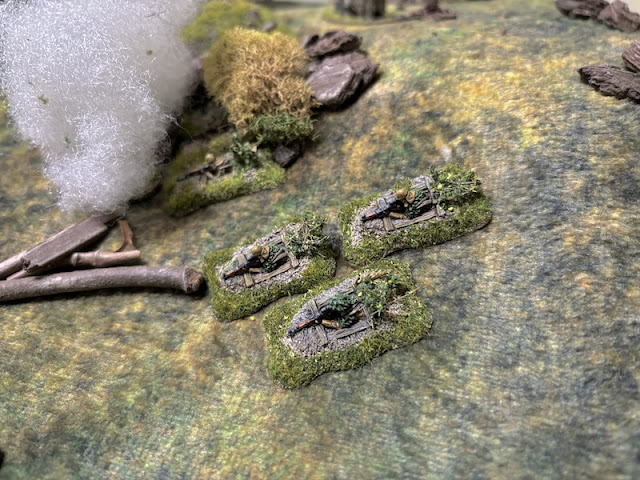
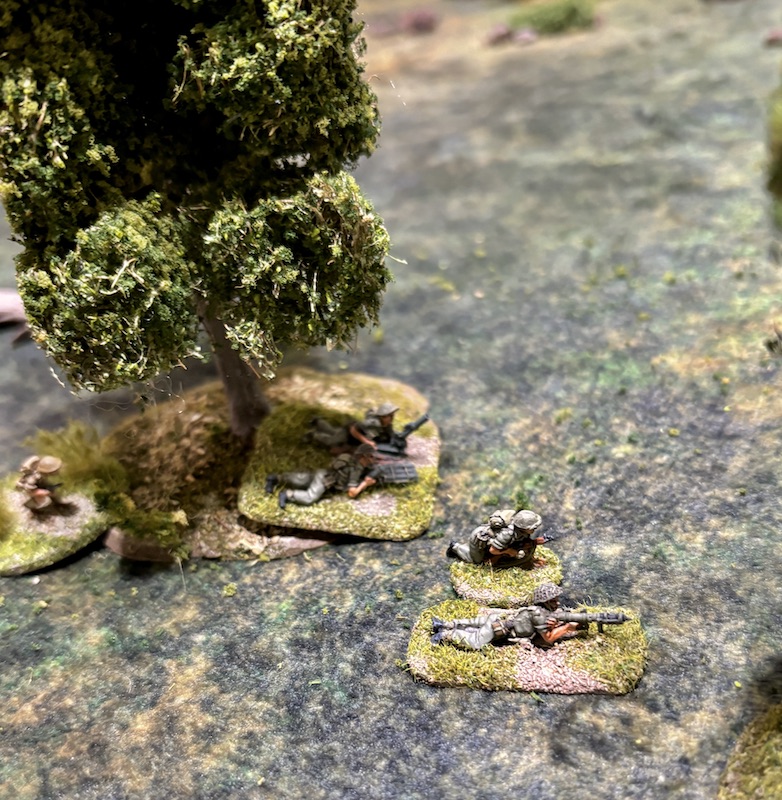
A squad prepared position burst into life. A bunker housing the LMG team and spider holes concealing the rifle team violently announce their presence.


Both tank gunners are on overwatch and respond to the Japanese fire. Each sends a round of 75mm high explosive in the direction of the bunker.


A second Japanese squad deploys on their right flank.


The following British command roll is 66542 and the double phase comes at a most opportune moment. They need to react to the sudden appearance of the Japanese. The platoon sergeant springs into action.

He orders the 2” mortar team to fire smoke toward the bunker on the hill.

Their aim is good. The smoke round lands on target and blocks the bunker.


The sergeant himself moves forward to the treeline.


Meanwhile on the other flank the section moves forward slowly.

In the following phase they return fire at the Japanese squad opposite.


With the bunker screened by smoke one of the Carabinier tanks targets the spider holes, but manages to inflicts only one point of shock.

In the Japanese phase the platoon's Gunso (the second in command and an inferior senior leader in CoC terms) deploys into the woods and rallies shock.


Back up on the hill the riflemen in the spider holes continue to pour fire on the nearby section.

The Bren team lose another man and the rifle team suffer more shock. That's enough to see the whole section pinned down.


They now find themselves in a tight spot. Perhaps sending a full section up the hill without knowing exactly where the Japanese were hidden was to invite trouble? A lesson learned and punishment for being too hasty.

In the British phase the second section on the right flank makes its way forward. Slowly and perhaps with some reluctance.

Over on the left flank the section falls back.

There's a danger of being overwhelmed on that flank and with the full Dogra platoon now committed caution may be the better option.

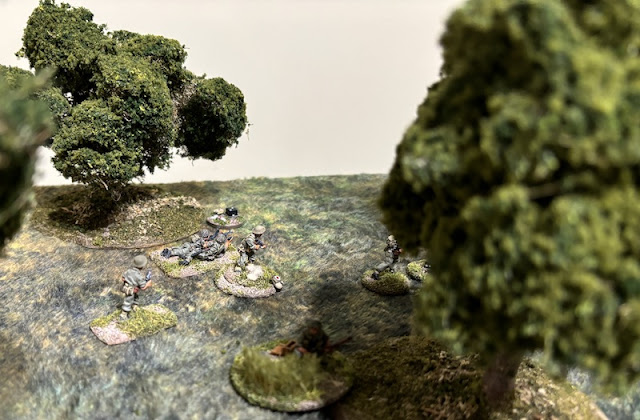
The platoon lieutenant joins them.


In the Japanese phase the Gocho in the bunker orders the men in the spider holes to continue firing.


Over on the other flank the Gunso orders the squad to fire.


In the British phase the 2” mortar team fires another round of smoke up on to the hill.


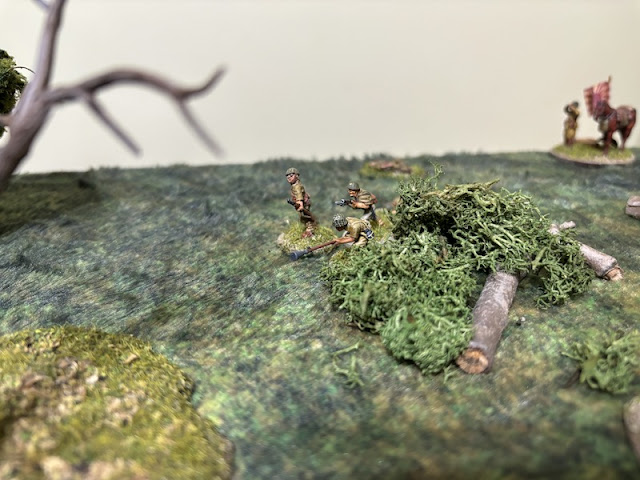
The Japanese may not have any armour but a PIAT team could prove a useful weapon against a bunker and so the team deploys near the 2” mortar team.

With the section on the British left taking a lot of fire one of the Carabinier tanks moves flat out to give them support.


Before the start of the following Japanese phase Dave uses a CoC die to end the turn. That will see the smoke removed and enable the full squad in the bunker and spider holes to target the British once again.

That's exactly what they do in the Japanese phase.


The Gunso maintains Japanese pressure on the opposite flank and he has the squad shoot again.


In the British phase there is little option but to pull the section back towards the jump-off-point.


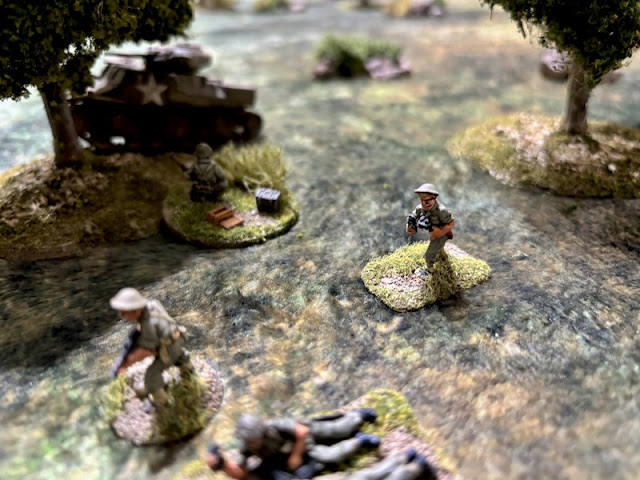
The Carabanier tank arrives to support them and cannot arrive a moment too soon.

The other tank continues to target the bunker.


The 2” mortar team fires another round of smoke. This time targeting the spider holes.


The following Japanese command roll is 66641. It not only gives them a double phase but will also see the mortar smoke disappear at the end of the turn.
The men in the spider holes who still have a line of sight target the 2” mortar team, but it has no effect.

Meanwhile in the woods the Gunso sends the squad forward but they move slowly only managing 3".

With the phase completed the turn ends. The wounded Dogra corporal gathers his senses and gets back on his feet.

In the bunker the wounded Japanese Gocho does the same thing, while the smoke is removed from the spider holes.

Unfortunately for the British there is a moment of ill fortune. The remaining men of the broken rifle team rout from the table but they end up taking the platoon sergeant with them. We realised he was less than 4" away and so was considered attached. That's a nasty and unexpected turn of events and little surprise British force morale falls to seven.

In the Japanese phase the Gocho in the bunker rallies shock from the LMG team and then orders the whole squad to fire.
They target the 2” mortar team and PIAT team.

Before they can move the nearby tank interrupts and fires its main gun.


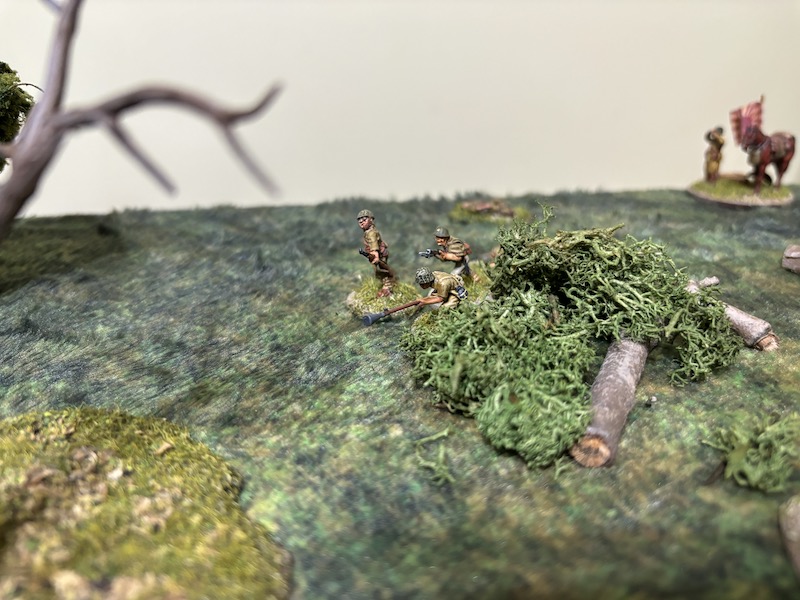
More ominously a tank hunter team deploys into the woods.
In the British phase the tank unleashes fire from both the bow machine gun and the 75mm gun.


The platoon lieutenant meanwhile rallies off two points of shock.

He then orders what remains of the section to fire. There may not be many of them but they all have automatic weapons.


The 2” mortar team fires smoke up on to the hill once again.


The other tank fires at the bunker and the commander continues assisting the gunner.


In the Japanese phase the Gocho in the bunker rallies shock from the LMG team and has the whole squad fire at the 2” mortar team.

The PIAT team is within 4" so it too is a potential target.


In the woods the Japanese tank hunter team move forward rapidly.


Nearby the Gunso rallies a point of shock from the squad and orders them to fire.


In the next Japanese phase the Gocho in the bunker rallies off the last point of shock on the LMG team and then orders the whole squad to fire on the 2” mortar team


With the squad in the woods pinned down Japanese fortunes on the other flank rest with the tank hunters. They make a charge for the tank.

That brings them close, but not close enough to make contact in this phase.

The Gunso rallies two points of shock and the Gocho another before ordering the squad to fire. Given their current state there is little surprise that the relatively small amount of fire fails to have any effect on the Dogras.

In the British phase the tank hunters receive the full attention of the tank. First, the bow machine gunner sends a burst of fire their way.


The lone survivor receives a round of 75mm HE and little surprise, he doesn't survive. That sees the tank hunter team wiped out. This doesn't require the Japanese to test for force morale so it stays unchanged despite the loss.

While that greatly reduces the threat on that flank it would be unwise to write off the Japanese. What remains of the Dogra section pulls back to cover the tank and create a shield to deal with any more tank hunters or suicide teams that may appear.

The following Japanese command roll is 66521. The double phase could herald more trouble from the Japanese and so I sense my caution is rewarded. The squad on the hill continues to target the 2” mortar team.


On the other flank the squad's LMG team target the Dogras protecting the tank.


At this point Dave uses a CoC die to end the turn. That sees the 2” mortar team rout from the table.

More ominously the mortar smoke that was screening the flanking section is now removed, exposing them to fire from the spider holes.

Over in the woods the Japanese squad has recovered sufficiently from their shock to no longer be pinned. Once again they are a threat that needs to be dealt with.

In the following Japanese phase the Gocho in the bunker has the riflemen in the spider holes shoot at the Dogra section trying to work around the flank. It has no effect.
In the woods the Gunso and the squad’s Gocho spend the entire phase rallying shock. The squad then fires.

The Dogra sections suffer a further two points of shock. That puts them on the brink of becoming pinned.

The next British command roll is 65553 - not the most useful given the situation but it's enough to activate the tank commander who has both the bow MG and the main gun target the Japanese squad.
This time the fire proves particularly deadly. The two surviving men in the rifle team are killed, which wipes out that team and the LMG team lose a man. Japanese force morale drops to six.

In the Japanese phase the riflemen in the spider holes fire again.

The section's rifle team suffers two points of shock.


The Gunso rallies off a point of shock on the LMG team and has them fire at the Dogras.


That wipes out the last two men in the LMG team and takes Japanese morale down to five.


In the British phase the section continues working its way around the side of the hill.


The platoon lieutenant uses all his command initiatives to remove shock from the section.

At this point the surviving Japanese have seen enough and know that it is only a matter of time before the British tanks can blast them out of their position. I had originally made provision in the scenario design for the Japanese to withdraw if their force morale dropped to four or less but under the circumstances there seems little point playing on. As Dave pointed out, the British could now move the Dogras to cover and spend as many phases as they need to blast away at the bunkers with the tanks. There's not much enjoyment in that for the Japanese player and the outcome is a foregone conclusion. Taking that into consideration it seems only fair to allow the Japanese to withdraw.
An interesting game and an informative one. My initial thoughts are that the Hurribomber was a disappointing support option. At three support points I'm not certain I see enough value in what it can bring to make it a compelling support choice. My second thought relates to firing at bunkers. A tank has only a 28% chance of achieving any sort of hit. Using a command initiative from the commander will increase that to 41% but I wonder if there should be any advantage to allowing a modifier, like the one that currently exists for hitting a target in a previous phase? It will be interesting to see how things play out for the remainder of this campaign before drawing any definite conclusions.
Unlike in other campaigns the Japanese withdrawal in this game gives them no opportunity to recover any casualties and they will only withdraw with those men actually on the table at the end of the game.
The British suffered fourteen casualties from the Dogra platoon. That sees them lose four permanently with three missing the next game due to wounds.
With The Pyramid position now in British hands the force must try to find a way to get the Carabiniers tanks across the narrow spine on the ridge to the Northern Bump position. This could prove a tricky proposition as the tanks will have little else to do other than drive carefully while the Dogras must try to protect them from Japanese counter attacks. You can follow what happens next in this post.
You can see all the reports for this campaign and many more on the Chain of Command AARs page.


