

As always the enemy will have a say in the matter and the Dutch have proven tough opponents. With their engineers delayed they must buy as much time as they can. Having won the previous scenario they have decided to take the initiative and mount a spoiling counterattack that will delay the Germans for at least one more campaign turn. Should they actually succeed in winning the scenario they have an opportunity to cause enough of a delay that their engineers may succeed in blowing the bridge. There is much to fight for here for both sides.
So we return to Map 5. We made a few adjustments to the layout of the terrain to extend the map beyond the original to reflect the fact the Germans now hold the ground.

This will be an Attack & Defend scenario and the Dutch have a single free move at the start of the patrol phase. Given the layout of the terrain the outcome of the phase is fairly predictable. The Germans hold a line that runs across the hedges and the barn while the Dutch will deploy close to their table edge.

The German Men's Opinion is at -7 so little surprise their force morale starts at eight, fortunately for them the Dutch morale is only marginally better at nine.
Looking at the table and assessing the general situation there are a few options for how each side approaches this. We often find that when the defender in a campaign opts to make a local counterattack their sole objective is to impede their opponent’s progress. This can result in a brief game where the defender makes a cautious show of force and avoids casualties. Support units are often used to handle the brunt of the attack and having achieved the key objective of delaying the enemy, they then withdraw. Given the level of Dutch casualties and their small force that’s certainly something I'd expect Dave to consider.
I too want to avoid any unnecessary casualties and save my strength for the battles to come on the final map. German support for this game will be 3D6+2. When I roll fourteen I decide to try something Dave may not be expecting and rely heavily on support units to conduct a very aggressive defence. My plan is to use a platoon of three PzI under the command of a senior leader to rush the Dutch jump-off-points.

As the Dutch are attacking I wouldn't expect them to have an anti-tank gun, it's more likely they might try to use armour themselves. That said, what armour they do have available is limited to Carden Loyd carriers or armoured cars, which German tanks should be able to handle. With that in mind I will add a PzIII to the German force, its key role will be eliminating any enemy vehicles. Should that prove successful then the Dutch may have little in the way of anti-tank weapons to prevent the PzIs marauding across the table.
To be honest, it's all a bit of a wild gamble, but I'm hoping surprise is the key here and it will throw the Dutch off balance. My sole concession to the fact this might actually be a fight best carried out by infantry is the addition of a tripod mounted MG34 team as my final support.
The Dutch announce the Germans will start the game under a pre-game barrage and with that we are ready to begin.
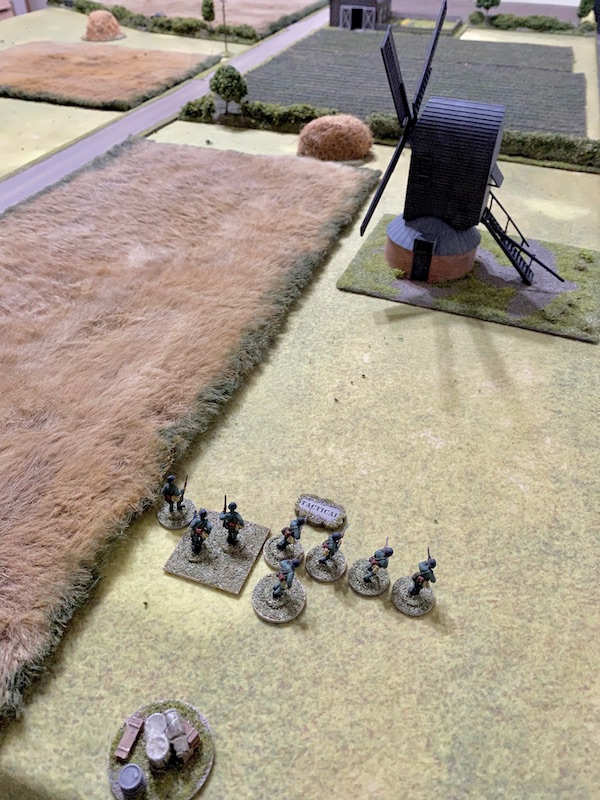
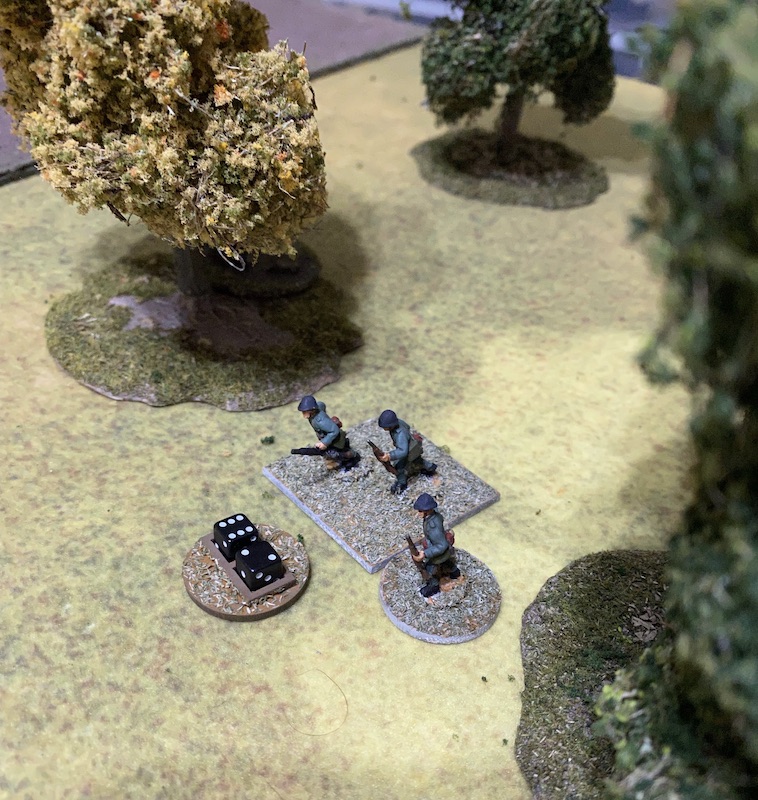
The Dutch have the first phase and a mitrailleursgroepen deploy into the woods taking up tactical positions. With only seven men they are below strength which means they must be from one of the core platoons.

The German command roll of 55541 provides some useful CoC points but other than that they choose to pass. A second mitrailleursgroepen deploys in the Dutch phase and takes up tactical positions on their right flank.
The following German command roll is 66631 and the impending turn end will see the effects of the pregame barrage lift. That is very useful, but other than that I continue to watch and wait in this phase and the following one.
When we come to the next Dutch phase the mitrailleursgroepen on the right advance towards the windmill. From what I can determine these men are also from one of their core platoons and not support units.

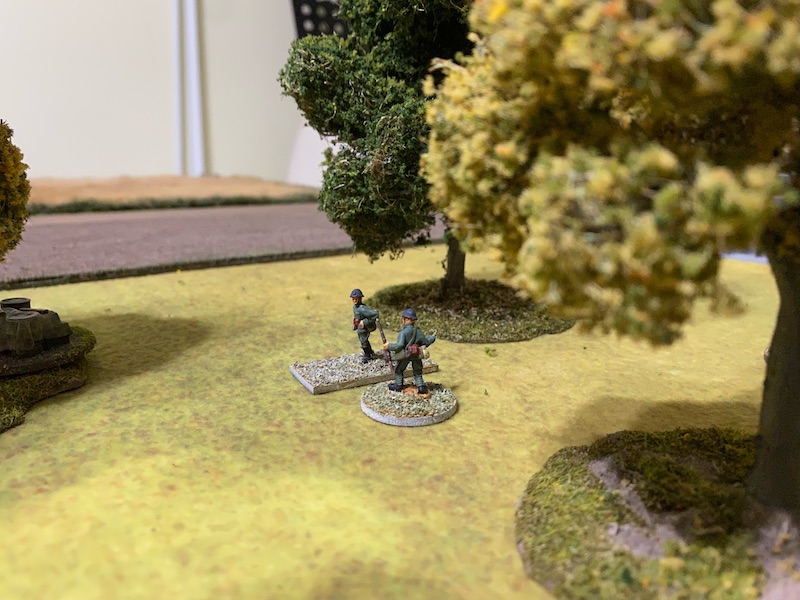
In the woods the sergeant detaches a two man scout team and sends them forward.

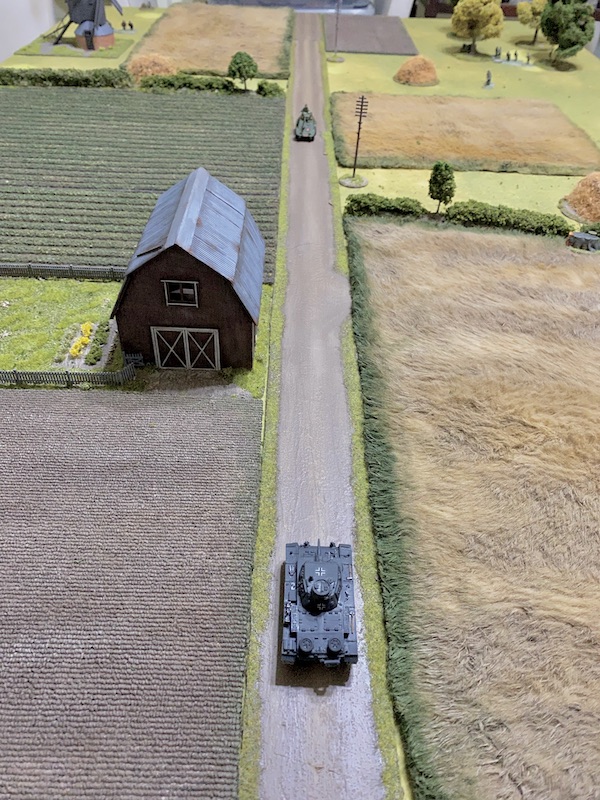
I'm then taken by surprise when a Pantserwagen armoured car drives slowly up the road with the gunner on overwatch. It may not be a tank and has relatively thin armour, but it mounts a 47mm gun that packs quite a punch. The PzIII will need to neutralise this before the lightly armoured PzIs can be called into action. That's given me something to think about. I hadn't expected to be faced with such a powerful anti-tank gun.


The following German command roll is 64411 which means the PzIII won't be coming into play just yet. In fact the command dice offer the Germans no real opportunities and so I decide to stay concealed.
The following Dutch command roll of 66643 makes me wonder if I will rue that decision. With the opportunity presented by a double phase there's a distinct possibility the armoured car could severely disrupt German plans. Making that intention quite clear the Pantserwagen motors forward aggressively, driving flat out.


I breath a sigh of relief when their subsequent command roll is 65444 and to Dave's frustration the armoured car won't move any further forward.
Finally the PzIII makes its appearance in the following German phase. Time to put a stop to that armoured car.


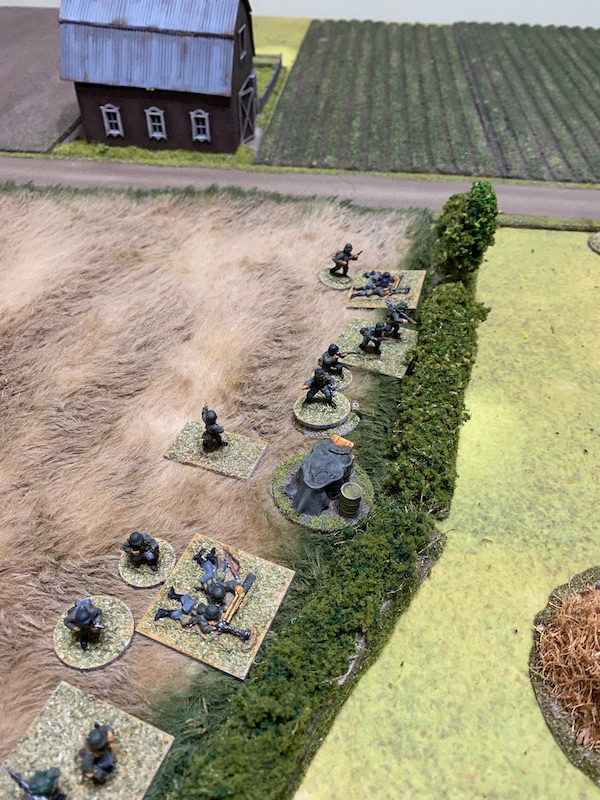
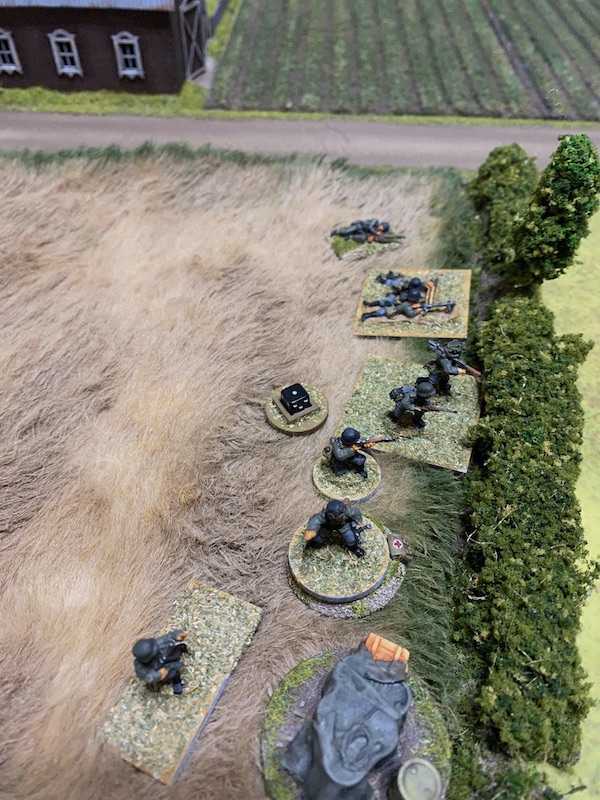
A schützen squad deploys behind the hedges to the right of the road.

Annoyingly the reverse has taken the Pantserwagen beyond close range of the squad's MG34s.

Nonetheless, there is an opportunity to inflict casualties on the Dutch infantry and both MG34s target the scout team. They are in open ground and there is little surprise when the hail of MG fire wipes them out. Fortunately for the Dutch their force morale holds steady, but that sees the mitrailleursgroepen on that flank reduced to only five men.

In the Dutch phase the commander of the Pantserwagen rallies a point of shock from the crew.


The five remaining men of the mitrailleursgroepen in the woods seek revenge for the loss of the scout team and open fire at the German squad at the hedge.


It's a fairly straightforward shot but somehow the tank's AP round manages to miss the target, an ominous sign that the Dutch may have the upper hand here.

Meanwhile the schützen return fire at the mitrailleursgroepen in the woods.


The following Dutch command roll is 55432. Not only will the armoured car activate but the Dutch also accumulate their first full CoC dice. The commander of the Pantserwagen rallies off the remaining shock and has the gunner fire once again.

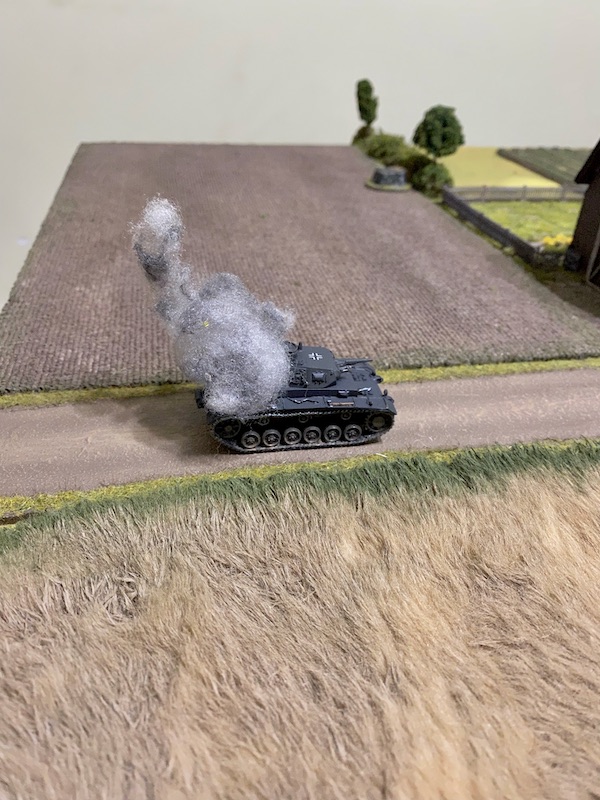
Another 47mm round hits the PzIII. The strike results in one net hit and the crew suffer a further two points of shock. It would also have resulted in the tank reversing, but with the driver dead it stays where it is. This is not the outcome I was expecting in a duel between a tank and an armoured car.

The mitrailleursgroepen in the woods return fire at the Germans behind the hedge.


In the German phase the PzIII makes what may be a final bid to deal with the armoured car. First the commander rallies a point of shock.


Once again a 47mm round strikes the tank. It's a good hit inflicting three AP strikes and I doubt the PzIII's armour of three will be sufficient. Luckily it's able to absorb the impact and only suffer one net hit. That adds a point of shock but, much more significantly, the tank is unable to activate this phase. That's a disaster.
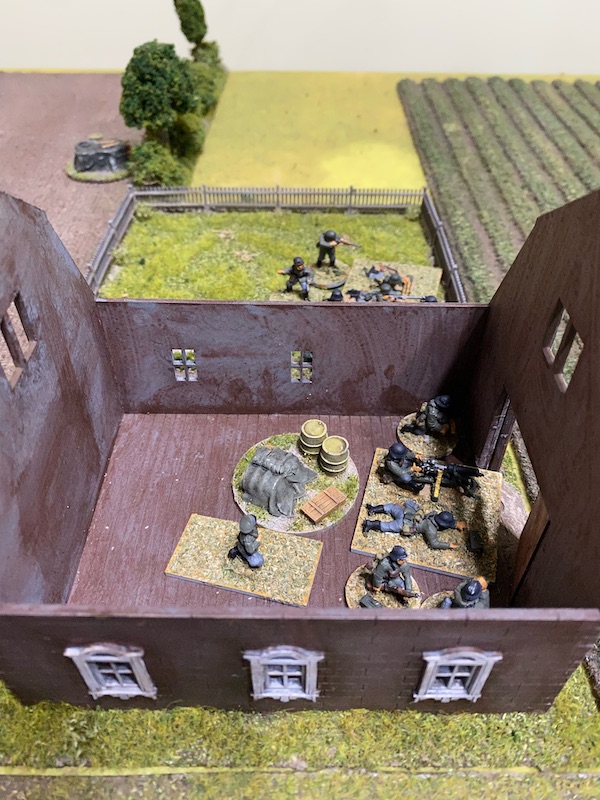
In a desperate attempt to hold off the inevitable the tripod mounted MMG team deploy into the barn.


The rattle of machine gun fire on the weak armour is enough to unsettle the crew who suffer a point of shock and reverse 4”.

With any hope that my PzIII will be able to knock out the Pantserwagen fast slipping away I focus my attention on inflicting casualties on the Dutch infantry. A second schützen squad deploys at the hedge and fires at the men in the woods.

Despite the volume of fire it has no effect.

The platoon's Feldwebel deploys to join both squads.

The Dutch command roll limits their options but it does allow the commander of the armoured car to activate. He rallies off the point of shock and orders the gunner to fire.
Well, that's really scuppered my plans. The PzIs stand little chance against the armoured car and I can't see how I can bring them into play in any meaningful way. If I do, I may end up simply providing the Dutch with easy targets with which to bring down German force morale. I now find myself without an effective anti-tank weapon and in danger of losing the scenario....perhaps even the campaign. Dear me, what was I thinking?
Well it's not over just yet and the Germans have enough machine guns to keep the Pantserwagen from approaching too close. For now I will concentrate on trying to drive off the Dutch infantry.
Once again the Feldwebel has both squads at the hedge target the mitrailleursgroepen in the woods.


That's enough to break the remaining men.


In the Dutch phase a fresh mitrailleursgroepen deploy into the woods.


The mitrailleursgroepen on the right flank continue moving forward.

I'm less concerned by the movement of the infantry than I am by the armoured car, which can sit back beyond close range of my machine guns and rake the German positions with fire.


The Dutch Luitenant deploys into the woods, positioned between the two mitrailleursgroepen but not attached to either.


In the German phase the Feldwebel rallies off a point of shock. Unfortunately I'm unable to activate the squad's Obergefreiter, as ideally I would have him assign a man to the MG34 team to bring it back to full firepower.


I think my best opportunity now lies in inflicting as many causalities as I can on the Dutch before the armoured car can do the same to my men. The platoon's third schützen squad deploys in the yard of the barn and they also target the mitrailleursgroepen on the edge of the woods.

That proves very effective. The Dutch lose another man and suffer five points of shock which is enough to pin them down. I sense an opportunity here and so the platoon Leutnant deploys into the barn and has the MMG engage the same target.

Just when I think I may have the upper hand the Dutch command roll is 66542. The double phase might prove just enough to help them salvage the situation. The Luitenant spends the phase rallying three points of shock from the broken men.
The mitrailleursgroepen on the right are ordered by their sergeant to move at the double but they only cover a paltry 5”.

In the following phase the Luitenant rallies two more points of shock from the broken mitrailleursgroepen.

He then moves to join the pinned men in the woods.


On the other flank the mitrailleursgroepen move up to the hedge.

The Germans best hope lies in making the most of their firepower and so the Feldwebel orders both squads to shoot at the woods.


If I can inflict two more points of shock that will be enough to break them, which could prove decisive. The platoon Leutnant has the MMG team and the nearby squad target the woods.


They turn and fall back through the woods taking Dutch morale down to six.

That's the decisive moment I was hoping for and it's clear now how I use my CoC die. At the end of the phase I bring the turn to an end and the broken mitrailleursgroepen routs off the table taking their sergeant and the platoon Luitenant with them. That's a catastrophic blow to Dutch force morale which drops five points at the sight of both leaders leaving the battlefield.
With their force morale at one there is little option for the Dutch but to make a voluntary withdrawal when their phase arrives. The mitrailleursgroepen at the hedge are beyond 24" of a friendly jump-off-point and are at risk of having men surrender or become dispersed. In the end they are fortunate to have only three men dispersed as a result, the remainder withdrawing successfully.

The German casualties were light and with their force morale four points higher than the Dutch they are able to recover those men and return them to duty. The Dutch on the other hand suffered eight casualties which means four men are lost permanently and with two wounded and three dispersed the already weak platoon will be short another nine men should they fight the next scenario.
Those soldiers will not have been sacrificed in vain if they have bought time for the engineers to arrive. That makes the D6 roll to see if the engineers have made it to the bridge of critical importance. A 3+ will do it, but Dave rolls a 1. Not the result he was hoping for!
Well, that turned out to be a very different game from the one either Dave or I expected. So much for my bold plan for the platoon of PzIs, they didn't even make an appearance. That's affirmation, if ever it was needed, of Von Moltke's adage that no plan survives first contact with the enemy. There was a stage in the game when there was a distinct possibility the Dutch might secure an unexpected victory which would have drastically altered German prospects for the campaign.
I was also guilty of severely underestimating my enemy - I'll put that down to German arrogance in the summer of 1940. What I didn't know was that, contrary to my expectations, the Dutch had brought along a Bohler 47mm anti-tank gun as support. Even if I had knocked out the Pantserwagen there was every chance the anti-tank gun would have shot up the lightly armoured PzIs. In that context I think I got off lightly.
Victory will now take the Germans back to Map 6 where they will make a second attempt to capture the town and the all important road bridge. You can follow what happens next in this post.
If you've enjoyed following along and would like to Buy Me a Coffee to help cover some of the costs of running the blog you can click through at the link or on the tab in the right hand column of this page.
You can find links to all the games in this campaign and several others on the Chain of Command Campaign AAR Page (link from here or at the top of this page).
Another gripping instalment of the campaign it is certainly no walkover for Wehrmacht, the Dutch resistance is very strong indeed. Enjoyed watching your cunning plan unravel and your tenacity to continue the fight paying off. Can't wait for the next one.
ReplyDeleteThanks Phil. It was quite a game, especially when things looked bad for the Germans, I was fortunate to be able to turn it around.
DeleteAs they say, no plan survives first contact with the enemy. Your PzIII was rather unlucky against that armoured car. Good recovery of the situation at the end. :)
ReplyDeleteThanks Tamsin, it was good to rescue this one from a potential defeat. I was fairly confident the PzIII would get the better of the Pantserwagen, but an unlucky miss by me and a lucky hit by the armoured car made all the difference.
DeleteFantastic! Full of gripping drama.
ReplyDeleteThanks, it could have gone either way, with huge implications for the campaign had the Dutch won.
DeleteAnother great campaign game - as a stand alone contest it would seem rather uninspiring, it's the impact the result has on the wider campaign that makes it a nail-biter. Once again your play points out something I think I've missed in my games - the impact of enemy with LOS on a leaders ability to rally their men. Not sure it would have changed much as my leaders are almost always with (within 4" of) their units.
ReplyDeleteAt one point I thought you might bring on the PzI zug and hammer one of his infantry units with all those machine guns for the win - but I guess the geometry from the entry point was not right. That was a clever use of a CoC dice to get rid of a routing unit with so many attached leaders. I did wonder if it was a bit gamey but I guess it was not unreasonable punishment of the Dutch for putting all their eggs in one basket.
Commiserations to Dave for springing a good surprise only to be thwarted and then to roll a '1' for those overdue engineers. I can't wait for the next game.
Thanks Rob. I was expecting Dave to just go through the motions with this game given he’d already achieved the key objective of stalling the Germans for another campaign turn. So the way the game developed surprised both of us. Dave even said before we started that this would probably be a quick game, which was one reason I tried to do something a little different, imagining there was little to lose by trying it. So when I was faced with the prospect of a defeat it came as quite a shock. I have a feeling Dave was going to withdraw anyway once the mitrailleursgroepen with the leaders was broken, playing the CoC die was my way of making sure he did!
DeleteA really gripping episode! The Dutch audacity nearly brought off a coup.
ReplyDeleteIndeed, they had me quite worried for a while!
DeleteNice AAR and of course I was rooting for you the whole time; even when your tank got killed by an armored car. Embarrassing really. 😀
ReplyDeleteBut as I’ve said tanks don’t seem to work well in CoC.
Good luck in the next game!
See, I would have thrown in the PZ1s to get more firepower and that would have REALLY screwed things up. Nice job turning this one around!
ReplyDelete