
In preparation for playing the Chain of Command campaign There Are Many Rivers to Cross set in the Netherlands 1940 I've needed to make a few pillboxes that we can use to represent the various Kazemat pillboxes that the Dutch built prior to the war. The Dutch have these as a support option with a maximum of two in any one scenario.
The campaign is featured in the 2018 Lard Magazine and is designed to be a fairly generic one, in the sense that players could adapt it to be the defence of any river/canal line in the Netherlands, Belgium or France in 1940. In our case we have chosen Holland as Dave my regular opponent has recently painted a Dutch platoon to oppose his existing force of early war Germans that last action in our Taking the Gembloux Gap campaign. The Chain of Command 1940 Blitzkrieg Handbook includes lists for the Dutch as well as rules to cover fortifications including the Kazemat.
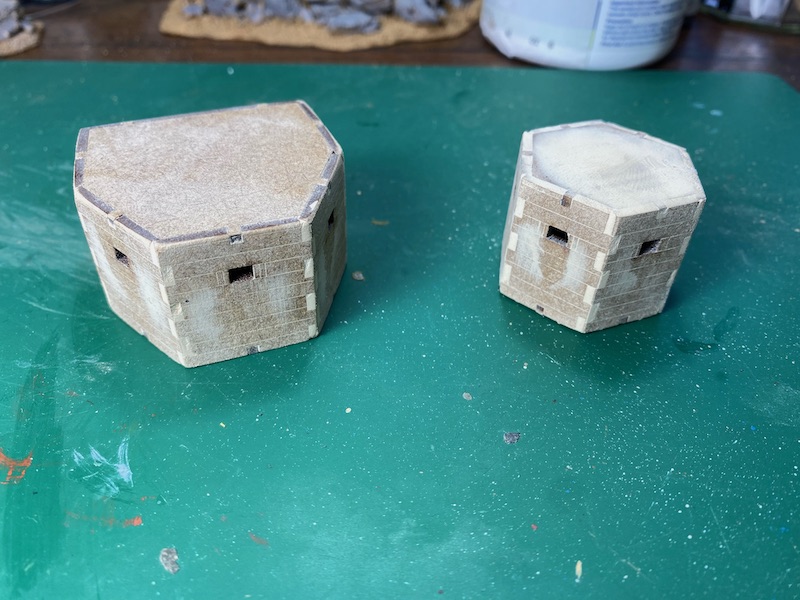
My research has indicated that their style of pillbox was not that dissimilar from those built in Britain in the early stages of the war. Helpfully Blotz produce a range of MDF pillboxes for Britain in 1940 and so I decided to use those as the base for mine.

All the MDF models are to scale which led to the realisation that our figures would not fit inside on their current bases. Rather than start changing bases it was much easier to settle on having the pillboxes unoccupied and to keep their occupants off the table during a game. After all, you can't see them when they are in the pillbox anyway and with a maximum of two in play at any one time it was not going to be difficult to track which was occupied and by whom. Blotz do three styles of pillbox. They are inexpensive and so I ordered two of each, that way I covered all options.
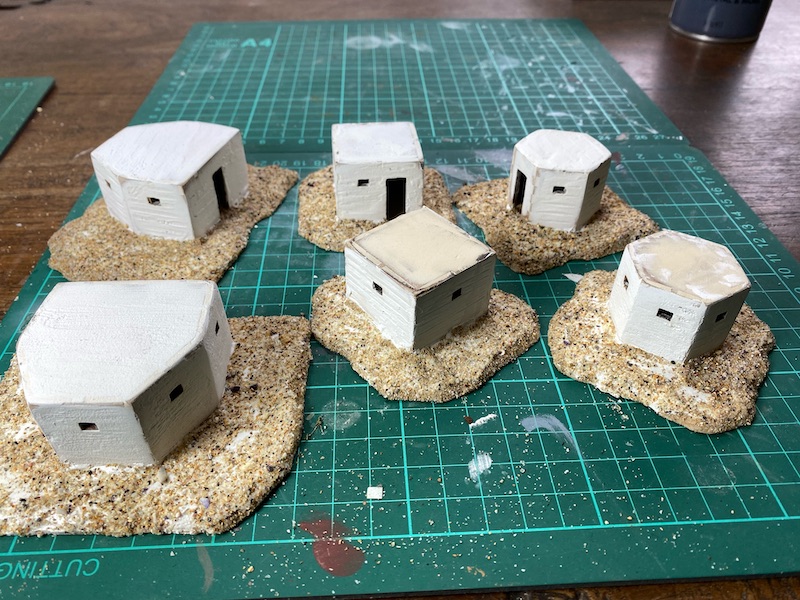
Without the need to worry about how I would place figures inside I could make them up as whole units and attach them permanently to a suitable base, which I made from pieces of MDF.

The Dutch supports lists provide three Kazemat options - one for a single team (two support points), one for two teams (four support points) and finally one with a 47mm AT gun (five support points). The first two types come without the occupying teams which must be assigned from their core platoon or an additional support team.


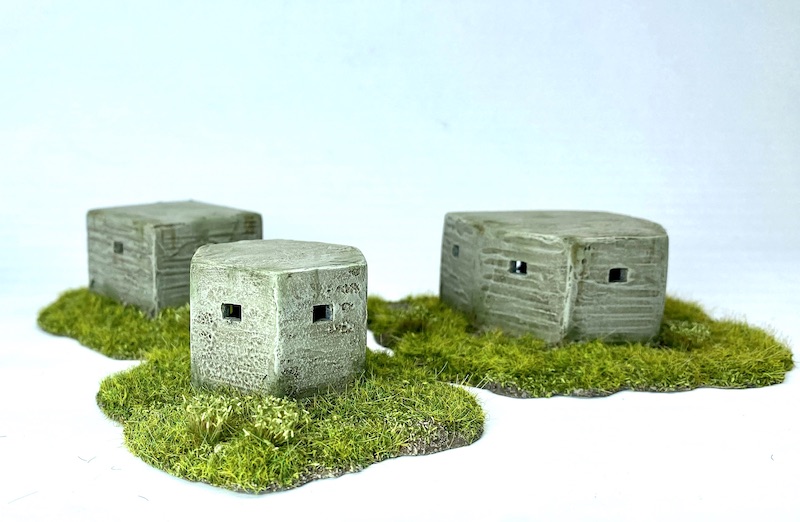
The next thing was to give the walls more texture. The laser cut lines in the original models are supposed to represent the imprints of the wooden boards used in the form work for the concrete but I wanted to give these a bit more character. I used a cheap household filler to cover the models and then used the handle of a craft tool which was the same thickness as the laser cut lines in the models to make impressions in the wet filler.


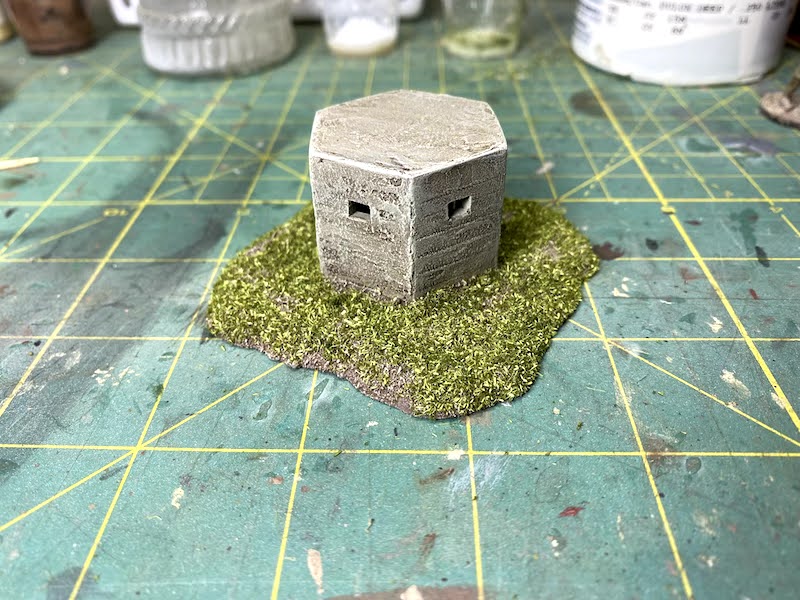

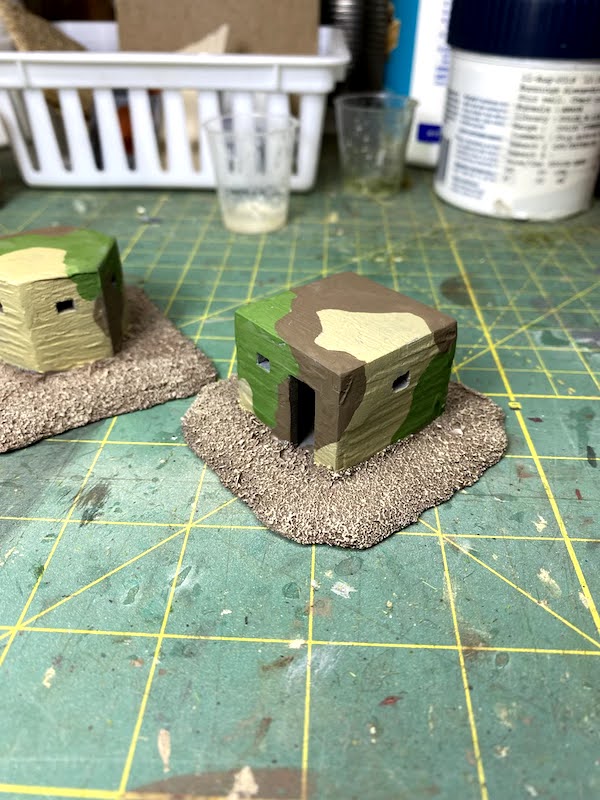
I thought these worked particularly well and would add more colour and life to a table. They received the same Agrax Earthshade wash as the other pillboxes, followed by a dry brush of a mix of Vallejo Khaki and Iraqi Sand. For some reason the dry brushing makes the photographs of the pillboxes appear as though they are gloss, however that's not the case to the naked eye.


Very well turned out Sir👍
ReplyDeleteThanks Phil.
DeleteThanks, this and your chimneyed house have been enjoyable posts, look forward to yout 1940 posts.
ReplyDeleteThanks Norm, I'm looking forward to getting back into a CoC campaign after 3 months of lockdown.
DeleteVery nice! These came out looking great and will be very useful. Let’s hope Dave actually selects one as a support option. 😀
ReplyDeleteAh yes, well that's the issue, isn't it? To be honest they are fairly attractive support options, not only do they offer very solid cover but they are also assumed to be part of a wider defensive plan. That gives them access to a single short artillery barrage that only lasts for single phase but one that could prove very inconvenient for the Germans. I suspect we will see them used and if not, a bunch of pillboxes are bound to be handy in the future.
DeleteThey are gorgeous, I like particularly like the camouflaged ones as they are a bit different. I would be tempted to make them look more used with some tactical symbols / markings or even some lettering. No idea if they did have things written on the outside but I find this sort of thing brings structures to life - I had a a quick Google and found someone doing it on their WW2 German fortifications at:
ReplyDeletehttps://www.pinterest.fr/pin/733664595518712019/
... and a poster at:
https://archive.armorama.com/features/6897/
I hope the links work for you.
Thanks. From what I can see from images the Dutch don't seem to have put any additional markings on them, but that doesn't preclude me from adapting them in the future for different games in different settings.
DeleteVery smart! I didn't know camouflage paint schemes were used. A number of the hexagonal type pillboxes dotted the shore near where I used to live in England, although they were of brickwork construction and had sandbags piled around them for additional protection.
ReplyDeleteVery nice - these look great.
ReplyDelete