

The fur can be bought in craft shops and fabric suppliers. It comes in many colours, but conveniently for us terrain builders teddy bears tend to come in different shades of brown - a more than suitable base colour. You can buy the stuff by the metre/yard and it's reasonably priced.

I prefer the golden brown colour as it needs the least work to create fairly natural looking colours. You could use it in this state but I think the colour is too uniform and the shiny fibres have an artificial look. A bit like plastic aquarium plants and model trees, they look so much better with the colour toned down to something more natural looking, as has been done with the plastic plants below.


Based and painted, they not only look more natural on the table but if other plants are painted in a similar style, they all blend in well together. You can see more about how I made these in this post about making jungle terrain.


As it comes the fibres in teddy fur are too uniform in length and often too long to fit the scale of my games. To make it more appropriate for my needs the two key areas to work on are cutting the fibre and colouring it. I've tried a few methods for cutting. One is to use hair clippers. I've tried these and while they do a reasonable job they have their limitations, so what I tend to do is give it an overall cut with the clippers to get it close to the length I want, but then go back with a pair of scissors and make lots of random cuts to break up the even length of the fibres. It really is a matter of experimenting to get the overall look that you want.
The next thing is how to colour it. I've tried a few different options, including spray paints, but what I have found best is to manually apply diluted household emulsion paint. I buy Dulux sample pots from the hardware store. The one issue to try to avoid is having the paint clump the fibres together and there is a simple way that you can avoid this. First, I dilute the paint with water so that it spreads easily, it's far too thick as it comes out of the pot. Then I spread the paint by hand over the fibre (rubber gloves come in handy here), rubbing it in to the material. What comes next is critical to getting this right and that is to then spread the wet paint evenly using a comb. The comb is very effective and I've found it's best to do this in small areas before the paint can dry. While the paint is wet I comb it through the fibres making sure they are not clumping together. The trick here is to have just the right amount of paint. Enough to cover the fibres but not so much that they stick together.

If the base colour of the teddy fur is a natural shade, like this golden brown, then it doesn't matter if the paint doesn't entirely cover the fibres, in fact I think it adds to the overall look.

The other tip is to avoid using a single colour. I mix in a lighter, yellow shade just to break things up a bit. Below is an example of one of my first attempts which I made to represent patches of scrub and long grass for the Russian steppes for the Chain of Command Kursk campaign Storming the Citadel.


The same fields were versatile enough that I could use them for European settings.

My Second World War games are played in 20mm but I found these patches of very tall grass for my 20mm figures work well as longish grass for my games in 28mm. Much like model trees, what is a very large tree to a 20mm figure is simply a more modest size to a 28mm figure. I've used these fields to represent terrain from places as far apart as Afghanistan and North America.

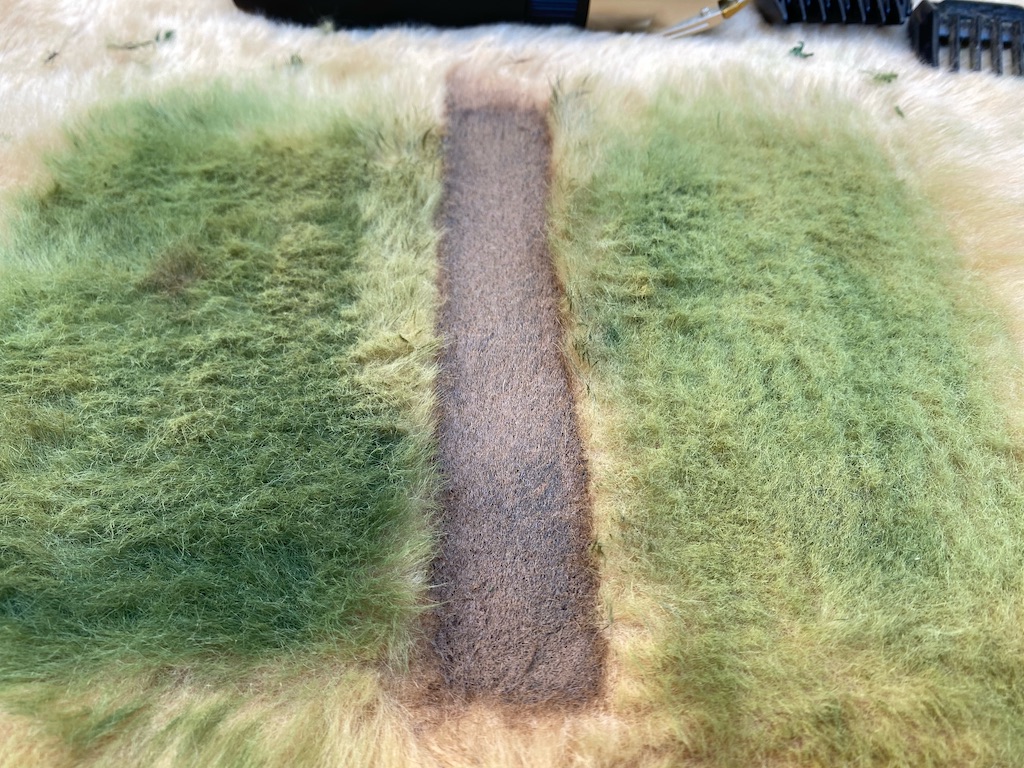
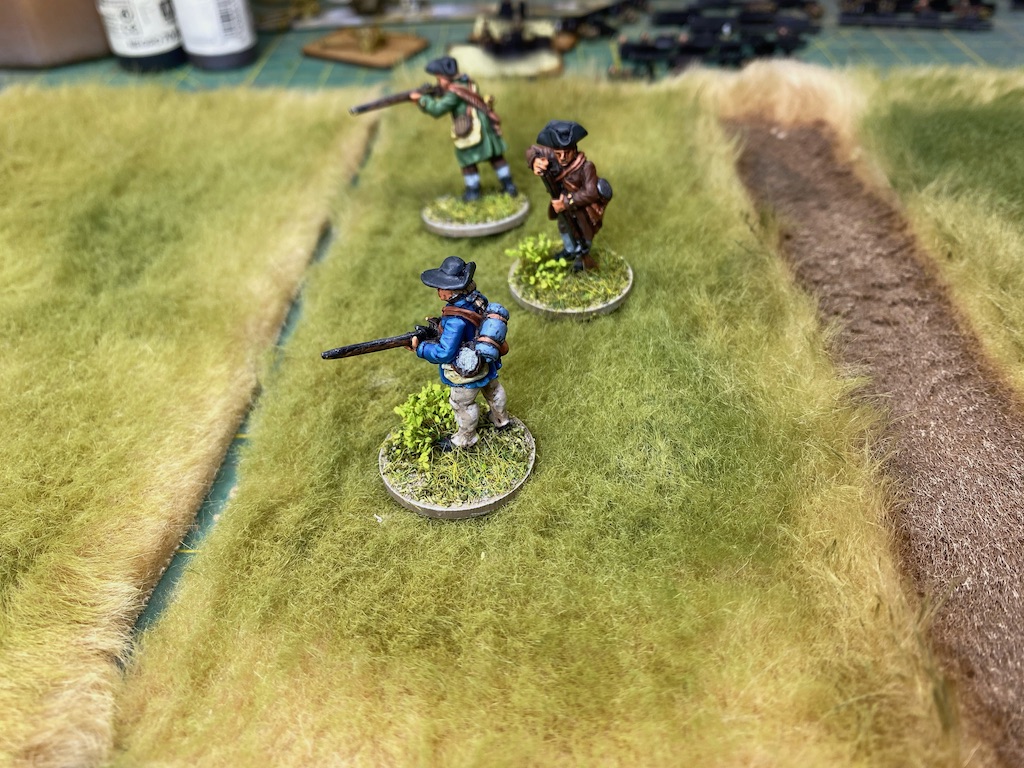
Next I tried my hand at fields of crops in different colours. Like many others, I've been using variations of door mats to represent these, but I've never been that happy with the way figures float above the top of them.

I've made up a few that show the crops trodden down so that the figures aren't floating and they work fine, but I also wanted to be able to create much larger expanses and I thought the fur could do this very effectively.

Using lighter colours I created a range of different sized grain fields. One thing that is also apparent is that the fields work better when they have a border - a road, hedge row or similar. However I also thought I could try and create a border by using different coloured paint to represent grass surrounding the fields.


By creating these in different colours and shades I've been able to use them in a variety of locations. Most recently they were used in the Taking the Gembloux Gap campaign for Chain of Command.


A lot of this is simply trial and error. I'm still not perfectly satisfied I've got this right but I learn something with every piece. One of the issues I've faced is the length of the fibres, I still feel these early versions work well to represent crops or long grass but not necessarily right for all types of fields. As mentioned I've tried cutting the fibres with hair clippers and scissors but have since found that human hair clippers are not designed for this sort of job but pet grooming clippers are perfect. I picked up a cheap pair from Amazon (AU$18) and they work extremely well.

I've experimented using different clipper attachments to see what can be achieved and what works best with different scales of figures. The other thing I've been doing is applying the paint more diluted and in much smaller quantities to try to prevent the fibres clumping together. I'm still using the comb method to spread it, but just being a lot more sparing with the paint.

Recently I've begun collecting 12mm figures and vehicles for Second World War games at company level and higher and so that's required a bit of a rethink on my terrain needs. Cutting the fibres shorter has made a difference. Here the fibres cut on a 9mm setting look much too long for the 12mm figures:


On a shorter 3mm setting the 12mm Victrix figures look more at home:

But there's no reason why the 28mm figures can't be used on the same piece:
As an aside, it's interesting comparing the two pictures above and how we can create a sense of scale and space. The 12mm figures look like a group of men in a fairly large field and yet the 28mm figures on the exact same piece of fur and shot from a very similar angle make the same patch look like a small strip of short grass. With careful planning and thought there is no reason why the teddy fur can't be made to work across a number of scales.
I think I'm getting much closer to how I want this to look and I'm now very tempted to try something more ambitious and work on a single piece that can be used as a game mat for a 6x4 table.
A great post Mark, very informative and useful for the raw recruit or grizzled veteran alike.
ReplyDeleteThanks Phil. I'm still experimenting and learning.
DeleteEvery day is a school day I have found.
DeleteGreat stuff as usual. I didn't realize that you used other than 20mm in other periods, which scale do you use for which period? Thanks
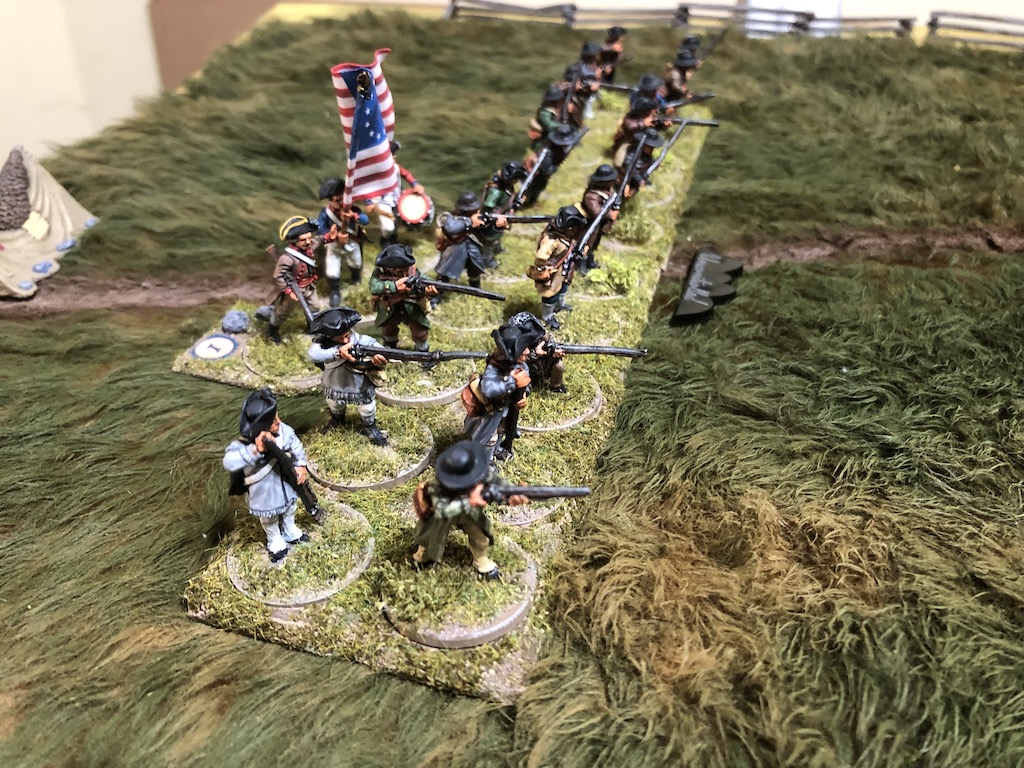
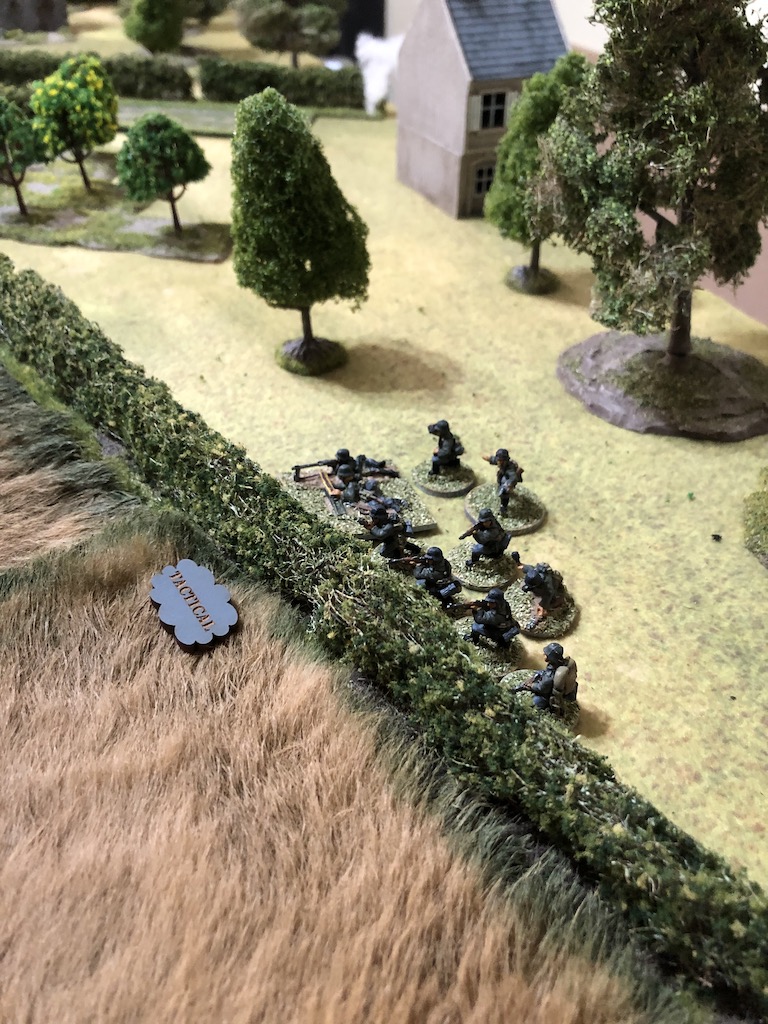
ReplyDeleteI use 28mm for other skirmish games - modern, American War of Independence and Hundred Years War. I have half painted platoons in 28mm for WWI and some colonial figures too. Going to the other extreme, I want to play company/battalion level WWII and I'm thinking 6mm might be worth exploring.
DeleteNicely done. I agree that the fields look better if there is some sort of border. Many of the commercial mats made out of teddy bear fur that I see are WAY to tall in my opinion. Only usable for 28mm.
ReplyDeleteI agree, in fact I still think my stuff is too tall. Even when you think you've cut it down quite a bit it's never quite as short as you think. I still have a way to go before I'm going to be completely satisfied I've got this right.
DeleteReally useful and informative post,I think the green border works really well!
ReplyDeleteBest Iain
Agreed the green border helps to define the area. BTW have you tried different lengths in the same field? There are always low spots? I haven’t tried it though.
ReplyDeleteI cut the fibres randomly with scissors to try to break up the uniformity. I’ve also created a path through a field of tall grass by cutting that out and then painting in different colours. I’m still learning what I can do with it.
DeleteYour blog was hijacked and posted on The Miniatures Page by Tango01 without credit to your blog. Many have been requesting that he do this, but responses go unanswered. Complaining to the owner of TMP has also fallen on deaf ears. See below
ReplyDeletehttp://theminiaturespage.com/boards/msg.mv?id=542759
Your blog is amazing and should have it credited with a name instead of just the usual "Link"
Glad you like the blog. I'm aware of Tango01 and what he does on TMP, but I'm not overly concerned. Sure, it would be nice if he credited the blog, but if anyone goes to the link they come to the blog anyway. I'm not sure he's personally taking any credit himself and sharing stuff in forums or social media seems to me to be a lot of what the hobby is all about. I don't see it as 'hijacking' he's just sharing stuff without the common courtesy of crediting the source in his post. Appreciate your concern though, thanks.
DeleteDo you find that the 9 mm is too bouncy or stiff for 28 mm figurines to stand on? Or do they settle into it just fine? You mentioned that you didn’t like the look of the figures standing on TOP of the floor mats, so I was curious if the faux fur solved that problem, or if it had too much texture as well. I was thinking about making a 4x8 mat out of this as a sort of Rohan-like grassland for War of the Ring, and then maybe adding a muddy/rocky Mordor style acrylic caulk battle mat on the back side of it, but only if the fur, once trimmed shorter, flattens down enough for the figurines to sit comfortably on it.
ReplyDeleteMuch can depend on the weight of the figure and its base. Plastic figures on a lightweight base like MDF can be tricky, although generally I find 9mm is okay. With my 28mm figures I mostly play horse and musket periods and so often the figures are grouped on a sabot base, in which case, it's not an issue. I cut off a section and experimented. I often see these on blogs and social media where the fur is far too long and it's hard to see how it's practical. No easy answer, I'm afraid.
DeleteI’ve actually used matching tufts on bases to diminish the “flying over the terrain” effect. I did it to match coir mats, as my attempts to cut teddy bear fur only showed me that cutting fur should be done outdoors.
ReplyDelete