
This is our ninth game in The Scottish Corridor campaign for Chain of Command. If you haven't been following along, you can find all the previous game reports on the Campaign AAR page.
As we approach the final stages of the campaign the Germans are pressing hard on both flanks of the corridor. Victory is certainly within their reach, but they have little margin for error.

Kampfgruppe Weidinger made good progress on the western flank in the last game and quickly swept aside the isolated British platoon that was defending Mondrainville. We now return to the eastern flank. Here, Kampfgruppe Frey find they have a more difficult task, as they attempt to seize the village of Colleville.


A British victory in this game would be a major setback for the Germans. In the event of that occurring, the best they could achieve from the campaign is a draw. On the other hand, if they capture this table, the chance of a campaign victory remains within their grasp. The British will have nineteen support points, enough for a reasonably equipped force to stem the tide of panzer grenadiers. I'm hoping to make this as tough as possible for the Germans.
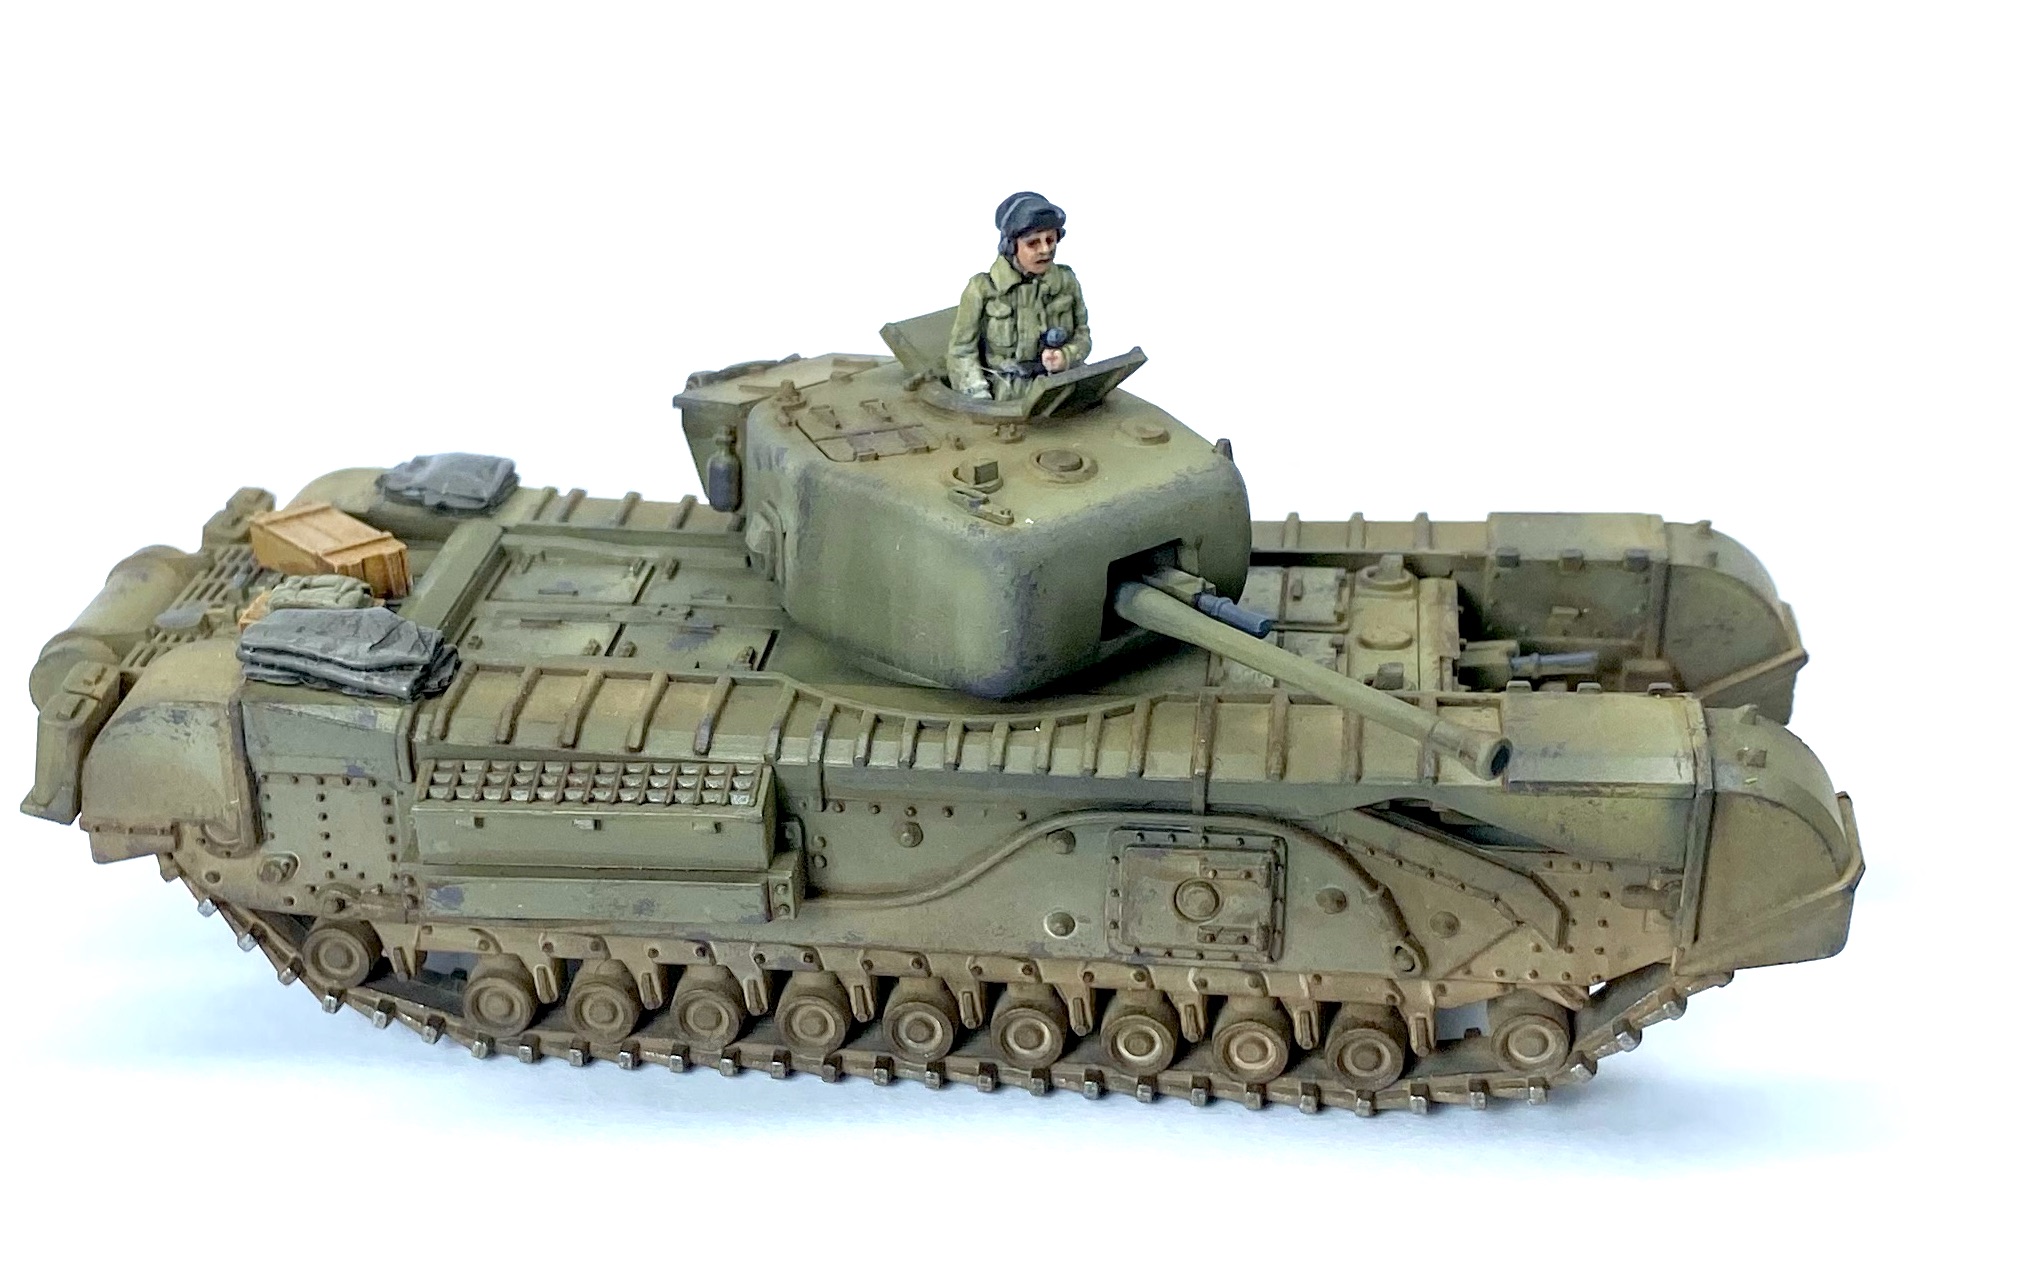
Bitter experience has shown, my infantry cannot allow themselves to become bogged down in a firefight with the grenadiers. That being the case, I'm going to call on armour to provide a significant level of support. I intend taking two Churchill MkVII. They are well armoured and their 75mm guns pack a good punch.
I fully expect the Germans will call on armour too. In their case it could be in the form of a Tiger I. There is the option for the British to have a Sherman Firefly, but to call on one of those I need to select a regular M4 Sherman first. While the Firefly could certainly take on the Tiger, it has little in the way of HE to deal with infantry. Perhaps, more significantly, the Sherman lacks the thick armour of the Churchill to withstand a hit. With that in mind, I'm going to stay with the Churchills and add a 6 pounder anti-tank gun. While none of these can deal a knock out blow to a Tiger, unless extremely lucky, the combination of multiple hits from different weapons might be enough. Ideally, of course, I don't see a Tiger at all.
This is an Attack on an Objective mission and the Germans will start with their force morale at eleven. The British are at nine and also benefit from an automatic pre-game barrage.
The Patrol phase leaves the Germans with few options. However, they do manage to locate one jump-off-point in a central position that may prove the most useful. The British are placed to cover both flanks and the objective. The German left flank looks their likely approach, given it offers the most cover, but I would be unwise to neglect the other flank.


The British start with two CoC points, while the Germans have one. Their first support is to add a Red Dice to their command dice. With that, they get off to a brisk start with a double phase. Their first section successfully deploys through the pregame barrage on their left flank.

A support section is also successful and they appear to the right of the road.


The double phase and the fact that there is now a German section close to the village is a bit of a concern. Fortunately, that's the only successful deployment this phase, both an Oberscharführer and a third section fail to deploy.
In the subsequent phase, an oberscharführer (senior leader) deploys in the orchard on the German left. A second oberscharführer has less success and fails to appear.

The section on the left flank moves at the double to the hedge by the orchard. Once there, the scharführer (junior leader) rallies off a point of shock.


With the Germans quite close there seems no point delaying British deployment. The first section makes an appearance on the right flank and the corporal puts the men on overwatch.

A Churchill takes up position behind them, also on overwatch.

If the panzer grenadiers are not intimidated by the presence of the infantry, then hopefully, the threat of the Churchill will make them cautious.

In the German phase, the oberscharführer shouts orders across the road and has the section move deeper into the open field.

The reason for that move becomes obvious when another section deploys successfully through the barrage to join them.

They take up tactical positions and a support oberscharführer joins them.

On the left flank, the section near the orchard moves slowly toward the other oberscharführer.

The British then enjoy a moment of good fortune. A double phase and a chance to deploy the second Churchill, which takes up position to the left of the road.


The other Churchill moves towards the road and takes up a position behind cover.


I really want to capitalise on this opportunity to catch the Germans in open ground and so a rifle section deploys into the upper level of one of the village houses.


The following British command roll is 44331, which will allow another round of fire. The Churchill sends more high explosive into the field.
There is only one man hit, but it's the oberscharführer and he is lightly wounded. That takes German morale down to nine.


They lose one man and suffer more shock.

The second Churchill also fires high explosive.


In the German phase, Dave uses reposition to move the support section in the field to the relative protection of the hedgerow.

The nearby oberscharführer orders them to engage the British section in the house. Their target is in hard cover and the initial burst of MG42 fire has no effect.


While it might be tempting for that section to move to the hedgerow, I suspect Dave doesn't want to make for another inviting bunched target.

Across the road, the other oberscharführer orders the section to move towards him.


The barrage continues to disrupt German deployment and a 'support team' fails to deploy, but another succeeds. It is armour, but not what I was expecting. A PzIV deploys to the right of the road. While it may not be a Tiger, it still has a formidable main armament.
It targets the Churchill opposite, which is partially obscured in the orchard, but to my relief, the first shot misses.

The following British command roll is 54422, which means neither Churchill will be able to activate. That's not what I was looking for! Despite that, I want to maintain some momentum and so the platoon sergeant deploys into the house. He orders the Bren team to use concentrated fire and target a single MG42 team.


I was relying on the Churchills to keep the panzer grenadiers at bay, so it's frustrating they are not active now. Nonetheless, they are a threat that can't be ignored. So, in the short term, I decide to risk introducing another section into the firefight, especially while there is only a single panzer grenadier section at the hedgerow.


Despite the risk of bunching up, the section in the open field moves up to the hedgerow.


Only one man is hit, but unfortunately that's the section's corporal and he is stunned. At that, British force morale drops to eight.

I now discover exactly what the other 'support team' is, when a le.IG 18 infantry gun deploys into the open field.


The PzIV then takes a second shot at the Churchill. This time it hits.

The Churchill's thick armour deflects the strike, resulting in zero net hits. It will have to halt and engage the PzIV in the next phase. That's not the worst outcome.

The following British command roll is 65322 and I'm relieved to see I can activate at least one Churchill. That said, I have no choice, but to use the 3 to return fire at the PzIV. However, that return fire turns out to be swift and brutal, hitting the PzIV and knocking it out at the first attempt.

It doesn't explode and the crew make their getaway, but German morale drops to seven. With that, I have eliminated the most potent anti-tank weapon the British are likely to face. This now looks like a tough mission for the panzer grenadiers.
Having dealt with the tank, the Churchill commander turns his attention to the Germans lining the hedgerow.


With the PzIV out of action and both Churchills well placed to help defend the village, I'm eager to keep the Germans under pressure. While it might be wise to evacuate the house, I really want to capitalise on the opportunity to inflict more damage. So the platoon sergeant has the Bren team use concentrated fire once again to focus on one MG42 team. With the Germans now at the hedgerow it also means the riflemen at the windows can now join the Bren.

The concentrated fire proves very effective and one of the MG42 teams is wiped out. German morale holds steady.

The section in the orchard moves through the trees toward the hedgerow.


He then orders the section accompanying him to fire at the British in the orchard.

Their chance of hitting is limited by the suppressing fire and the fact their target benefits from hard cover.


With that the turn ends. Other than the corporal returning to his feet, nearly everything else favours the Germans - the barrage lifts and the British in the orchard are no longer tactical. And, of course, the Germans have the next phase.
With the end of the barrage, the platoon's third section deploys into the orchard on their left flank.

The le.IG 18 targets the house once again. One of the rifle team is killed and they suffer more shock.

At the hedgerow, the scharführer rallies shock and has his men continue targeting the British in the orchard.

The section hits the dirt, but they still suffer five points of shock.

As if facing that double phase wasn't bad enough, the next British command roll is 65444. Not what I needed and just as I was hoping I could try to reclaim the initiative with the two Churchills. The platoon sergeant rallies off two points of shock from the section in the village house.


Things then take another turn for the worse - the following German command roll is 663322 (includes the Red Dice). That gives them a lot of useful dice for this first phase and the potential to do even more damage in the second.
The le.IG 18 wastes no time targeting the house and one of the Bren team is killed.

The oberscharführer in the orchard on their left flank, orders the lead section to clamber over the hedge.


The panzer grenadiers behind the hedgerow on the right flank continue targeting the British in the orchard.


The scharführer with the surviving MG42 team rallies a point of shock and has the team also target the orchard. They are pinned and carrying four points of shock and what little fire they can generate fails to harm the British section.

The next German command roll provides CoC points, but only two 1s for activation. A small mercy. However, it's enough for the le.IG 18 to maintain its relentless fire at the house.


One of the MG42 teams with the oberscharführer targets the section in the orchard, but this has no effect.

The Germans have enjoyed a good run of phases where they've inflicted losses on the British while they've received nothing of any consequence in return. While the next British command roll of 44433, is a bit better, I fear it's not enough to help me claw back the initiative.
The platoon sergeant shouts orders from the house for the section behind the hedgerow to take up overwatch positions.


The Churchill on this flank reverses slowly to gain a line of sight to the advancing panzer grenadiers.

The gunner then fires a round of HE, killing one of the Germans and inflicting two points of shock.

The Churchill on the other flank engages the full section of panzer grenadiers at the hedge


That sees the two German sections on this flank greatly reduced in numbers and it's exactly what the Churchills are there to do, it's just a shame it's taken them so long to do so!

However, fate is cruel. The Germans roll yet another double phase. Well, what can you do....
The oberscharführer on the left orders the section to move out of the orchard.

The other section moves tactical, but not far enough to reach the hedgerow.


On the other flank, the panzer grenadier section may be down to only five men, but both MG42s are still operating at full effect. They fire at the orchard once again. As before, they must shoot through suppressing fire, at a target in hard cover.


The le.IG 18 continues its relentless pounding of the village.


The following German command roll is 433322, surely more than enough for Dave to do all the things he'd like to do. First, he uses six CoC points to have each of the sections on his left flank reposition to the hedgerow.


The oberscharführer then moves up behind them to the hedge in the orchard.

Once there, he orders both to open fire.


They might be in hard cover, but the hail of gunfire is enough to see three men killed and the survivors suffer six points of shock. If the firefight was looking one-sided before, it's looking even more so now.

On the other flank, the scharführer rallies shock from the section before the oberscharführer has them fire.

With the turn end removing the tactical marker, the men in the orchard have less protection. Once more, German fire proves deadly. Three men are killed and that's more than enough for the section to break. British force morale drops to seven. I had wanted to try to reposition the men deeper into the orchard, but I had limited CoC points and with the German double phases I was using those to hit the dirt.

The le.IG 18 fires yet again, but this time it has no effect.

Last, the scharführer rallies shock from the support MG42 team.

Well, that was a devastating couple of phases from the Germans and I'm sensing this game is fast slipping away from me. All three rifle sections are in bad shape and so it falls more and more to the Churchills to rescue the situation. I'm sensing it might be too little, too late.
In the British phase the section at the hedgerow move back to escape the wrath of the panzer grenadiers.

The section in the village house have been subjected to far more high explosive than I intended and so, late as it is, the platoon sergeant rallies shock and they exit the house.


Sadly, the war memorial is about to bear silent witness to another German incursion into a French village.

The Churchill on the British right tries to hold back the tide of the panzer grenadiers.


The Germans lose a man and suffer two points of shock, but it's nowhere near enough. It was always my intention that the tanks would work in unison with the infantry, as a force multiplier. Unfortunately, fate has played its part, allowing the panzer grenadiers to roughly handle the British infantry with little interference from their armour.

On the British left, the other Churchill moves slowly and fires at the Germans opposite.

The high explosive manages to inflict a single point of shock. Again, it's not sufficient to make a difference.

In the German phase, the section nearest the road tries to reposition from the hedgerow into the road.


The scharführer transfers a man from the other MG team and rallies off a point of shock.

The oberscharführer then takes charge and has the MG42 team use maschinengewehr to target what remains of the British section in the road.

It's very effective. The British lose two men, which sees the Bren team wiped out. Fortunately, British morale holds steady.

In the British phase, the section on the right flank tries to move back over the hedge, but they have too much shock and don't move far enough.


Things are now becoming desperate and the Germans have all the momentum. The platoon sergeant rallies shock off the rifle team in the road and leads them into another one of the village houses. That puts them out of the line of sight of the MG42 team, but doesn't necessarily get them to safety.


Where to for the British from here? The platoon has been shattered. One section is broken; another wiped out, and the only functioning section is in poor shape. Despite that, the two Churchills are still in action, but with only four command dice, it's very hard to see how they can influence the outcome.
As the panzer grenadiers close in, their panzerfausts will be in range and there's a very good chance they are going to make contact with the objective before the Churchills can stop them. While defeat is not an absolute certainty just yet, I think the writing is on the wall. The British decide to withdraw.
Well, that was a game that looked like it was going the British way until, suddenly, it wasn't. I'm loathe to put any outcome down to luck alone, but the Germans enjoyed a number of double phases at a critical time, just as the British command dice were making it difficult to activate the Churchills. Nonetheless, much credit to Dave for not losing heart when things looked bleak. Even more so, for making the absolute best use of the phases, when they came, to devastate the British infantry.
The British Men’s Opinion slumps to -9 and the CO’s Opinion is not much better, at -6. The platoon leader's outlook has become Introverted.
On the other hand, the German Men’s Opinion is a very solid +8 and their CO's opinion is +5. The platoon leader's outlook is Gregarious.
This now leaves a single map left to fight over in the campaign. However, the British have the option for a wild card counterattack 'Skirl of the Pipes' and right now seems the best time to use it. If nothing else it will consume another campaign turn. At best, it throws back the Germans and makes it impossible for them to achieve a campaign victory in the time remaining. It's all to play for!
You can follow what happens next in this post.
If you've enjoyed following along and would like to Buy Me a Coffee to help support the blog or show your appreciation, you can click through at the link, or on the tab in the right hand column of this page.
You can find all the game reports for this campaign and for many others on the Chain of Command AAR page.
Your games are always an education. We've only ever used repositioning as a way to escape when pinned or in a disastrous firefight; I've never thought of using it offensively or realised you could activate afterwards. I have to say that feels wrong; what's the point of overwatch if it can be trumped like this? It's bad enough losing overwatch when the turn ends, and for that matter ceasing to be tactical. I understand the TFL idea that a turn-end is a 'break in the action' but Sod's Law mean it usually happens just when action is at a critical juncture. I mean why in the game above would your guys stop hitting the dirt and poke their heads up to see what all those MG42s are going to fire at. Likewise, your leader put the section on overwatch because of the threat posed, why should he/they suddenly decide to relax and have a fag-break? This is just luck trumping tactical choice and perhaps too much? There's already enough luck in the command dice, movement, shooting, morale, etc.
ReplyDeleteWow, that was little heart-felt rant ... but to be fair I think the use of the Red Die and the superior rating (single 6's counting as 5's) is much to blame for the teleporting grenadiers; I reckon if you ask the Lardies they didn't intend both to be used.
Moving on, I felt for you when you got neither 3's nor 1's for Churchills which paralysed all those support points. Then again I was mightily impressed that it took you only one shot to dispose of the PzIV!
I have everything crossed for better luck with the counter-attack.
Thanks Rob and I do hear what you say, in fact as part of the CoCv2 playtest I raised this very question about an offensive use of reposition. Like you, I imagined it was there to get out of trouble if an enemy phase caught you in open ground or similar. Rich gave me a very good argument why he thought it could be used both ways. He wrote an article about it on their Patreon site and I think it's available to anyone to read - https://www.patreon.com/posts/repositioning-139616800
DeleteThe nub of his argument was this: "By allowing a unit to Reposition before it takes any other action, we reflect the reality where, despite seeing the figures on the table, you no longer know precisely where the enemy is. The figures now indicate the general area where you believe them to be, their centre of gravity, yes, but not the limit of their possible location."
I get his point but a bit like ending the turn (which I also raised with them), it can feel a bit gamey at the time, even if the rationale is sound.
The only answer is that you have to spend more time in prayer/church to get the multiple phases to turn your way! Though, God knows it hasn't helped my bad (terrible) dice rolling!
DeleteThe loss of tactical/overwatch at turn end has bugged me too. Why does everyone simultaneously lose concentration or decide to stick their heads up? Perhaps CoC points could be used to extend Overwatch/Tactical at turn end. I have no problem with Reposition however.
DeleteI quite like that idea, and it sounds like a fun idea to play at the und with.
DeletePerhaps at a cost of 2 command points for a singular team or crewed weapon, and three for a section (making it "cheaper" in the case of a section due to the presence of a junior leader keeping his section on track)
For vehicles I am not quite certain, maybe a single position for 2 command points, and multiple for 3? Food for thought...
Play around with*
DeleteA great report! Just as good as a great movie! Love it.
ReplyDeleteSuperb table, really great and such a cracking battle report, thoroughly enjoyed it.
ReplyDeleteFantastic read, great table! Sounds like a riveting game!
ReplyDeleteGreat AAR, and I happened to read a discussion on TFL FaceBook page today about whether wargames rules can be "cinematic" or not - if they can be I think this would qualify as a cinematic game, the result hanging in the balance until the end!
ReplyDelete