I will command a force of Britons from South Rheged in the Old North (the province of Caer Ligion). I have strong personal links to the region. My family surname comes from a village in Lancashire that appears in records going back to 1100, so a suitable setting. Dave will play Saxons from the adjoining province of Navio.
The initial clashes will be raids rather than battles, as the Saxon warlord, Eahlbeard, seeks to gather wealth and enough prestige to attract followers to his war band. Cadwallon, the British lord, will be trying to fight off these interlopers and protect his homeland. How successful he is will determine his prestige and the willingness of the local warriors to rally to his banner.
With Saxons on the prowl, looking to pillage and plunder, Cadwallon receives word that a warband is fast approaching a farm on the border of his kingdom. He must stop them. If the Saxons succeed, they must haul their loot off the table via the edge they entered. The Britons’ task is simple - prevent the looting and inflict harm upon the invaders.
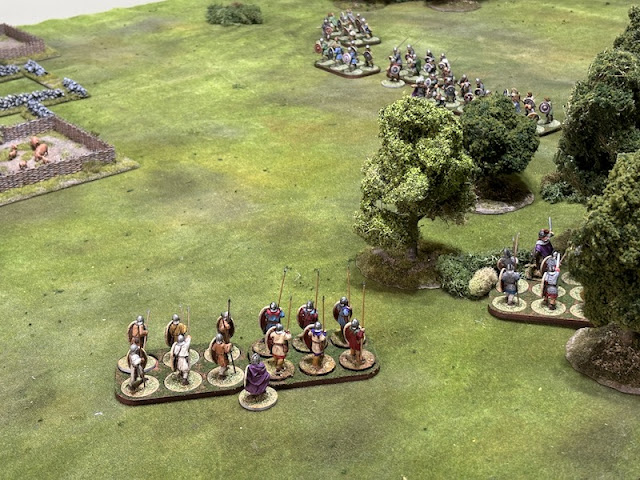
The archers head towards the woods with the remainder of the force moving toward the farm.
The British slingers join Cadwallon in the woods. At this point I resign myself to the fact the Saxons may well loot the farm before the Britons can stop them. I sense their best bet may be to circle around behind them and block their escape.
While the Saxons may have their eye on the farm, they cannot simply ignore this threat on their flank.
A vicious round of combat follows that sees the Saxons lose three warriors, and both groups suffer shock. Cadwallon is wounded, but he's the only casualty for the Britons, and even though they suffer four points of shock and their force morale drops to six, the Saxons are defeated and repulsed. It’s a good result for Cadwallon and one against the odds.
He tries to retain the initiative and leads his men toward the defeated Saxons. One group of warriors is particularly weak and Cadwallon wants to strike while they are down.
The British slingers move to edge of woods.
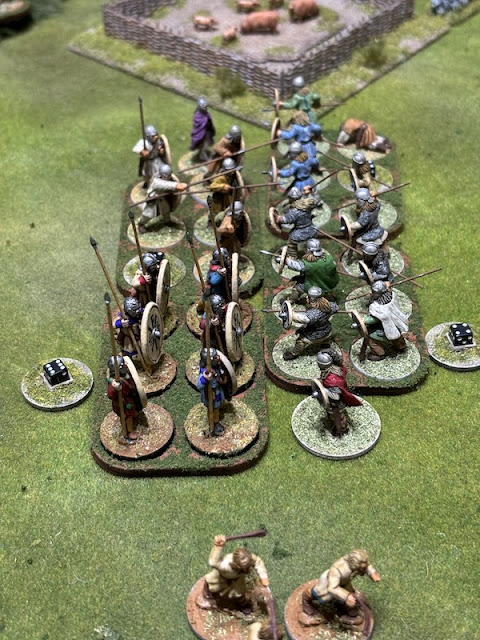
After two rounds the fight is evenly matched. The shieldwall has given the Britons a distinct advantage by preventing casualties that might otherwise have occurred.
From there they can target the Eahlbeard and his men.
They come off even worse in the following round. One group of warriors falls back with casualties and excess shock. The shieldwall also suffers losses, but holds its ground.
He has no intention of fighting Cadwallon and his men, he has more important work to do preventing the Briton's shieldwall breaking his line. He charges towards the fight scattering the slingers as he does so.
He then leads his warriors toward the farm.
One group decide to take on the Saxons inside. They manage to kill one, but suffer two losses themselves. The levy are not really up for this fight, but they have the numbers and that might just be enough to give the Saxons pause for thought.
He then leads his men toward the farm. They don't quite make contact with the levy, who could be in serious trouble if attacked from behind. Either way, it’s hardly an even fight.
That leaves Cadwallon with a choice of several possible targets....
The outcome is predictable. It's all too much for the levy, who lose men and flee in panic.
To make matters worse they fall back through the group of levy behind them inflicting shock as they do so. I may have asked too much of them.
Two more are killed and with all the shock that's enough to see the survivors lose their amphora and rout away into the woods. That takes Saxon morale down to four.
Malvin and his men close in on the farm. Can they and Cadwallon arrive in time to prevent the Saxons making off with their booty?
The entry points for the Saxons and Britons are marked in the picture below.
The British start with their force morale at seven while the Saxons begin at eight. They open the game with two free moves and Eahlbeard, accompanied by his champion Uhtred, leading a group of Gedridht (elite warriors) and Duguth (warriors).
A sizable force of Britons will enter on turn one, nonetheless, it looks like the Saxons will beat them to the farm. If they can’t move fast enough to prevent them from looting, perhaps they can cut off their retreat and make them fight their way out?
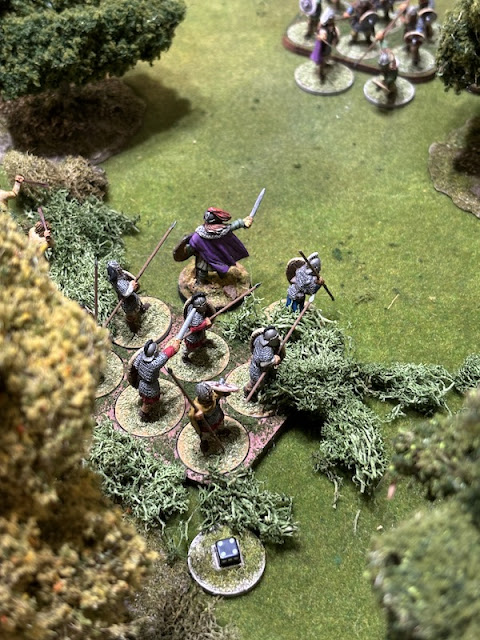
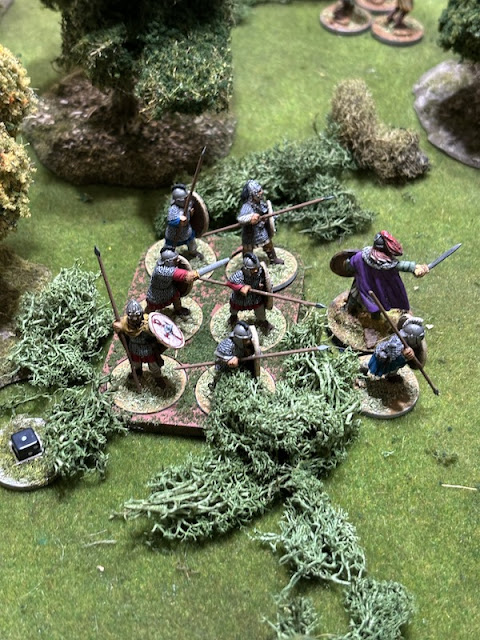
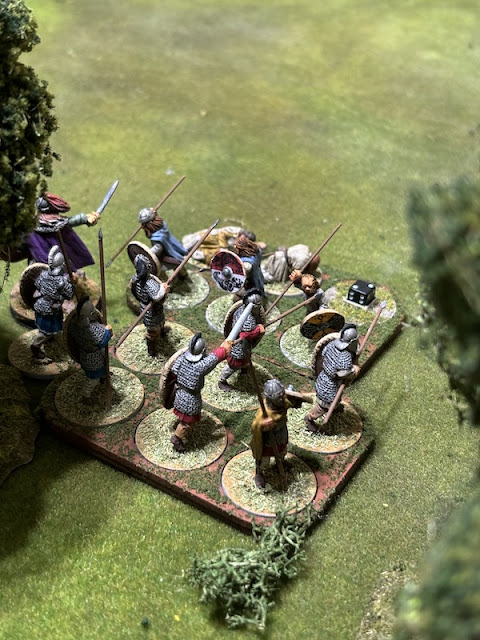
Cadwallon takes his band of elite comanipulares into the woods.
The Saxon warriors are undeterred and press on relentlessly.
They appear to be aiming straight for the farm and so the race is on.
The Saxon archers advance swiftly into the woods, moving into line of sight of the slingers.
Fortune smiles and the archers have the opening card draw in the next turn. They waste no time and let loose at the slingers.
Fortunately for the Britons their aim is off and the arrows fly harmlessly into the trees.
Broethr, the other British nobleman, leads the main body of the Pagenses (levy) forward. They draw level with Malvin and his band of warriors who form themselves into a shield wall.
That puts most of the British force ready to advance on the Saxons, while Cadwallon and his elite warriors hold the woods to protect their flank.
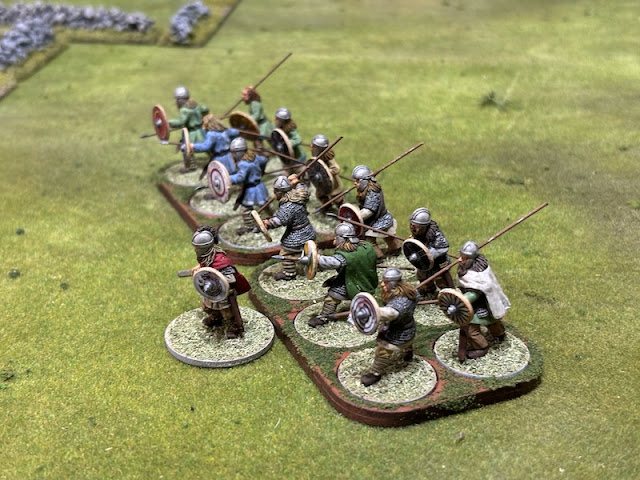
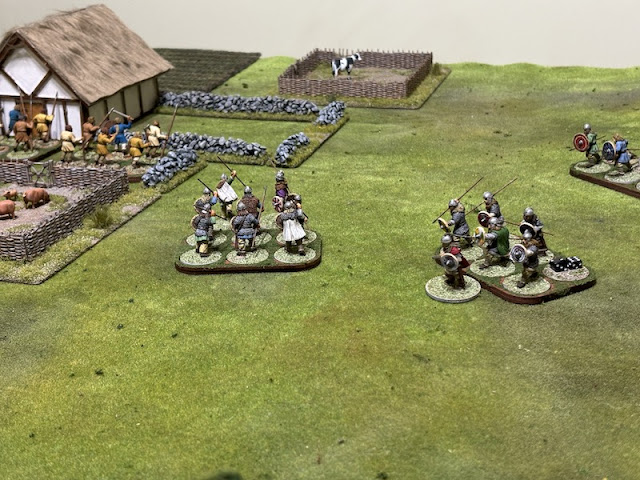
The Saxons are quick to react and two groups of warriors move forward to bar the way for the Britons.
Maethelweald, one of the Saxon nobles, leads his warriors toward the farm, it looks like they will search for the loot while the others hold off the Britons.
The slingers decide not to engage with the archers and move away through the woods, although not far enough to get out of range.
Malvin leads his warriors forward toward the Saxons and they form shieldwall.
Meanwhile, Cadwallon decides to rid himself of the archers. His men charge at them and that’s enough to see them disperse, not to be seen again.
Eahlbeard takes umbrage and makes an aggressive response. He leads his men into the woods to take on Cadwallon. The Saxons have the numbers, but can’t move fast enough through the undergrowth to make contact.
Meanwhile, the British levy are reinforced by the late arrival of another group.
The Saxon warriors move forward slowly to block off any British advance. Hrothgar, their leader, doesn't need to commit them to fight just yet. Time is on his side and he can bide his time until the British come closer.
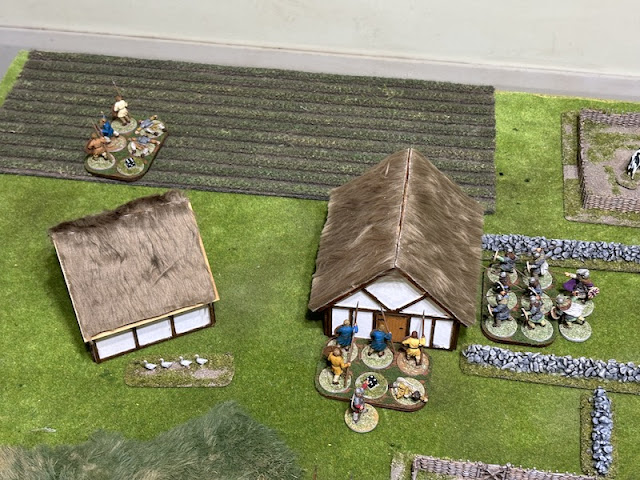
Maethelweald leads his men to the farm in search of plunder. That puts pressure on the Britons to act. At some point they are going to have to fight their way to the farm and prevent the looting.
Cadwallon decides to take the fight to the Saxon Lord. However, Eahlbeard preempts the charge. Dave plays Carpe Diem, which allows him to use the Step Forth card to interrupt Cadwallon before he can move. Eahlbeard hurls his men at the British, and to add insult to injury, the Saxons then use the Aggressive Charge card as they have Carpe Diem in play.
This could turn out badly for Cadwallon, but the Britons can also play a card and use Hero of the Age.
Unfortunately, the Britons are suffering shock. That, combined with the difficulty of moving through the woods, means they don't move anywhere near fast enough to make contact.
With the Saxons driven from the woods, the nobles leading the British levy and warriors urge their shield walls forward, but both seem reluctant to approach the waiting warriors.
Despite the temptation to charge, Cadwallon decides not to let the blood rush to his head. Instead, he spend time rallying his men before they try and tackle the Saxons again.
Unfortunately, there is nothing the Britons have been able to do to prevent the Saxons breaking into the farmhouse to loot.
Malvin decides it's time to force a decision. He urges his warrior shieldwall to advance on the Saxons. His men may have moved hesitantly up until now, but they suddenly find the courage to surge forward very aggressively and straight into contact. That move takes Dave by surprise. I suspect he had an Aggressive Charge card in his hand and was waiting for the right moment to use it. The sudden move to contact has handed the Britons the initiative, now they need to capitalise in the coming round of close combat.
With the Saxons embroiled with the shieldwall Broethr senses an opportunity to deal with the warriors looting the farm, and the levy set off in that direction.
Now that the Saxon warriors are entangled in combat with the shieldwall the slingers can no longer target them, so they move out of the woods.
Meanwhile the furious clash between the Saxons and the shield wall continues unabated. Hrothgar rallies shock but the fight sees the Saxons lose men and accumulate more shock.
Eahlbeard rallies shock from his elite warriors.
In the meantime Broethr leads the levy to the farm. The Saxons give them scant regard and continue searching for loot, but so far it is proving elusive.
Eahlbeard has abandoned the group of warriors by the woods to their fate. They prove too tempting a target for Cadwallon who charges out to deal with them.
It's a bloody and one-sided massacre. All remaining Saxons are killed. To make matters worse Cadwallon and his men survive without so much as a scratch. That's a blow to Saxon morale which drops to six.
The remaining Saxons fighting the shieldwall find themselves overwhelmed. Hrothgar and his men are forced back and break contact. The Britons may not be in the best shape, but they have more than held their own and seen off both groups of Saxons.
Unfortunately, they have no time to rest on their laurels. Eahlbeard rallies his men and charges the nearest group of British warriors. They are already suffering a fair bit of shock and this is all too much for them. They lose a man, suffer more shock and fall back, breaking the shieldwall as they do.
Despite the setback Malvin decides they have done enough damage to the Saxons for now and must get their own house in order before they consider any more fighting. He commands both groups to pull back to a spot where he can try to rally them.
The only real threat comes from Eahlbeard and his warriors, but he must be wary and keep one eye over his shoulder - Cadwallon and his men are lurking not far behind him.
Fearful of attacking the Saxons in the farm Broethr sends one group of levy to block the door on the other side of the house.
Eahlbeard can see his force is looking the worse for wear, and with Cadwallon and his band of warriors behind him, there's a distinct danger the Saxons find themselves attacked from front and rear. His aim today is to loot the farm, and so with his eye on the prize, he starts ordering the groups of warriors to move back.
Cadwallon has no intention of letting the Saxons slip away and rushes from the woods toward the nearest group of warriors, but can't quite make it into contact.
The Saxons in the farm search fruitlessly for loot. Meanwhile, Malvin, with a little help from the Rally card, does the best he can to rally his men.
The last group of levy move to join the others at the farm.
The Saxons continue searching frantically for loot, but it continues to elude them. Outside, the levy start to surround the building, even if loot is found the warriors will have to fight their way out with it.
Eahlbeard rallies shock from his elite and urges the other warriors to fall back, away from Cadwallon and his men.
Cadwallon leads his warriors forward looking to scatter the Saxons, but they prove hard to catch.
Hrothgar moves his warriors further away from Cadwallon but then turns to face him. There's only so far they can run.
Before Cadwallon can come to the rescue Eahlbeard leads his men against the levy, preceded by a hail of missiles (Strong Arm) which inflict a couple of points of shock before the Saxons crash into them.
Once again, the levy accompanying Broethr attempt to attack the warriors looting the farmhouse. This time the Saxons gain the upper hand and drive them off.
Malvin continues to rally his men. Making use of the Audacia card he's able to reduce the shock on both groups and lead them forward back into the fray. This is good timing, I suspect it won't be long before the Saxons find loot and try to make their getaway.
Meanwhile, Cadwallon and his warriors continue rampaging across the landscape, dealing brutally with the Saxons. The closest group have already lost two of their men and are suffering from shock. The Britons charge into them.
That becomes urgent when Saxon persistence is rewarded and they unearth a stash of British loot.
Eahlbeard doesn't like his odds. He directs the warriors to make off with the loot and take their chances leaving by a neutral table edge.
He and his warriors follow suit, as do the remaining Saxons.
By exiting off a neutral edge they run the risk of falling victim to thieves and vagabonds. They may have escaped with the loot, but two of Eahlbeard’s elite warriors are lost. It doesn't have a big impact on the outcome. The Saxons suffered more losses than the British, but they are still considered moderate. In the end, the Saxon haul is meagre, and they gain a Beggar's Bowl of plunder.
So ends the first Saxon raid. They may have made off with a small amount of loot, but they took a battering at the hands of the Britons, who demonstrated the value of a sturdy shield wall. It won't be enough to deter them. Cadwallon must prepare to be eternally vigilant and face more incursions into his land.
You can follow what happens next in this post.


















Very nice looking game, table and figures look great, really enjoyable read too.
ReplyDeleteThanks, credit to Dave for the figures. My contribution was most of the terrain except the houses which were also Dave’s.
DeleteFantastic game. Hero of the Age indeed.
ReplyDeleteYes, Cadwallon on his men stormed around the table destroying all in their path, mind you, still couldn’t stop the looting.
DeleteGreat Game. Dux Britanniarum is one of my favorites, I hope there is more to come.
ReplyDeleteThanks, it plays very well and is easy to pick up. There will certainly be more!
DeleteCracking and inspirational game report. I must get back to my own Dux B campaign soon.
ReplyDeleteThanks, really enjoyed this, a nice change.
DeleteGreat game and report.
ReplyDeleteThanks!
DeleteNot at all familiar with DB but I guess from the AAR it’s pretty similar to SP2. Dave’s set up looks as nice as yours, if his sabots were chamfered he’d be seriously threatening your crown.
ReplyDeleteA splendid report that we have become accustomed to. I bought DB when first released and never got around to playing, I even bought the figures to play but got sucked into Lion Rampant and then Neil Thomas's Ancient and Medieval rules. With the arrival of Midgard I doubt I will ever get around to playing🙄
ReplyDeleteLike you I’ve owned them for some time but never played. I bought them with the best intentions of adding figures but always got distracted. Thankfully Dave solved that for me. No doubt Midgard will distract us too!
DeleteI really liked the campaign system presented in Dux. I did a small campaign eons ago with Vikings and Saxons (basically the same thing, just set later in future, no mods needed).
ReplyDeleteGood luck with this! 😁
It’s very playable. I like the fact it’s very straightforward set of rules and campaign system. The asymmetric nature of the opposing forces is attractive and adds an extra level of nuance. I’m surprised it’s not more popular although I suspect the fact it confines itself to a narrow period puts some people off, yet as you found, it can be readily adapted to other popular periods/forces.
DeleteA splendid looking and sounding game…
ReplyDeleteBy the look of it the Saxons would have done better stealing the livestock…
All the best. Aly
Thanks. I suspect you are right, they lost a lot of men for very little gain!
DeleteExcellent report. It’s got me to scratch the itch for the seven spears version I’ve had on the go for ages.
ReplyDeleteThanks. I’m not familiar with the seven spears version, what is that?
DeleteIt’s a Samurai reskin of Dux. I think it’s in the Summer 2014 TFL special. I recall seeing Neil Shuck (the brummie dwarf of Meeples and Miniatures podcast) had taken it to a lard event and it tickled my fancy.
DeleteAh okay, I have that issue, I’ll have a look (not that I have any Samurai forces to use, not yet anyway!)
DeleteThat was a splendid and entertaining battle report, I enjoyed following the exploits of both sides!
ReplyDeleteThank you, glad you enjoyed it.
DeleteAppreciate all the time and effort you took in posting a detailed AAR with tons of photos. It really gave me a feel for the game system. I read through it years ago (friend's copy), but only the campaign system really lit a fire in me. It was very nice, though we never ended up playing it regularly.
ReplyDeleteThanks for the great comments, the AARs are a bit of effort, but also a labour of love, so I always appreciate positive comments, it lets me know it has been worthwhile!
Deletelike you, I have had Dux for ages but so far, only managed one game, going to try and get another one in this week after this inspiration
ReplyDeleteWe're finding it very straightforward, especially if you're familiar with Lardy rule sets. Enjoyable games with a great narrative, I think it's my favourite Dark Age rule set at the moment.
Delete