
Having played the initial draft of this scenario twice it's apparent it remains very tough for the British. As a result we've made a few modifications to see if we can strike a better balance. For more background on how we arrived at this point see this post.

The first change is to the terrain. While the ridge spine we are trying to represent was fairly bare of foliage it was not open, level ground. There were many folds and outcrops and so this area will now count as light cover for stationary units and for placement of jump-off-points.
Historically the British prepared the way with a heavy bombardment and so they now have a pre-game barrage at no cost. They were also assisted by supporting fire from tanks on the Imphal plain and so we will allocate an off-table Lee tank that will activate normally but require 5,6 to hit. It's position will need to be pre-designated before the game begins. In addition the British will continue to receive ten support points.
The change to terrain means the patrol phase plays out differently. The options for jump-off-points are not so restricted and it allows the British to place theirs further up the table and closer to the ridge spine.

I think that's a better representation of how things unfolded historically with the infantry from the Dogra Regiment moving in close proximity to the tanks from the Carabiniers.
We will begin the game with British force morale at ten while the Japanese are at nine. Before the game begins the British mark the line of sight for the off-table Lee tank by placing a model on the right hand side of the ridge. It is treated purely as a marker and cannot be targeted.

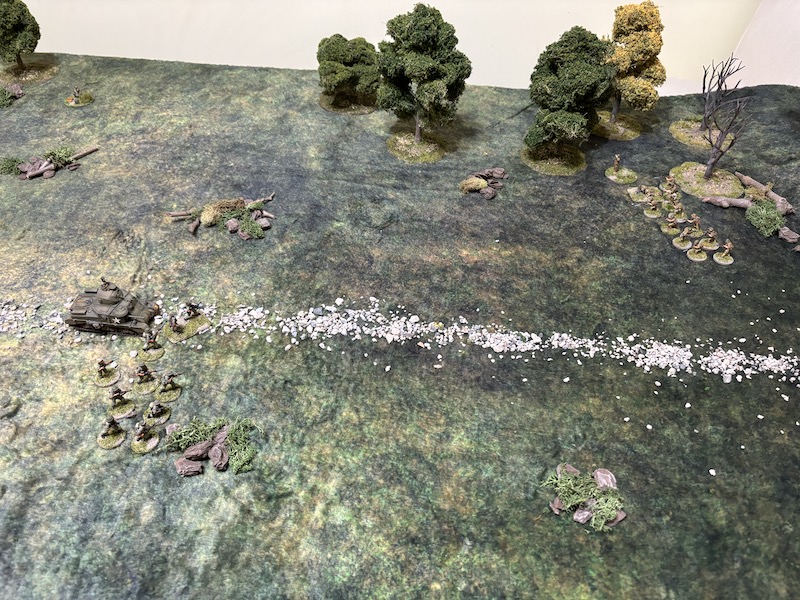
The British have the opening phase and begin arriving quickly. The platoon's attached Lee tank is the first to appear.

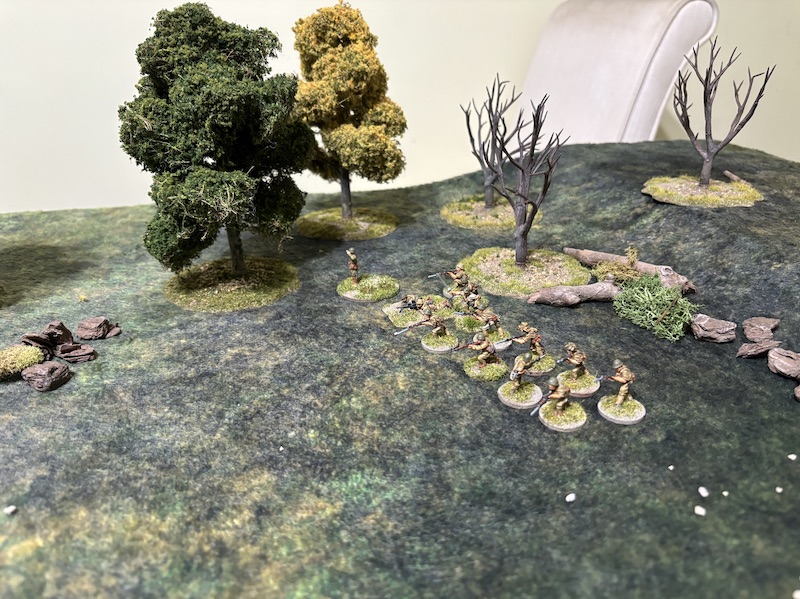
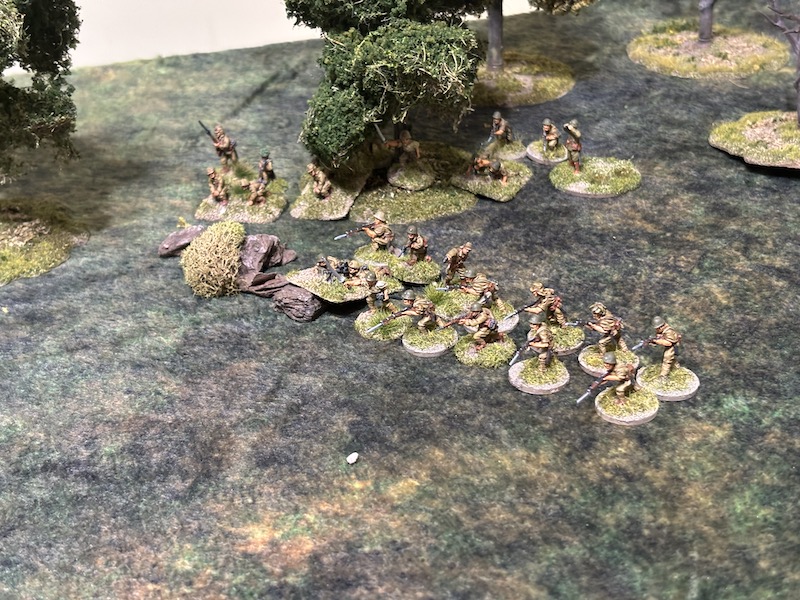
A section then deploys from the right hand jump-off-point and the Naik (the junior leader) puts both teams on overwatch.


A second section deploys to the left of the ridge spine and they too take up overwatch positions.

That puts an infantry screen on both sides of the ridge ahead of the tank.

The Japanese choose to watch and wait. In the British phase they continue to push forward and the Lee continues along the ridge spine.

A third section arrives on the right flank accompanies by the platoon's Havildar (the second-in-command and a senior leader).

He puts both teams on overwatch.

That puts a reasonably intimidating infantry screen ahead of the tank, making it very difficult for the Japanese to mount a successful counterattack.

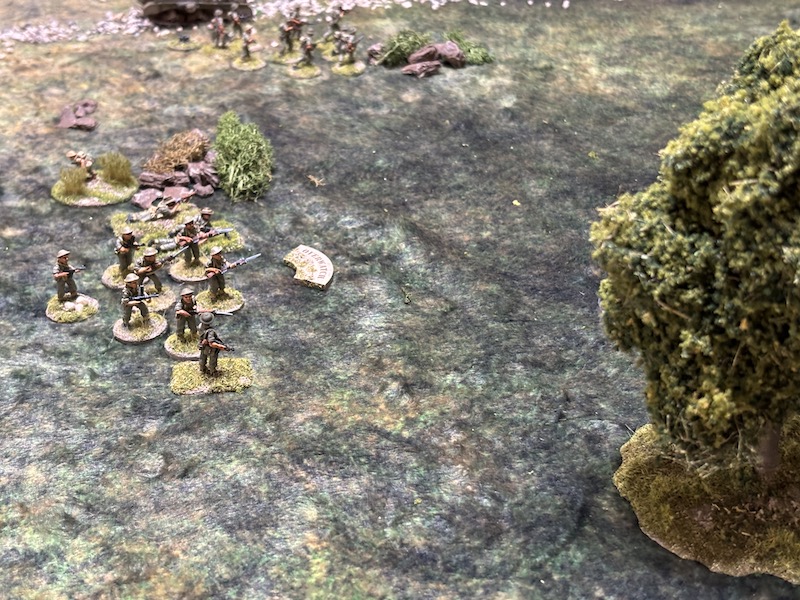
Once again the Japanese choose to remain concealed. The following British command roll is 66442(5), heralding a double phase and a chance to push on unhindered by the Japanese. The Havildar leads the section on the right towards the woods.

In the following phase the Lee continues moving forward.

On the right the Havildar leads the section towards the edge of the woods.


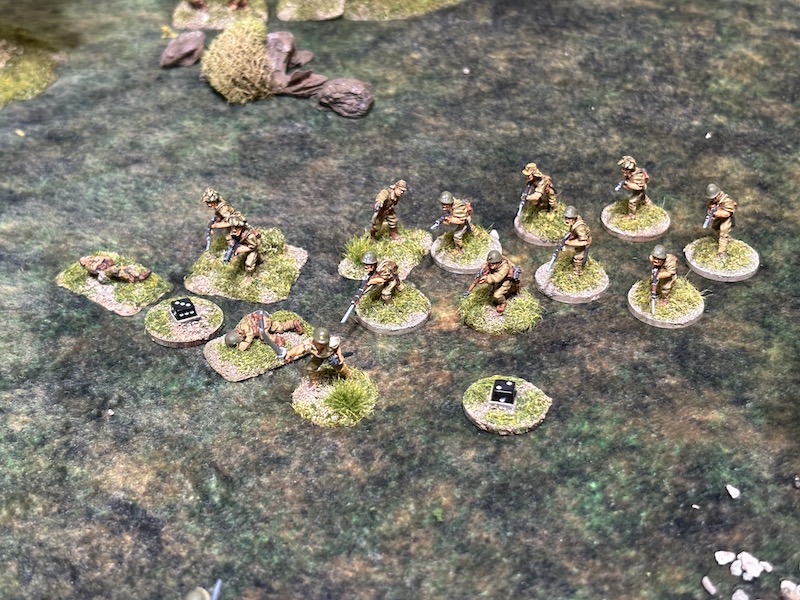
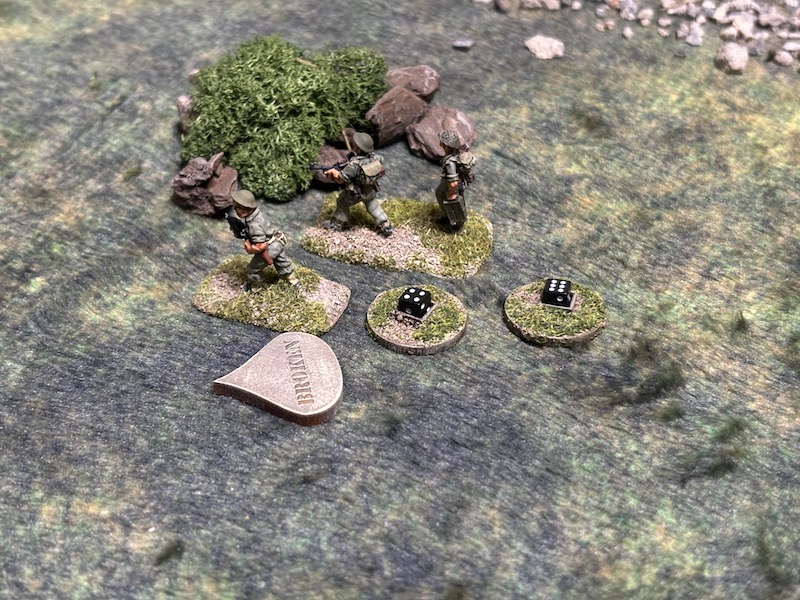
The Japanese then decide they need to act. A squad deploys successfully through the barrage and takes up position at the rear of the woods on the British right flank.


In the British phase one of the sections on the right moves tactically toward the ridge spine.


A support section joins the units on the right flank and takes up overwatch positions.

Just when I think I've put up an effective screen around the tank the Japanese command roll is 66642. Not only does it give the Japanese the next phase but it will see the turn end. The pre-game barrage will end and my sections will come off overwatch. So much for ensuring I have a solid protective screen around the tank! Fortunately the Japanese cannot fully exploit the double phase and so choose to do nothing in the first phase.
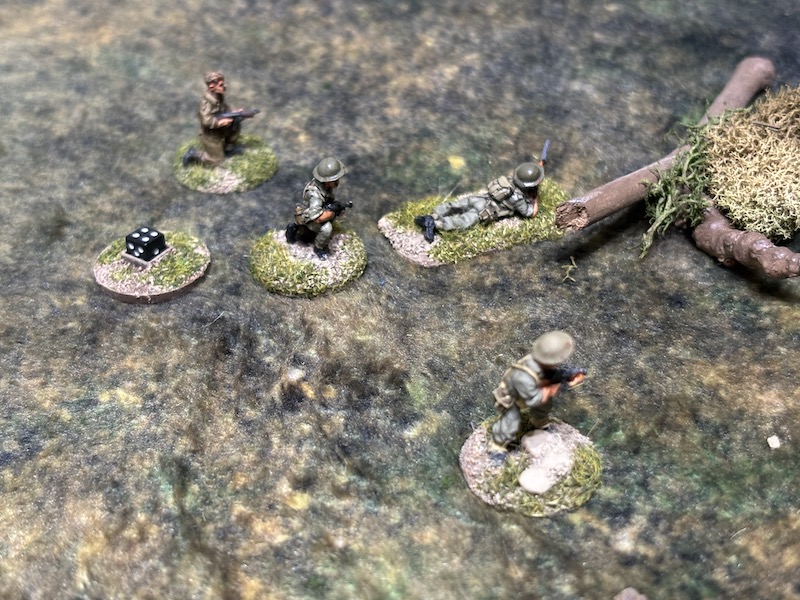
In the following phase the Gunso, the platoon's second in command, deploys into the woods to join the squad. He puts them back on overwatch.

In a more aggressive move a second squad bursts into life opposite the British left flank.


In the British phase the Naik on the left flank rallies off one point of shock and has the section lay down covering fire on the Japanese squad.


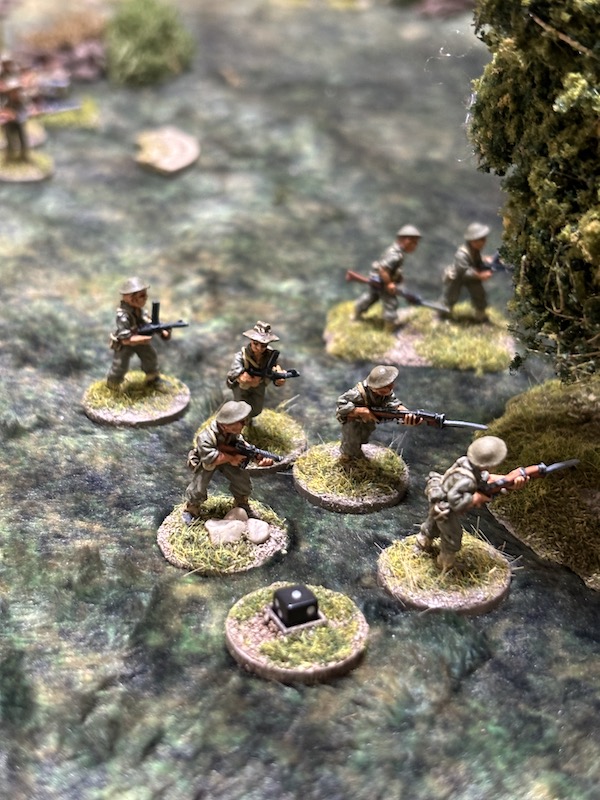
The section at the edge of the woods enters it cautiously.


They react and open fire immediately. Their fire is deadly and despite the section making best use of cover they lose three men and suffer shock. Two casualties are from the Bren team, leaving it reduced to a single gunner.

The following Japanese command roll is 66521. While it may give them the next phase it offers limited command options. The squad facing the British left flank continues to fire but they are trying to shoot through covering fire and it limits their effectiveness.

They inflict only a single point of shock on the rifle team.

In the next Japanese phase the squad in the woods opens fire again.

This time it is much less effective and the Bren team suffer an additional point of shock.


The rifle squad on the other flank decides to shift its attention.

The lone Bren team on the ridge proves too tempting a target.


The Japanese platoon's grenade discharger squad deploy into the woods alongside the rifle squad.

They fire off an initial volley of grenades trying to find their aim.


In the British phase the platoon's 2” mortar team deploys to the rear of the section.


Meanwhile the Bren team pull back below the cover of the ridge spine to join the remainder of the section.

On the right flank the Havildar moves towards the sound of firing in the woods.
He makes it to within command range of the section.


The Jemadar, the platoon commander, deploys near the ridge spine.


He then orders the section on the other side of the ridge spine to move forward tactically closer to the Lee.

In the Japanese phase the grenade discharger squad find that despite the smoke two of their teams are still able to see the section opposite.

Both fire and try to find their range.

One grenade lands on target, but has no effect. While the initial volley of grenades are unlikely to do much damage once the Japanese find their mark the section could find itself suffering under an incessant hail of grenades.

The mortar smoke also limits the rifle squad's line of sight, but doesn't completely block it. The rifle team open fire.

The British rifle team suffer a point of shock.

Back in the woods the Gunso returns the squad to overwatch.

In the British phase the Naik on the left flank spends the phase rallying shock from the rifle team.


The 2” mortar team aims another smoke round to try to screen off the Japanese.


The section near the Lee move up cautiously behind the protection of the ridge spine.

The Chui, the Japanese platoon commander deploys and joins the grenade discharger and rifle squad.

He has the one grenade discharger team that still has a line of sight target the 2” mortar team. This time the grenades prove far more effective and one of the crew is killed.

In the British phase the section moves up onto the ridge spine and takes up tactical positions. I need to maintain momentum and not fall into the temptation of engaging in a long range firefight. This is an attempt to regain the initiative and provoke a Japanese response.

In the Japanese phase the grenade discharger team continue to target the 2” mortar team.

The grenades prove deadly once again. The surviving member of the team is killed which sees the team wiped out. British force morale drops to nine.
The Japanese seem to have been provoked into a response and the squad in the woods decides to make a move.


There is a British section on overwatch and they react as soon as they appear.


The Chui then sends the squad up behind the smoke.


The following British command roll is 66552(3) and I wonder if this might be the moment to push hard to attempt a breakthrough? The section at the ridge spine move forward.

I want them to act as a protective screen so the Lee can advance along the spine.

The tank makes its way forward, although perhaps a little faster than I was anticipating.

In the following phase the Jemadar puts the section near the ridge spine on to overwatch.


The section to their left moves forward tactically.


The Havildar moves back towards the section on the right and puts both teams on overwatch.


In the Japanese phase the Gunso at the tree line rallies off shock and has the squad fire at the section on overwatch.


The Chui orders one of the grenade discharger teams to fire at the section on the British left.

The section has moved and so the Japanese fail to bring their grenades down on target.

With two sections on overwatch I take a gamble. If the Lee can move quickly it may put some distance between it and the nearest Japanese. The combination of distance and overwatch fire might be enough to give the tank safe passage. Unfortunately fate takes a hand. The tank fails to pick up speed and crawls forward very slowly. Suddenly this particularly gambit doesn't seem like such a great idea after all.

On the right flank the Havildar rallies shock.


Events then take an unexpected turn for the worst (from a British perspective at least). The next Japanese command roll is 66653 - a double phase and a turn end. The timing couldn't be worse and I know Dave will exploit the opportunity to the full.
The Gunso rallies shock and leads the squad out towards the Lee.

The Japanese are moving in open ground and the section on overwatch targets them as they emerge from the woods.


With that done the phase ends as does the turn. The 2" mortar smoke is removed.

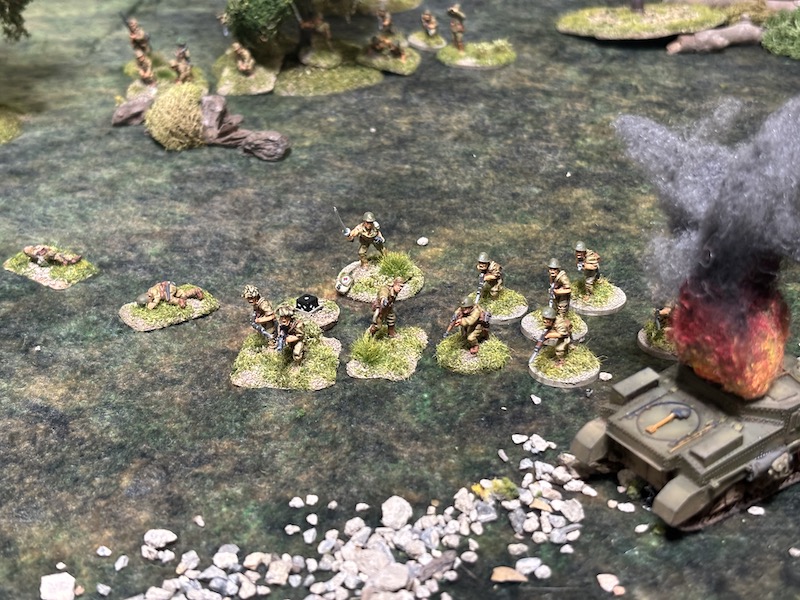
The following Japanese command roll is 64311 which should enable them to do much in this phase. First, Dave uses a CoC die to mount an ambush with a tank killer team. I have a full CoC die but you can't interrupt an Ambush and so this doesn't bode well.


With their line of sight now clear the Chui has the whole grenade discharger squad fire at the section on the British left.


Not content with seeing the Lee destroyed the Chui then orders the squad to charge toward the ridge spine.


The squad with the Chui will use a Ruse. They send forward grenade armed 'crawlers' ahead of the charge and hurl two grenades at the British section.

One of the Bren team is killed and they suffer a point of shock. That could have been worse.

The section waits until the charging Japanese are within 6" and then I declare an interrupt. I want them to feel the full force of the submachine guns. Two of the Japanese LMG crew are casualties and the squad suffers five points of shock.

On the other side of the ridge spine the Gunso uses the Japanese characteristic For the Emperor. At the cost of three CoC points the squad's charge will gain an extra dice of movement to ensure they make contact.


However, while the British may be outnumbered they are very well armed with automatic weapons and are suffering little shock. So in spite of the numerical odds they manage to hold off the Japanese assault and throw it back. Not without some cost. The section loses five men including the Naik and that takes British morale down to six.

The Japanese lose seven men and suffer two points of shock. Driven off, both squads fall back 9" and suffer more shock.


That assault has left both Japanese squads looking the worse for wear and although the British took heavy losses they have several sections still in action, can they salvage something from the situation?
The Havildar orders the section in the woods to pick up the pace and keep working their way forward. There could still be an opportunity for a breakthrough on this flank.


The Japanese squad is weaker than it was and if the section can bring them within range of their automatic weapons then they should be able to gain fire superiority. The Havildar leads them forward and that's enough to put them all in range.

Having barely survived the close combat the Jemadar leads what remains of the section over the ridge spine and away from the attentions of the Japanese rifle and grenade discharger squads.


Once again fate has other plans. The following Japanese command roll is 66311. Is it their turn to try and salvage something from a double phase and regain the initiative? The grenade discharger squad fires at the section opposite.


Once again the grenades land with deadly effect, killing a man in the rifle team and wiping out what remained of the Bren team. That's a blow to British morale which drops to five.

Sensing an opportunity to knock British morale even lower the squad near the woods targets what remains of the section with the Jemadar.

I have a CoC die and use it now to interrupt. The nearby section is within range of its SMGs. They have four in total - one with the Havildar, one with the Naik (a support option) and two with the rifle team and they pour fire at the Japanese.

The LMG team is hit and reduced to a single man and the whole squad suffers more shock. That puts quite a dent in their firepower.


It's starting to look tough for the British, but it's not over yet. In the following British phase the Havildar swings into action.

He orders the section in the woods to keep pressing ahead. They move quickly, but can they make a breakthrough before British morale collapses?

He then orders the section with him to continue firing on the nearby Japanese squad.

With all their automatic weapons in range that proves deadly once again.

The LMG team is wiped out and shock accumulates on the remaining men from the rifle team. Japanese force morale holds steady.

In the Japanese phase the Chui rallies shock from the rifle squad.

He then orders the grenade discharger squad to keep on firing.

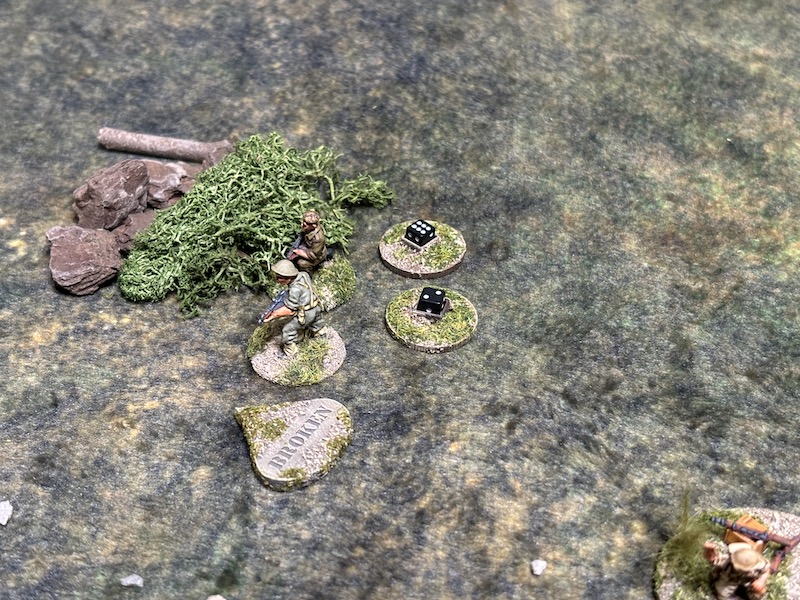
The hail of grenades find their mark once again. The section suffers a further two casualty and enough shock to break the surviving two men. That's quite a blow.

They fall back and that sees British morale drop to three.

The Chui then leads the rifle squad forward to the ridge spine.


With only three command dice the British are fortunate to roll 432. While that gives a number of options I'm beginning to fear that time might be running out. The Naik rallies a point of shock from the section in the woods and leads them forward. It's quite possible they could reach the table edge in a couple more phases and there is only one Japanese squad that is close enough to try to stop them.

I intend to make sure they can't. The Havildar has the section pour more fire onto the squad.


The Jemadar can't move the Bren team but he could abandon them to their fate. Instead he rallies off two points of shock and has them fire at the Japanese squad. Given their status it's no surprise the small amount of fire they generate has no effect.

It comes as little surprise in the Japanese phase to see the Chui rally shock from the squad.


The odds are overwhelmingly in their favour and the Jemadar and Bren team rout and break well before the Japanese can make contact. It brings British morale down to one. That's probably a blessing in disguise for had a close combat ensued the resulting drop on morale could have been greater.
Is it game over, or can the British still eke out a victory with only two command dice at their disposal? It's unlikely but not impossible, so I stay in the game. The command roll of 64 is enough to bring the Havildar into action.

He orders the section to target the squad opposite but this time he won't contribute his firepower. He has other plans. Once more their firepower proves deadly. The Japanese lose another two men and suffer additional shock. Not only that, the Gunso is hit and wounded. That's enough to see what remains of the squad break and fall back. While Japanese morale has proven very resilient this time it drops to four.

Having dealt with the Japanese squad the Havildar then moves very quickly into the woods and that takes him into command range of the section.


More shock accumulates, but despite landing on target they don't manage to hit the Naik or wipe out the remaining man from the rifle team.
Both men in the Bren team are hit and killed. With the team wiped out British morale takes another blow which takes it down to zero. That forces the British to withdraw.

We have a couple more tweaks we might make but these will be minor. One of those is the off-table Lee. While we like the idea of having it available in practice I never made use of it. Allowing it to hit with only a 5 or 6 meant it rarely made sense to use one of the command dice to activate it when there were so many better options. It might be worth making this the use of one or two CoC points instead and allowing it to hit on a 4, 5 or 6.
We won't play this scenario again but instead assume British success and move on to the final table which will be the attack on the main Japanese position. You can follow what happens in that game in this post.
That was not the result I was expecting, I thought your changes would swing it in the Brits favour. I was confused by the unit breaking before being contacted by the charging Japanese and had to look it up in the rules. I was unaware of the 4x combat dice rule, but then I’m confident I’ve never encountered such a one-sided fight before - good to be made aware of the rule and it’s one I like. Also, at one point you describe laying down covering fire on a Japanese unit on the table. I assume this is just a verbal description of what they’re doing rather than the rule mechanism of that name?
ReplyDeleteI think better play by me and a little less good fortune with the Japanese command rolls and this one could have been won by the Brits, so I'm feeling more confident that it's reasonably well balanced. The 4 to 1 is a good rule to remember, in the case of that senior leader I felt it was a bit of a 'get out of jail' card, had he died with the Bren team my FM would have collapsed quickly. Covering Fire is a specific rule, see 4.5.2 and then Covering Fire on pg20. It's effectively suppressive fire and lasts two phases (the phase it is fired and the following phase) - the unit effected has -1 to their To Hit roll on each dice rolled, so quite useful.
DeleteJust read the rule again. Covering fire seems to be yet another thing I play wrong. I have always used it for suppressing cover where enemy might appear and didn't think you could use it on troops already present.
DeleteIt’s very useful against things like an MMG in hard cover, there are times when it’s more useful to limit its firepower than try to inflict enough shock/kills to put it out of action. It then enables you to try to manoeuvre it out of position rather than rely on firepower alone.
DeleteGreat game - those changes seem to have done the trick and made for a very exciting and well balanced game. Good stuff.
ReplyDeleteThanks, yes, I think they’ve worked, it certainly felt more balanced and if nothing else it made for a better game.
DeleteA real nail-biter of a game. The rule adjustments are beginning to work.
ReplyDeleteThanks, it certainly feels like a better contest and made for a more enjoyable game.
DeleteAlways look forward to and enjoy your games and reports. This was no exception and the scenario tweaks look to have payed dividends.
ReplyDelete