
 |
| The first attack on Skyline Drive did not end well for the Germans |
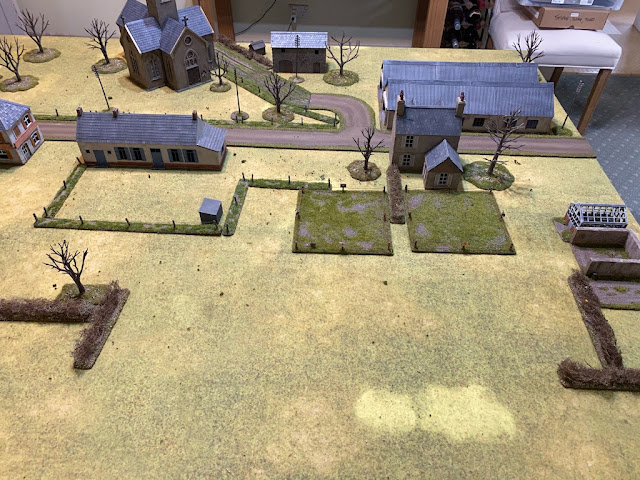
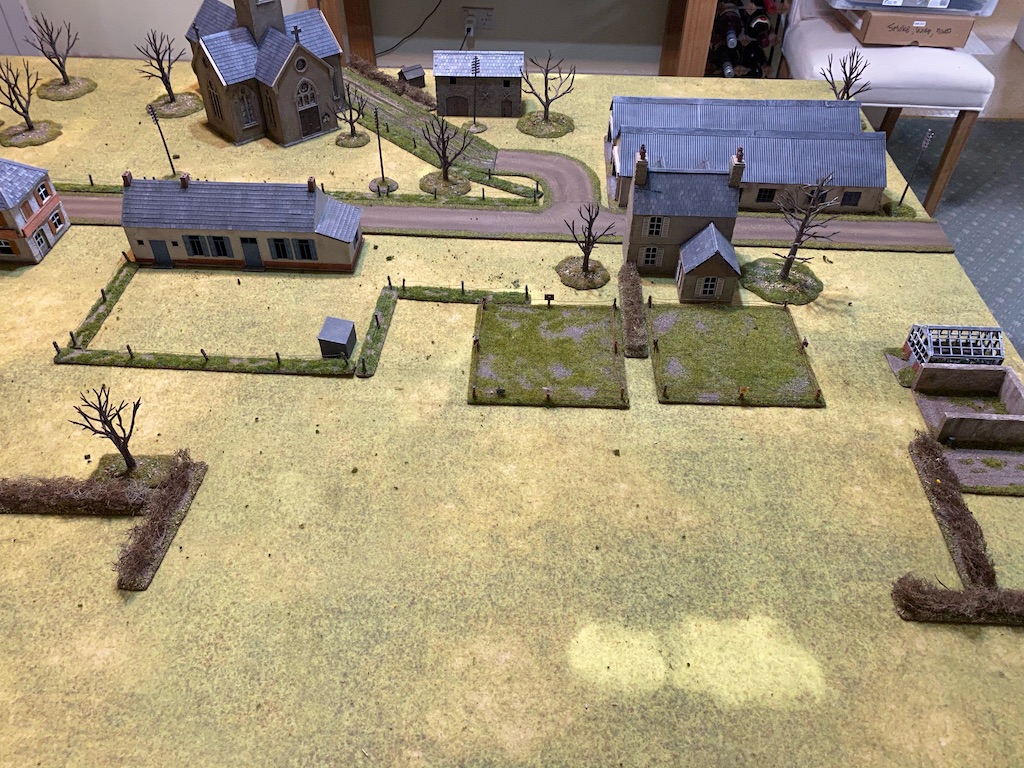
This, the second attack of the campaign turn, will be made from German Assembly Point B against Map 3 Holzthum Village. As the Americans I have one platoon holding the village. Prior to the start of the campaign they were allocated eleven of the 48 available support points. While the solid buildings in the village offer good protection the Germans can come from two possible directions depending on how the campaign develops - either from Assembly Point B, as is the case today, or, along the road from Map 2 (assuming they have captured that map in an earlier game which, in this case, they have not). If they have captured Map 2 and have a platoon at Assembly Point B then whichever platoon they assign to carry out the attack may choose to mount a flanking attack coming from both these directions at once. As a result, whatever happens here, the defenders are likely to find themselves stretched.

Unlike Map 1, it's possible for the Germans to attack the village without having to cross a great expanse of open ground. As we are playing across the map they also have a shorter distance to travel. All of which gives the Americans much to think about.
Given the width to be defended I have allocated two minefields, that way I hope to restrict the options available to the Germans to approach the village. The remaining support aims to boost US firepower. Each squad is armed with an additional BAR and the platoon is reinforced with two 30cal MMG teams.

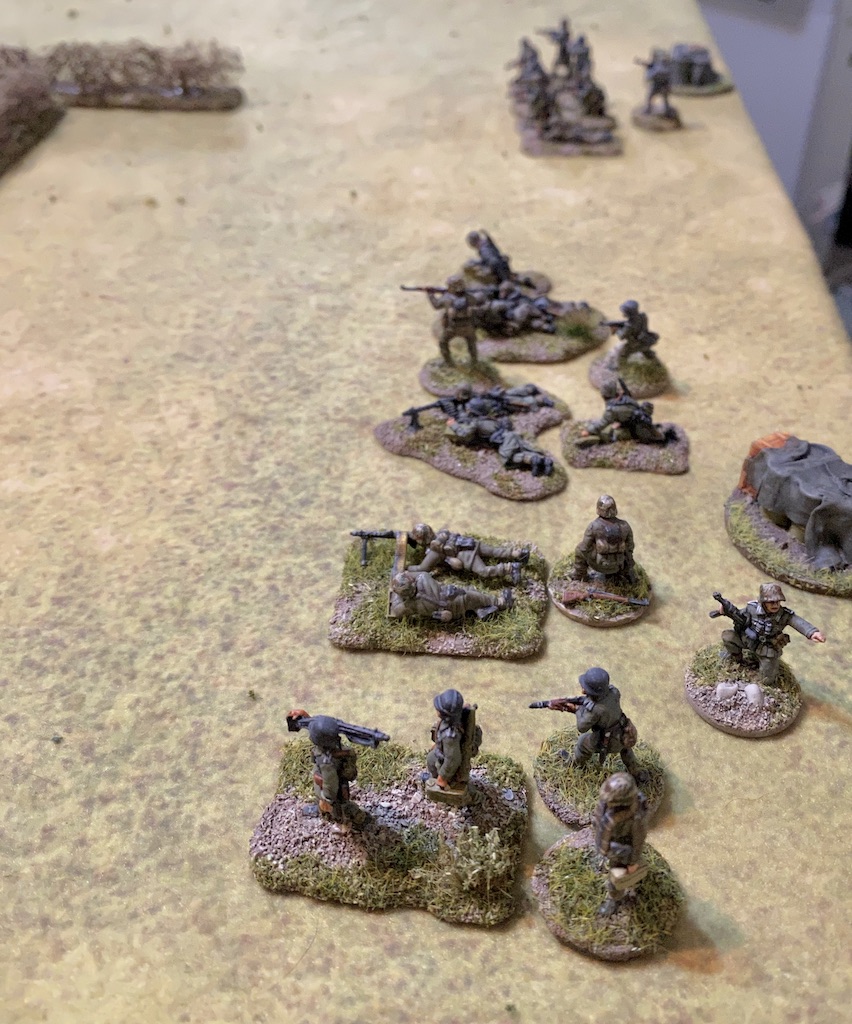
The Germans will attack with a Volksgrenadier Sturm platoon and will not be short of firepower themselves. What I don't know prior to the game is that they have called upon an additional Sturm squad and an LMG squad for support. That makes up a force composed of three Sturm squads (each with eight men armed with StG44 assault rifles) and two LMG squads (each with two teams of MG42 LMGs). Between them they can generate a lot of firepower, especially once the assault rifles are within close range.

As the Germans have yet to capture Map 2 this attack will come from the direction of Assembly Point B. Here are Dave's thoughts before the game:
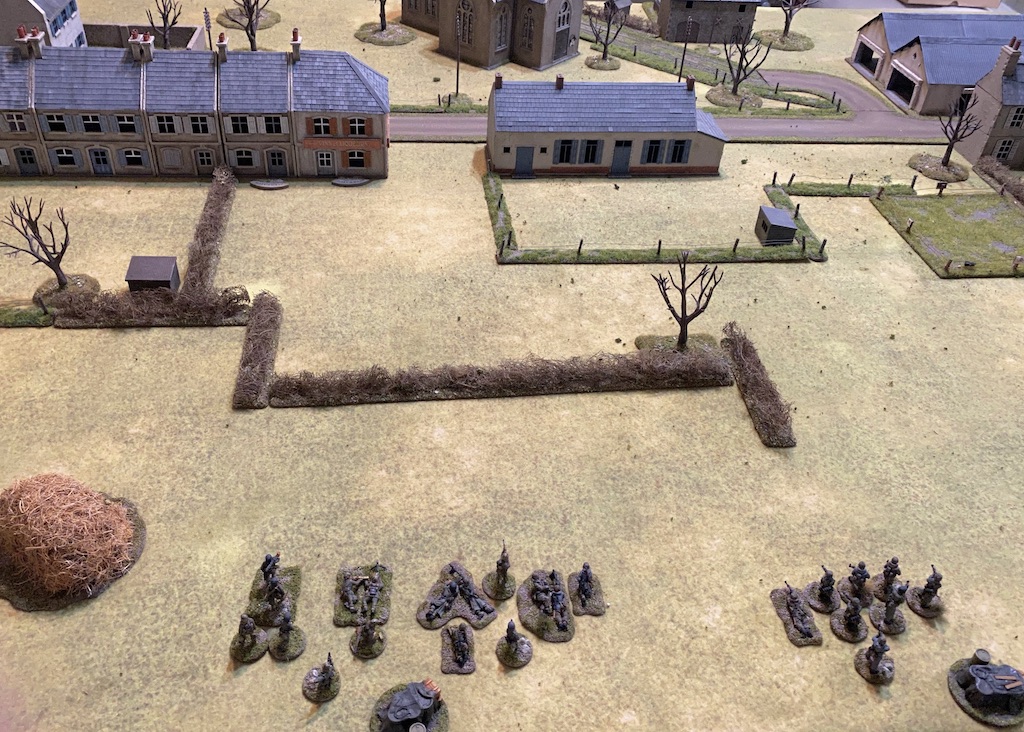
'For the attack on Holzthum, my aim is to use the numerous German squads to launch a two pronged attack. Three squads at the hedgerow hopefully tying up most of his defence while the other two squads and an extra SL work their way down the right side into the village, potentially disrupting or encircling the defence. Once again I have chosen a pre-game barrage to disrupt the US deployment'
As the Americans my main aim in the patrol phase is to give the Germans no opportunity to establish jump-off-points in the village or behind the cover of the hedge rows. I want to make them cross as much open ground as possible and allow me enough time to deploy and respond to their advance.

For that reason I place the two minefields over on that flank. I want to restrict German movement options and deny them access to the house opposite the agricultural building. Hopefully this will buy time to send some of my platoon in that direction should I be threatened.

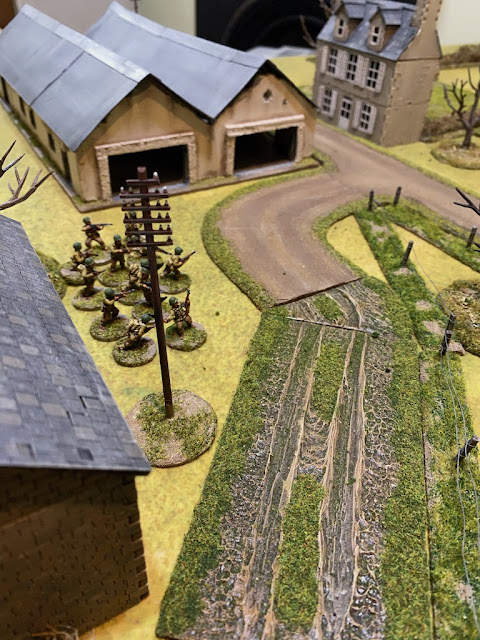


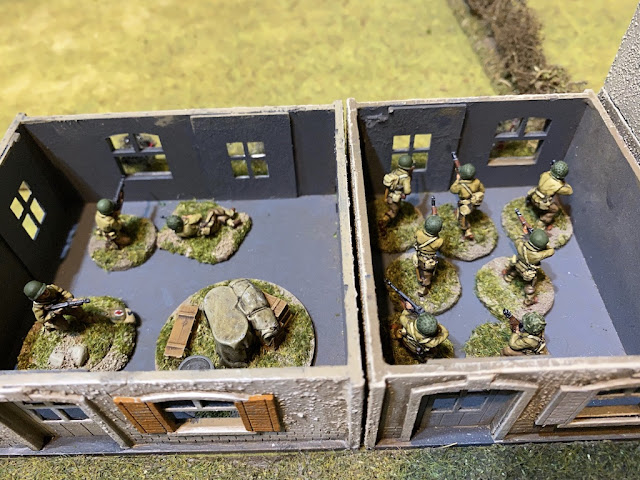
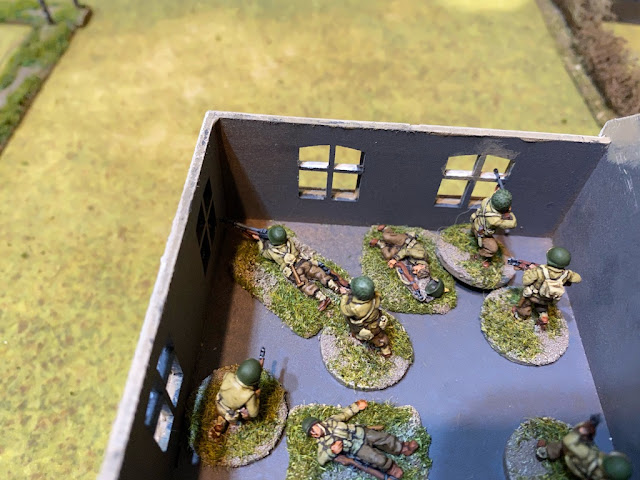
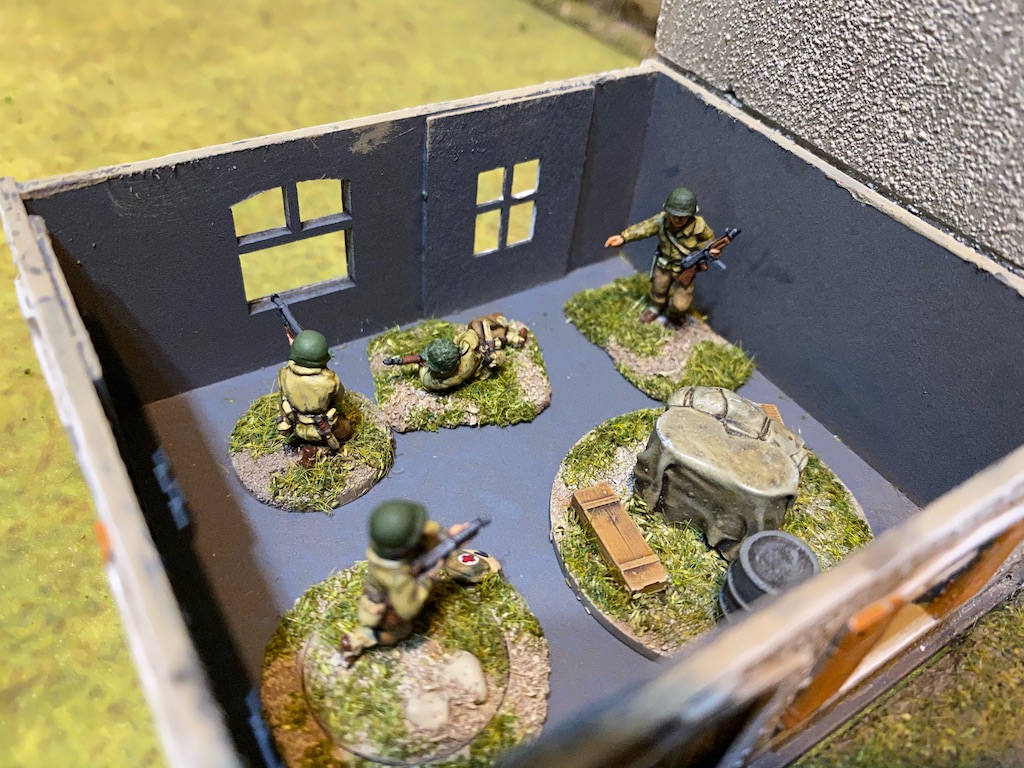
In the following American phase the squad makes its way into the large agricultural building and towards the windows and doors that line the street. The maze of doorways and small rooms make movement slower than I would like. I'm worried that I may not be able to establish a firing line at the windows before the Sturm squad arrives (we assume the building most likely represents a large milking shed given that dairy farming is the major agricultural produce of the region).

A German command roll of 66544 may mean a double phase, but I'm fortunate that the command activations are not particularly helpful. An Unterfeldwebel (senior leader) joins the squad that had just deployed.


In the following phase a much more useful command roll results in the appearance of a whole host of Germans from the other two jump-off-points. One Sturm squad and two LMG squads deploy, bringing the prospect of a lot firepower with them.

All three squads target the Americans in the upper levels of the town houses.
The two LMG squads let loose the fire of four MG42s, while the Sturm squad use their assault rifles to put covering fire on the windows.


One of those is the squad leader, who is wounded and out of action for the remainder of the turn. While American force morale holds steady that's a blow that may limit how well this squad can respond to the presence of so many of the enemy.


That will barely impact the amount of fire the Germans can generate.


The game has hardly begun but I'm beginning to feel my defence is unravelling and lacking cohesion. The American jump-off-points are not well placed and if I'm to deal with all this German firepower I'm going to need to concentrate my platoon if I'm to have a hope of holding them off.

With the squad leader out of action for the rest of the turn I try to call forward the platoon sergeant to take command of the squad, but he fails to make it through the barrage.

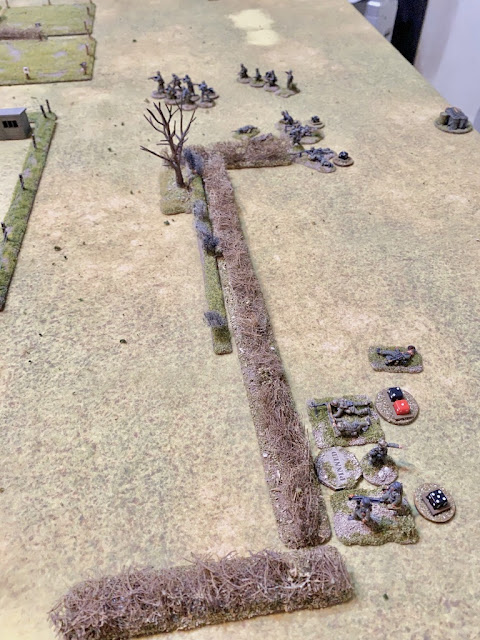
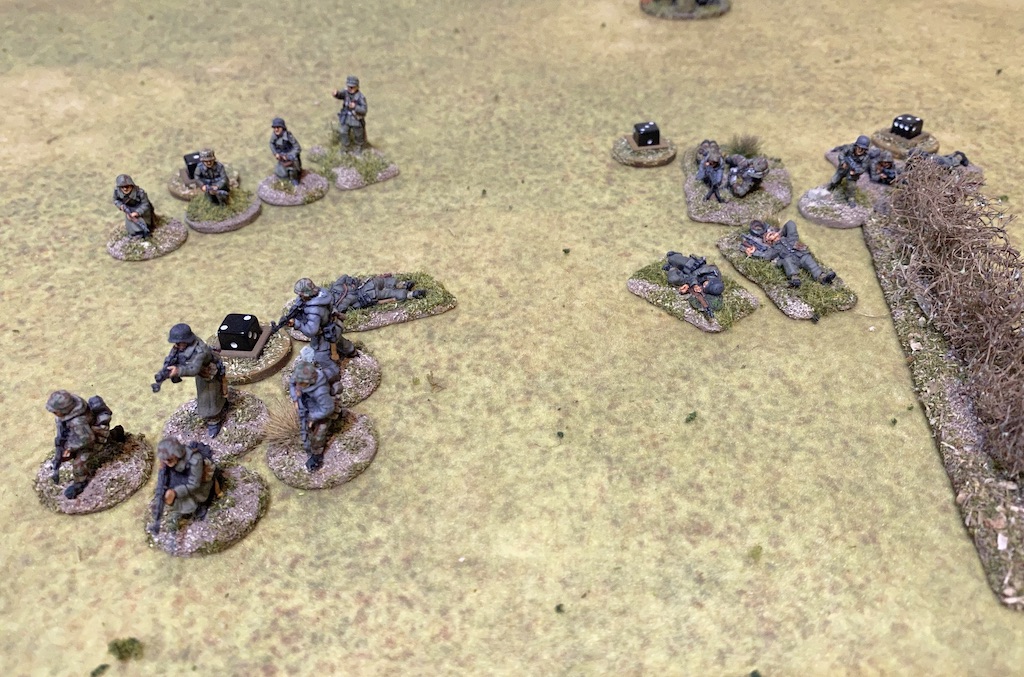
In the German phase a third Sturm squad deploys on their right flank and takes up tactical positions.

That's most of the German force deployed and I'm facing three Sturm squads and two LMG squads. Once they get within close range my platoon is going to come up against a massive volume of fire. I'm at a bit of a loss as how best to deal with this.


With that done I play my CoC die to bring the turn to an end. This not only sees the barrage lift but also means my wounded squad leader is back in action.


At least the covering fire that the squad laid down on the hedges will make the incoming German fire a little less effective.

The Americans take three casualties, one man from the BAR team and two from the rifle team, plus three points of shock. Unfortunately the squad leader is hit again and this time he takes a light wound that he will carry for the remainder of the game.


German pressure is starting to really build up and the Unterfeldwebel on the flank orders the second Sturm squad to move at the double to join the other squad near the village.

He then rallies shock off the forward squad and orders them forward tactically. In this instance they are perhaps a little overcautious and edge forward 1".


That's a result that may have just given the Americans the upper hand in this firefight. The platoon sergeant rallies shock off the squad on the ground level before ordering them to put covering fire along the hedge in front of the Sturm squad and the second LMG squad.


On the flank the Unterfeldwebel rallies shock and then he and the second squad move forward at the double to join the lead squad.


In the following American phase the squad leader has the rifle team return fire.


Considering the relatively small amount of fire the effect is devastating. Firing on Green troops in open ground and at close range proves a deadly combination and two men from the first squad and one from the second are killed.


The squad leader keeps the BAR team focussed on the German movement to their right and they continue to target the LMG squad at the hedge.

Now that they have the Germans in the open the American fire is proving particularly deadly and the LMG squad lose another man.
The pinned LMG squad that was left behind at the hedgerow now receives the undivided attention of the Americans in the houses. The platoon sergeant orders one of the 30 cal teams to open fire.

The fire kills the sole remaining MG42 gunner from one of the teams, wiping that team out.

With six points of shock that's enough to break the other LMG team. To make matters worse when they rout they do so right off the table, taking the squad's Obergefreiter with them. With a team wiped out, a team broken and a junior leader routing off the table German morale tumbles three points down to six.

The second 30cal team have no more targets and so the sergeant orders the squad on the upper level of the adjoining house to fire at the LMG squad that's trying to move out of line of sight.

Unfortunately they haven't managed to move quite far enough and this American squad can still target them.

This time around American fire is not so effective and the Germans suffer a single point of shock. Nonetheless it is only the presence nearby of the platoon Leutnant, who is close enough to be attached, that prevents the squad from becoming pinned down.


Moving and firing like that means he rolls a single fire dice but it's enough to kill another member of the Sturm squad.

In the German phase the Leutnant rallies shock from the LMG squad and has them move to join him and the rifle grenadiers.

They have escaped the line of sight of the 30cal MMGs but they are not yet completely out of harm's way. I sense the German attack here has been blunted. It was gamble to deploy the remainder of the American platoon and commit it all to the firefight at the hedgerow, but it appears to have paid off. Nonetheless it has meant leaving the squad in the agricultural building without support.


The Germans lose another man. They are very vulnerable out in the open, with twice as much chance of suffering a casualty if they are hit.

Those men that have a line of sight from the upper and lower levels of the town house fire out at the Germans in the centre.

They suffer more shock, but take no further casualties.

In this scenario the Americans receive 1/2D6 patrol marker moves before the patrol phase begins. That proves quite a benefit in holding the Germans back and so I'm successful in preventing them place jump-off-points near the village. However I'm unable to place a jump-off-point myself in the large agricultural building on my left flank, I suspect that will come back to haunt me. The Germans have managed to place one of theirs directly opposite the building and as it offers a good route into the village I imagine I may have some trouble on this side of Holzthum.


The Americans start off with force morale at eleven while the Germans are at nine. With the minefields placed the last thing that happens before we start is the Germans announce they have a pregame barrage.
With the higher force morale the Americans have the initiative and the first phase. It starts well with a roll of 66532. Given the German jump-off-point on my left flank I decide to take advantage of the double phase to shore up that side before they can deploy and work their way into the village. If I can make it successfully through the barrage then I have a second phase to try and move a squad into the large agricultural building.
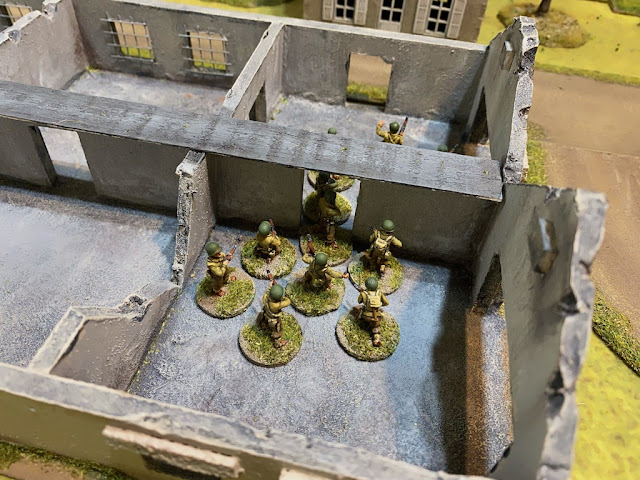
The first squad that attempts to deploy fails, but a second succeeds and emerges from the jump-off-point in the barn.


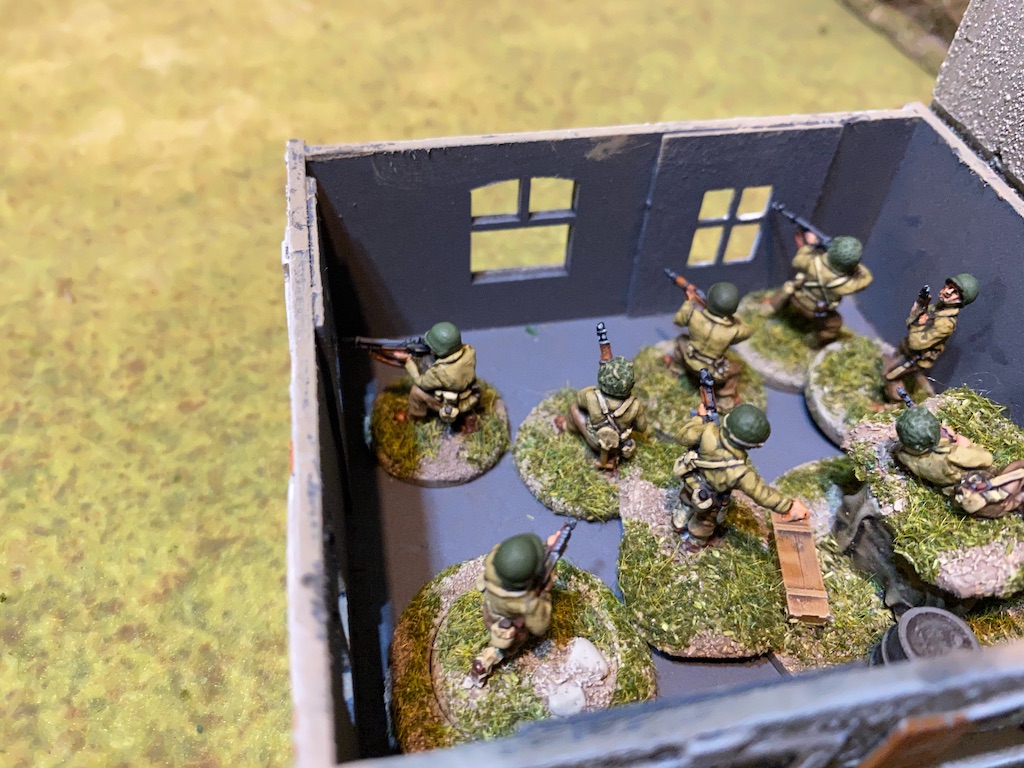
In the second phase most of the squad move into the building, leaving a few stragglers behind. Hopefully they don't become a tempting target for any Germans that appear.


As the defender I generally like to hold my deployment for as long as possible and only do so when I can take advantage of the movement of attacking units. However in this instance, with a pregame barrage hindering deployment, I feel I can't wait until the Germans deploy and start advancing on the village.
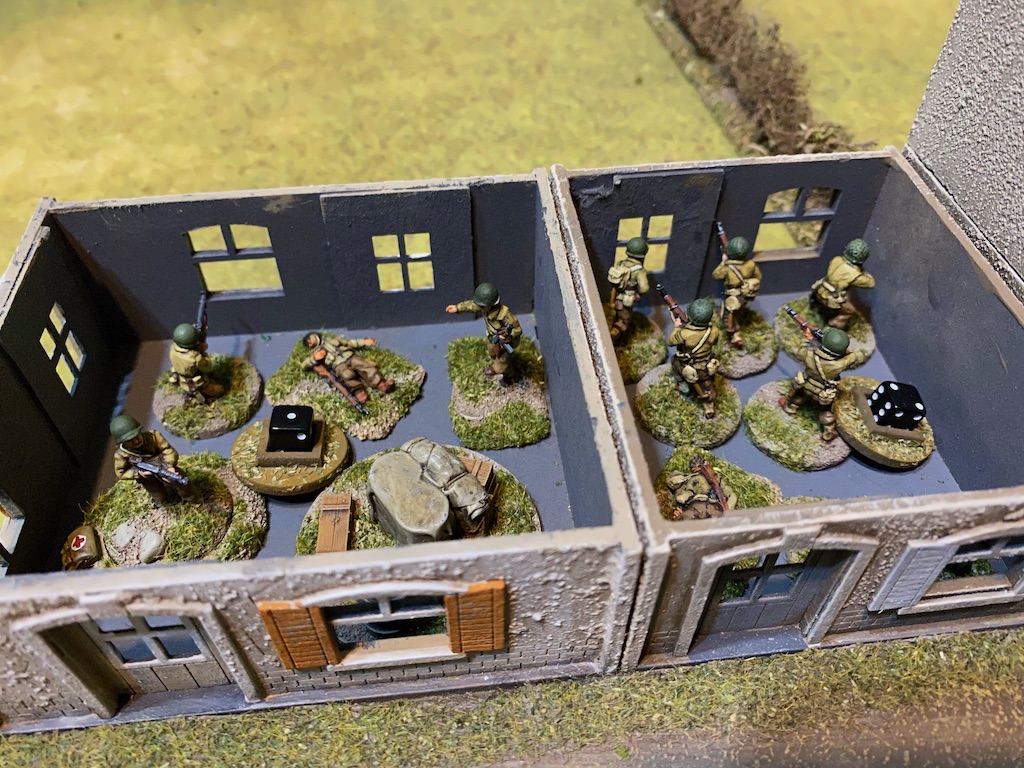
Another squad attempts to deploy from the central jump-off-point but also fails. Fortunately a second succeeds and they take up overwatch positions in the upper levels of the houses that line the main road.

With the German jump-off-points so close to the village I want to be prepared. Should they deploy and enjoy a double phase that could leave me very much on the back foot if I'm not ready to meet them. This is not my preferred way of defending, I like to keep concealment for as long as possible, but the nature of the table and the pregame barrage have forced me to adapt to circumstances.

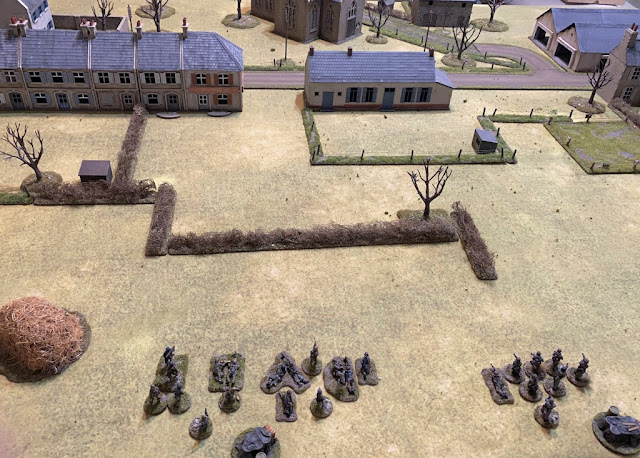
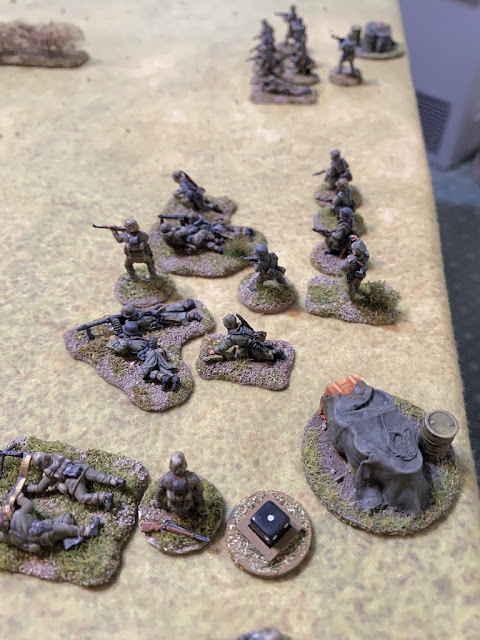
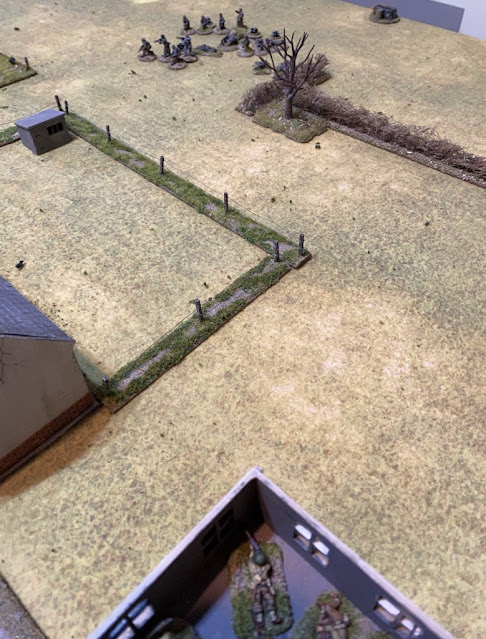
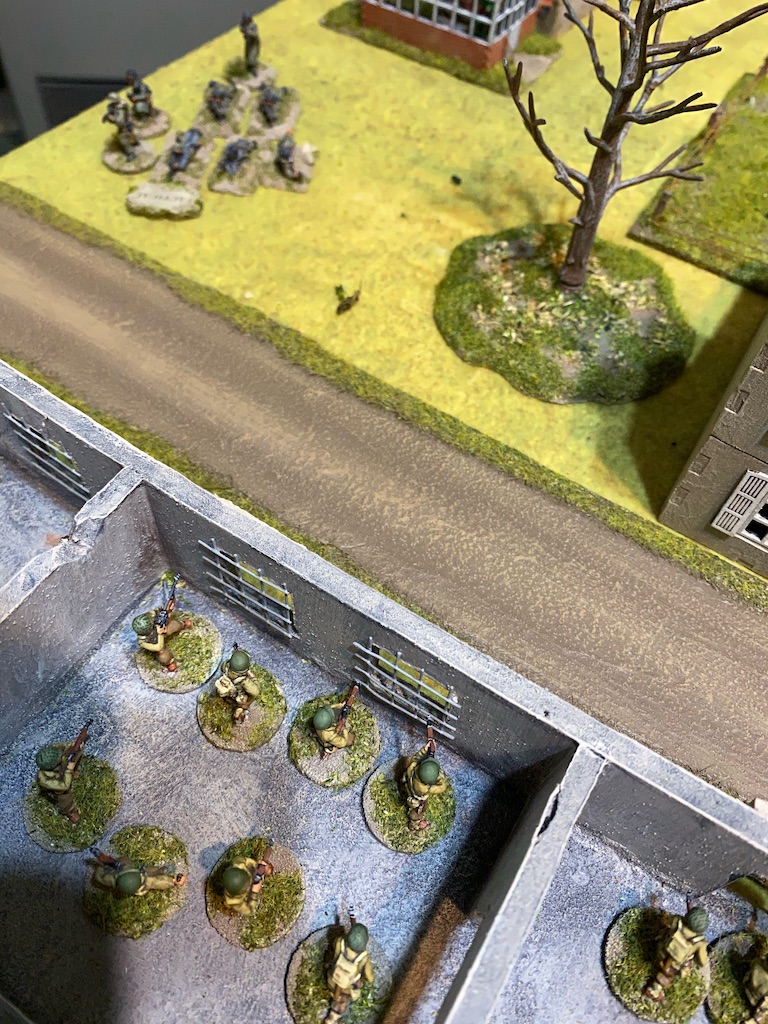
The German command roll of 52111 limits their options but they begin by deploying a Sturm squad on the right flank. The minefields may hinder movement to some degree, but the fact the Americans don't have a jump-off-point covering that flank means potentially it's the best route into the village.


He issues orders immediately and sends the squad at the double towards the village.


The hard cover of the buildings goes some way to protecting the American squad, nonetheless they take three casualties.


Nonetheless they are on overwatch and so return fire. However the covering fire limits how effective they can be and the net result is only two points of shock.


The American command roll is 65432 which means I won't be in a position to try and deploy either of the two 30 cal MMG teams I have as support. And that's assuming they would make it through the pregame barrage. On my left the squad begins to filter through the rooms of the agricultural building and the BAR team are quick to take up firing positions by one of the doors.


With the prospect of another powerful burst of German fire at the houses in the town I see no option other than to pull the squad down to the lower level and out of sight.


That's most of the German force deployed and I'm facing three Sturm squads and two LMG squads. Once they get within close range my platoon is going to come up against a massive volume of fire. I'm at a bit of a loss as how best to deal with this.
The Unterfeldwebel rallies the shock the Sturm squad acquired when moving at the double in the previous phase and then orders them to keep on moving rapidly towards the village. He then sets off quickly behind them. That puts him in an ideal location to command both squads on that flank.


The American command roll of 55444 doesn't help, but it does mean I have accumulated a total of five points towards a full CoC die. Once again the platoon sergeant attempts to deploy and once again he fails to make it through the barrage. With that the phase hands back to the Germans.


I'm now threatened by two German squads and while they are relatively small units of seven men and a junior leader they are all armed with StG44 assault rifles. I'm not sure a single American squad will be enough to hold them off. This is where I may really feel the absence of a jump-off-point on this flank as I don't have the ability to deploy units quickly to this part of the village.
The Sturm squad on the right edges forward tactically. The Americans may not yet have all men in position but the Germans are not taking any unnecessary risks.


In the centre the German platoon Leutnant deploys with his accompanying team of rifle grenadiers.

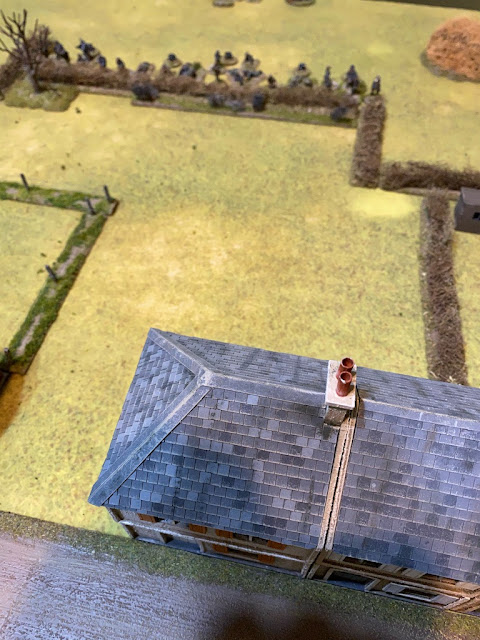
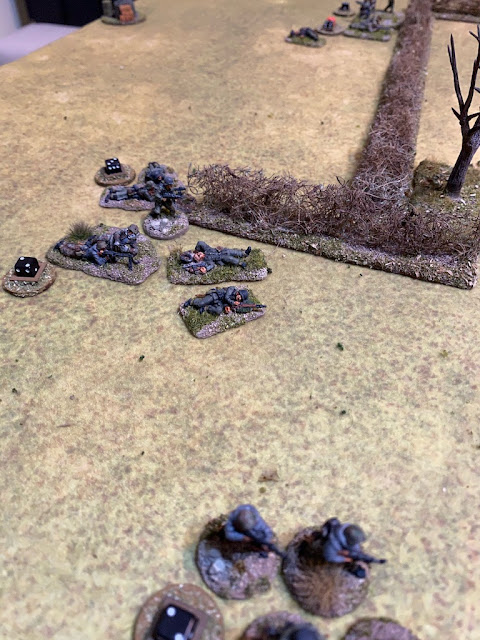
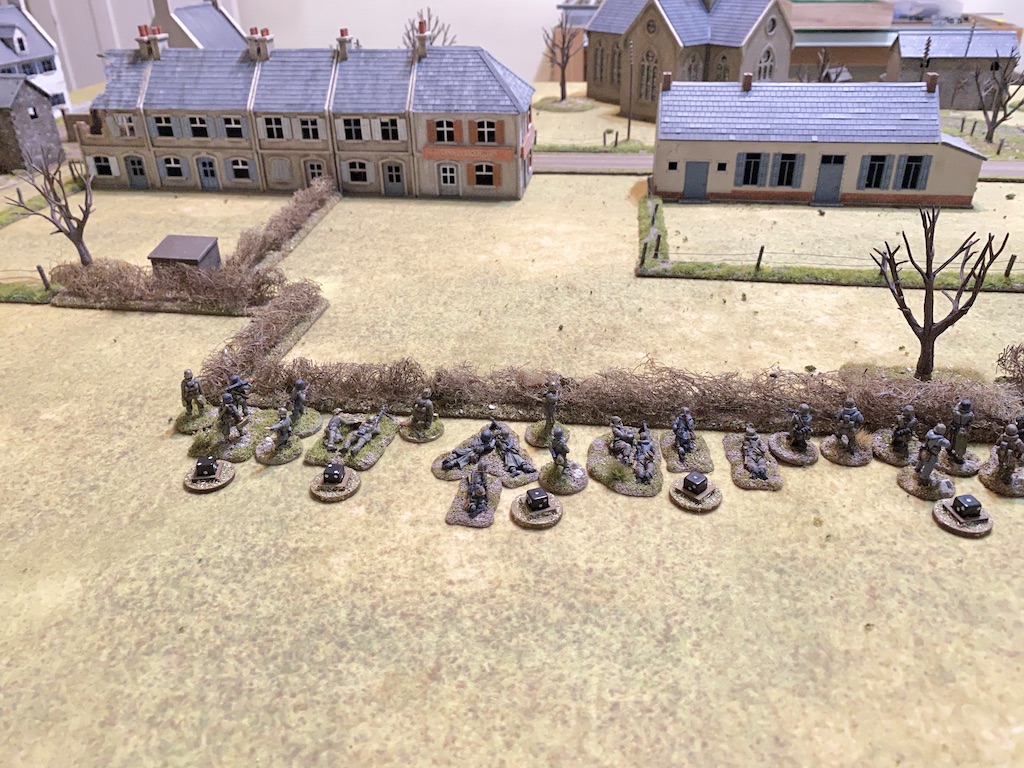
He orders all three squads to move at the double towards the hedges in front of the village.


While the Americans will benefit from the solid cover provided by the houses what they want to avoid is a piecemeal deployment that allows the Germans to concentrate their firepower. While the pregame barrage remains in place this makes the timing of American deployment problematic.
The next American command roll is 55432 and those 5s are very welcome as I now have one full CoC die which I intend making full use of to end the turn once I've completed the phase. In the meantime in the agricultural building the squad leader sends the rifle team into the adjoining room and puts the BAR on overwatch. At this stage the BAR doesn't have a line of sight from that door to the Sturm squad but I want to ensure I can cover the road and house opposite if I need to.


In the centre, opposite the hedges, I'm determined to make a stand in the houses. The Germans are in light cover and their Green troop rating makes them an easier target than they might otherwise be, so I need to find a way to hold them back until the barrage lifts and I'm free to deploy my full platoon. To limit the effect of their fire the American squad puts covering fire along the hedges.


This time the platoon sergeant manages to find a way through the barrage and deploys into one of the houses.

In the German phase the Obergefreiter with the LMG squad rallies shock and then he and the Leutnant have both LMG squads, the Sturm squad and the rifle grenadiers target the Americans in the houses. That’s an awful lot of firepower.


The Americans take three casualties, one man from the BAR team and two from the rifle team, plus three points of shock. Unfortunately the squad leader is hit again and this time he takes a light wound that he will carry for the remainder of the game.
American morale holds steady. I feel as though I've weathered that storm reasonably well, all things considered, but unless I can build up fire superiority I won't be able to stand my ground here for very much longer.


With the Americans under threat in several places a command roll of 43311 is very timely. With the threat of the pregame barrage removed it opens up a number of possibilities.
The squad leader opposite the Sturm squad orders four men from the rifle team, including one with a BAR, to move up to the windows and open fire.

Given they have moved they don't generate a lot of fire, but it's enough to kill one of the Sturm squad and inflict a point of shock.

The squad leader then puts the BAR team in the adjoining room back on to overwatch.

The command roll has given me the option to deploy both 30 cal MMG teams, as well as the platoon's third squad. The opportunity for such coordinated action may not occur again soon and so this sets up a moment of decision. Do I make a stand in the houses and fight it out with the Germans behind the hedges? I don't think I have a choice and I don't think I'll have a better moment than now.
It's time for the Americans to show what they can do with their firepower while the Green Germans have the protection of only light cover. With that the two 30cal teams deploy into the upper level of one of the houses and open fire at the German LMG squads opposite.


They suffer three casualties and four points of shock. It's a good start.

The third American squad deploys into the upper level of the adjoining house and they too open fire.


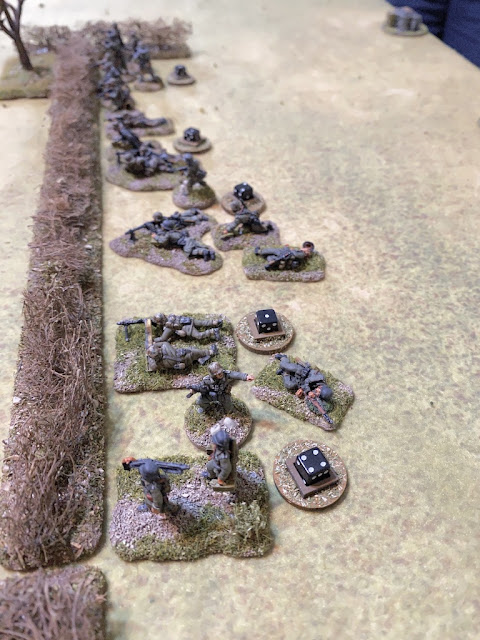
The Germans lose a further two casualties and take two points of shock. That is enough to reduce one of the MG42 teams to a single man and those losses plus the accumulated shock means one of the LMG squads is now pinned. The combination of a single man MG42 team, seven points of shock and being pinned has effectively taken that LMG squad out of action.


That's a result that may have just given the Americans the upper hand in this firefight. The platoon sergeant rallies shock off the squad on the ground level before ordering them to put covering fire along the hedge in front of the Sturm squad and the second LMG squad.

When it comes to the German phase Dave is faced with the decision of whether to stay and try to fight it out or to accept he's unlikely to prevail and move his squads out of the American line of fire. With the prospects looking poor the Leutnant orders the Sturm squad to make it's way around the hedges to the right.
While they succeed in escaping the line of sight of the Americans in the houses, as they move around the hedge they move into the line of sight of the BAR team on overwatch in the agricultural building.


The American fire is unnervingly accurate and two of the Sturm squad are hit. It seems nowhere is safe for those Volksgrenadiers.


The Sturm squad are followed quickly by the second LMG squad and the Leutnant with his rifle grenadier team.

The German move away from the hedge abandons the pinned LMG squad to its fate.

On the flank the Unterfeldwebel rallies shock and then he and the second squad move forward at the double to join the lead squad.

The Obergefreiter of the forward squad rallies shock and then orders the men to fire at the building. Finally the Sturm squad can exert the full strength of its firepower at close range.


The American rifle team loses one man and suffers two points of shock. In this particular firefight they are going to find themselves seriously under-gunned.


Now that they have the Germans in the open the American fire is proving particularly deadly and the LMG squad lose another man.


Lastly the sergeant orders one of the BAR men to turn and fire out of one of the other windows from where he can see the Sturm squad.


This is where the Germans have an opportunity to continue threatening the American flank and the lead Sturm squad fires once again into the agricultural building.


The StG44 assault rifles put out a heavy volume of fire and the Americans lose another man and see their shock increase to four.

Dave then uses the CoC die he has accumulated to move his right hand jump-off-point forward behind the two Sturm squads. With no more units to deploy this can mean only one thing - he's preparing for an orderly withdrawal in his next phase. He wants to ensure all squads have an accessible jump-off-point.

If that's the case, and I suspect strongly that it is, then I try to take the opportunity in the American phase to inflict as many casualties as I can. The rifle team fire out at the Sturm squad.


As expected, once the German phase arrives Dave announces he will make a voluntary withdrawal and pull his platoon back. With all of his squads within 12" of jump-off-points and none of them pinned they will all withdraw safely.
That was interesting. I wasn't happy with the placement of my jump-off-points and in the early part of the game I felt as though things were not working for me. This was only compounded by the way the pregame barrage was interfering with a coordinated response. The powerful base of fire that the Germans established at the hedge and the threat of the flanking move looked like they could unravel the American defence. Putting everything into that firefight was a make or break decision, had it failed or had the Germans received a double phase, events could have turned out very differently. While the Germans could apply a greater amount of firepower they suffered from weaker cover and their inexperience made them easier targets (as Green troops). This allowed American firepower to prevail from more secure positions in hard cover.
Another tough game for the Germans who look like they could do with some heavier support to break the deadlock. Here are Dave's thoughts after the game:
'Unfortunately not much went right. The carefully placed minefields plus an early deployment of a US squad into the agricultural building blocked the flanking move. In the centre I managed to get the three squads to the hedgeline, only for a quickly attained CoC die to end the turn – and the barrage. The immediate riposte was devastating and my attempt to redirect the attack to the right was shredded by American fire without doing any commensurate damage. Once again I decided to withdraw before being totally wiped out. Based on this turn’s results it's clear I need to wait for the armour support. No question.'
We now move to Campaign Turn 4 where there is the possibility German pioneers have quickly bridged the River Our. If so, the Germans will be able to call on armour and other support that might give them the help they need to overcome the stubborn American resistance. Despite two defeats in succession it's still early days in the campaign.
The Germans suffered a total of sixteen casualties, eight from the core platoon and eight from support units. The platoon loses four men permanently and has two wounded who will miss any action it may fight in the next campaign turn. With two defeats this campaign turn, each with with heavy casualties, the men's opinion takes a rapid turn for the worse dropping from +3 to -3. The divisional commander's outlook has gone from Confident to Aggressive.
The Americans suffered seven casualties but they have ended the game retaining possession of the village. With their force morale at eleven against the German six it means five men are patched up and return immediately, one is lost permanently and one wounded soldier misses the next campaign turn. The men's opinion climbs as a result from 0 to +3.
With the Americans still holding the table they are able to strengthen the defence. They have reached the maximum of two minefields already and so I select a piece of barbed wire to try to channel any future attack.
In Campaign Turn 4 the Germans will receive another platoon at Assembly Point A bringing their total number of platoons in play to four. They will have an opportunity to roll a D6 to see if the Our river has been bridged and they will be successful on a 5 or 6 (it will become even easier in successive campaign turns). If so they will have access to a larger support list with heavier weapons.
You can find out what happens in the following turn in this game report.
You find reports for all the games in this campaign and many other campaigns on the Chain of Command Campaign AAR page here.
Thanks for the report. Great stuff, although I feel the German player could have tried something more than simply getting into a firefight with better quality troops in hard cover.
ReplyDeleteIndeed, I do wonder if Dave would have been better committing the two squads that tried the flank attack to leverage off the firebase at the hedge and try to manoeuvre the Americans out of position. The Germans can generate a lot of fire but the can't take it, as was so clearly demonstrated!
DeleteGrand report and supporting photos as usual. Although your jump off points positions were not ideal your plan made good use of what you had and it came together well aided with a good run of the dice. Those Sturm squads are quite scary though a tad brittle, I may give one a run out in my next solo campaign game.
ReplyDeleteThanks. Yes, eight men with StG44 can apply 24 fire dice at close range, that's not to be sniffed at, but as you note, they are a bit brittle. A case of making sure you are firing first.
DeleteExcellent report as ever. A true nail biter
ReplyDeleteThanks Nick, certainly a good game from my perspective!
DeleteWell played by both sides. It could've gone either way, which is what I like to see in a game.
ReplyDeleteYes, a lot was hanging on the outcome of the big firefight which meant there could be only one winner.
DeleteExcellent write up as always. I eagerly await every write up you do. Thank you.
ReplyDeleteQuestion: Are you using an umpire to manage and decide interdiction/check on hidden movement/Our bridge rolls?
We are waiting for lock down to finish before we start our own Bloody Bucket campaign. You are ramping up the excitement with this series!
Thanks Jamie, glad you are enjoying them. I think an umpire would be ideal but to be honest I'm not sure it's essential. I guess it depends on how well you trust your opponent! The Our rolls I just leave to Dave to do and keep secret. Interdiction is a bit tricky although I can pretty much second guess at which assembly points he has platoons. At the start of each turn I decide if I'm moving anything, Dave just tells me which roads are interdicted and if necessary I roll. It hasn't happened yet but given his units that are interdicting would see Americans on the road and watch them drive by, block the road or worse case, shoot them up, I will tell him what they have seen or done. I think it's workable. If you can find an umpire that would make it simpler, but it's not a deal breaker.
DeleteThank you for your reply. I might be able to recruit an umpire so let's see if they are willing.
DeleteGreat write up for all these AARS; very tense! I thought the Germans might have had this one, but it wasn't to be! Eagerly awaiting the next instalment :)
ReplyDeleteGreat writeup as usual! I thoroughly enjoy every AAR you post. It's like being there!
ReplyDeleteNother tough one for the Germans , tho I thought they had a better chance at the start. To me the key was the agricultural building- to me that was the US weak point. The covering fire and smoke needed to go there to allow the two Sturm Assault squads to close. Relying simply on their firepower was never going to be enough. Once you had been unhinged there then it might be totally different for the defenders in the houses.
ReplyDeleteI think whatever way they choose to attack the Germans need to ensure they concentrate. With one American squad distracted trying to defend the agricultural building meant the Germans only had to deal with two squads and whatever support the Americans had on the other. Perhaps throwing those two squads into an assault there, backed up with all the firepower might have worked better? A few options for them with this one.
Delete