The Japanese return for a second attempt to clear the British Malay Regiment from their position on the ridge at Opium Hill. In the previous game the Malays conducted an extremely aggressive and successful defence that sent the Japanese reeling back to their start positions. Can they manage to repeat that success and beat off a second attack?
The defence is anchored around a pillbox and presents the Malays with the opportunity to construct a strong position that is difficult to outflank.
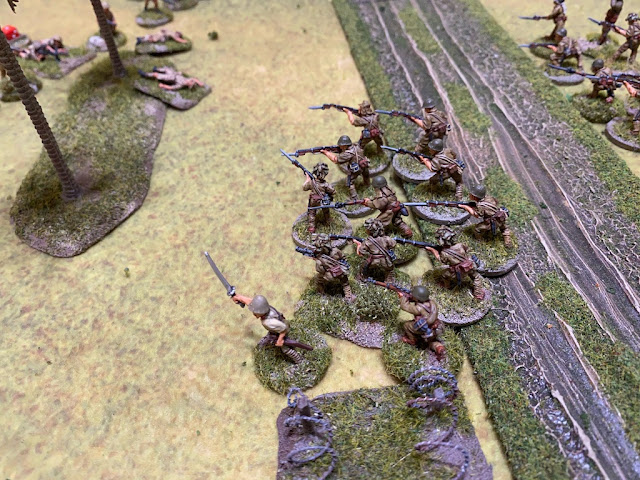
The British will start with their force morale at ten while the Japanese are at nine. The support roll is seven, which gives the Japanese seven points and the British six. I am determined to force the Malays from this map and plan to be very aggressive. With a replacement platoon available I am prepared to take casualties to achieve my objective and my thinking is to use a Ruse to take a jump-off-point as far forward as possible and call on an engineer squad with a flamethrower team to force a way into the defensive position. Japanese supports will be an engineer squad, a Ruse and a Satchel charge.
The Japanese have six free moves at the start of the patrol phase which enable jump-off-points to be placed as far forward as possible. Dave is cautious in the placement of the British jump-off-points, wary that if they are not set back far enough a Japanese Ruse could see one or more of them closed down very quickly.
 |
| Map © Rosio Espin and Karwansaray BV Originally published in Wargames, Soldiers and Strategy #101. |
Before we start the British place two lengths of barbed wire to secure their right flank.
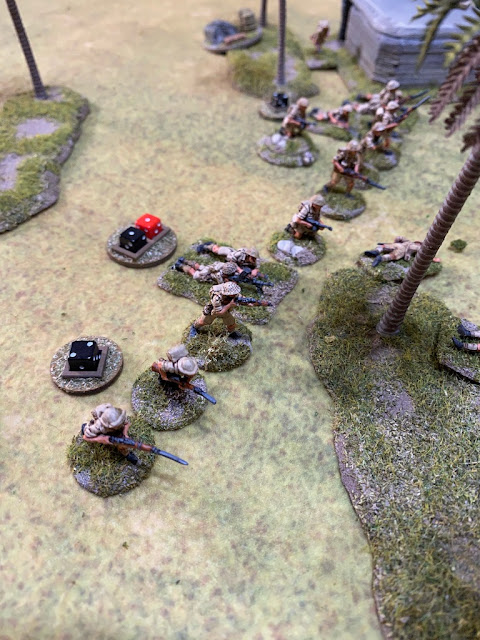
The British have the initiative. Their first move is to deploy a section between the wire and pillbox and place them on overwatch. Dave declares quite openly that this is a deployment primarily aimed at preventing a Japanese Ruse making too great an inroad into the defence. He must be reading my mind.
It comes as little surprise to see a Vickers MMG team appear in the pillbox.
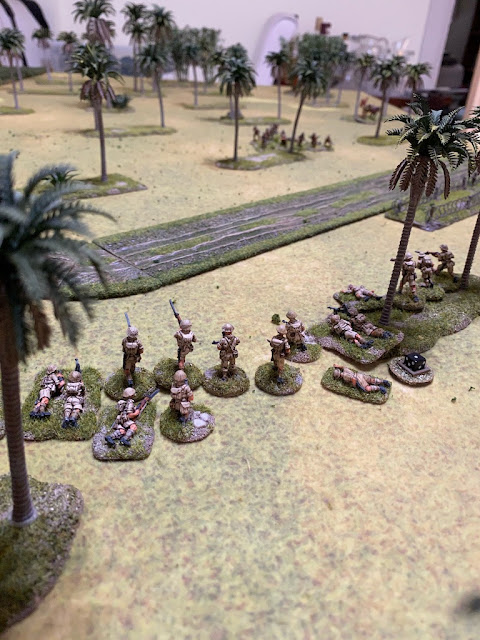
In the British phase a second section deploys from behind the pillbox. They can hear gunfire, but they are unable to spot the Japanese in the plantation and so don't engage them.
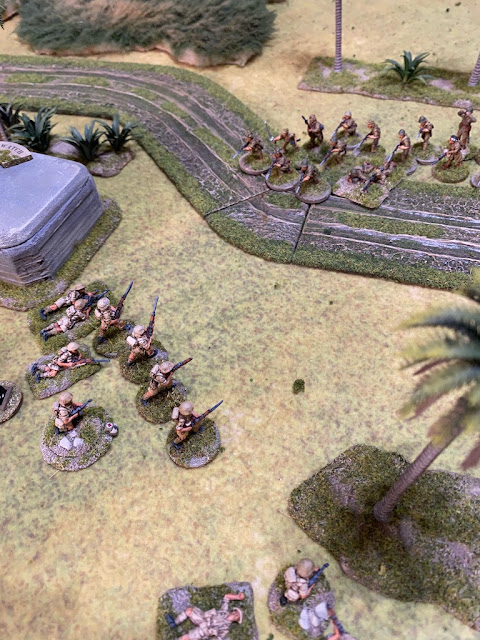
The Japanese are outside the covered arc of the pillbox and so the Vickers MMG crew can only hear the firefight but not participate. Nonetheless the platoon sergeant deploys and puts the Vickers team on overwatch, alert to the imminent arrival of more Japanese.
He then orders the section on the right flank to fall back deeper into the plantation in line with the newly deployed section.
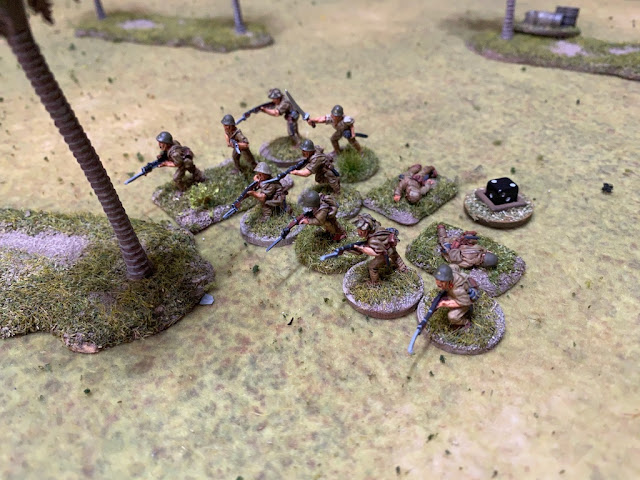
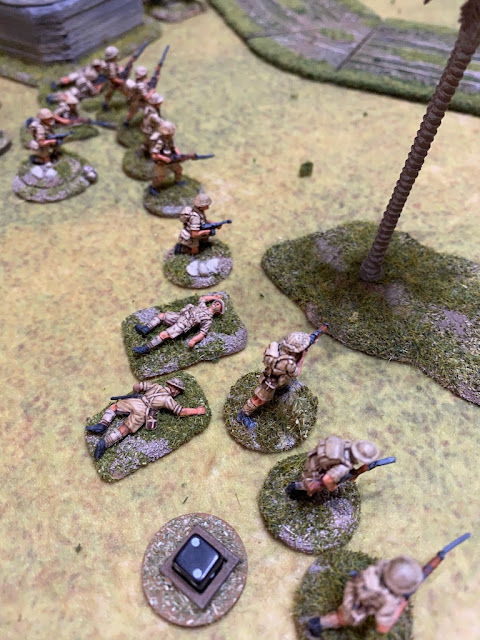
One of the Bren teams loses a man and the sections accumulate shock, but overall the damage from the flamethrower is not as bad as it might have been. Nonetheless it poses quite a threat.
A second squad deploys on the Japanese left and opens fire.
The section near the pillbox lose a man from the Bren team and suffer further shock.
We decide to tempt fate and Dave rolls to see what his command dice might have been had he chosen not to withdraw - he rolls 65521, a selection of dice with few good options and leaving only a fierce Japanese response in return. The decision to withdraw was the wise choice.
A short scenario in the end but the Malays had little they could achieve when faced with a rapid and aggressive Japanese assault. From a Japanese perspective that was a satisfying result with a swift victory at a low cost in casualties. Dave has done well to keep his original platoon in good enough shape to fight through four scenarios. That's important in the overall scheme of the campaign, as having to commit the second platoon too early would leave him with insufficient force to make a stand on the final map. That leaves things nicely poised for the last scenario. Both sides are able to call on a fresh platoon should they wish and it is where the Malay Regiment, with their backs to the wall, can be expected to put up a very determined resistance.
The British suffered five casualties, which see a further two men lost permanently, two wounded for the next game and one man returning immediately. The defeat sees the CO's Opinion drop to zero and the mens' opinion down to +1.
The Japanese suffered only two casualties, which results in one permanent loss and one man wounded and unavailable for the next game. The platoon has lost seven men permanently and will have a wounded man unavailable for the next game. However three wounded men and one who was dispersed following the defeat in the previous game will return to the platoon, leaving them missing a total of eight men for the next scenario.
The Japanese advance continues and in the next game we reach the last map of the campaign and you follow what happens next in this post.
You find reports for all the games in this campaign and many other campaigns on the Chain of Command Campaign AAR page here.
Last Stand on Opium Hill, a campaign for Chain of Command, appears in Issue 101 of Wargames, Soldiers and Strategy Magazine. My thanks to the magazine and publisher for permission to reproduce the maps.
If you are interested in more action set in the Far East you can follow another campaign between the Australians and Japanese that takes place in Malaya a few weeks prior to this current campaign. Click here for the first game report for the Malaya 1942 campaign.












A wise move by Dave, no point in riding your luck under such pressure. Great report and pics of course.
ReplyDeleteYes, barring some extreme good fortune it looked like there was only ever going to be one outcome. When it's time to go, it's time to go.
DeleteWithdrawing to fight another day sometimes is the only viable choice! Looking forward to the next installment.
ReplyDeleteIt's something new players don't always appreciate in a campaign. I've seen people win scenarios at such a cost that they've destroyed any chance of fighting right through the campaign.
DeleteGreat AAR! Fun to read and pics of the game are excellent. Too bad you left the flame thrower figure at home. 😀
ReplyDeleteAh man, I can't tell you how annoyed I was. What's the point in painting all this stuff if you leave it at home in a box....twice!
DeletePity you didn't get to flame the pillbox
ReplyDeleteI was very, very tempted but kept my eye on the prize. It was my original intention to use it against the pillbox but once the Ruse put me out of its covered arc I just needed to make sure I did as much damage as possible to those two sections.
DeleteThat went fast. Flamers were very good idea, esp used on core squads.
ReplyDeleteI wonder - couldn't last time You used some artillery (not barrage) or medium mortars or snipers to kill? Waste one battle to attack the numbers? There was no such option in support or not enough supoort points?