
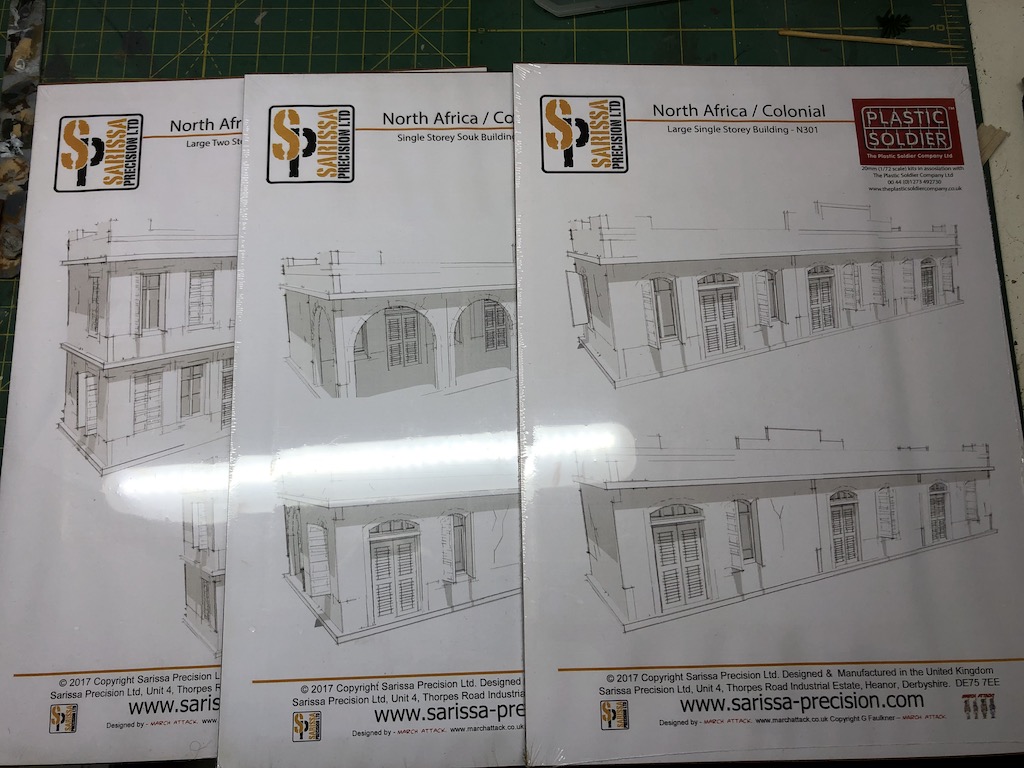
Sarissa's colonial range includes several buildings with a number of features that would not look out of place in Rangoon or Singapore. They appear to be designed with a North African theme but they are consistent with a European style of colonial architecture that could be found in India and the Far East. Perhaps the key difference is that in those places like Singapore where heavy rain is common they are more likely to have tiled, sloped roofs rather than a flat roof. Otherwise they play the part extremely well.

Looking at period pictures the shuttered windows are a major feature, as are balconies, so I wanted to make sure I made a feature of these.


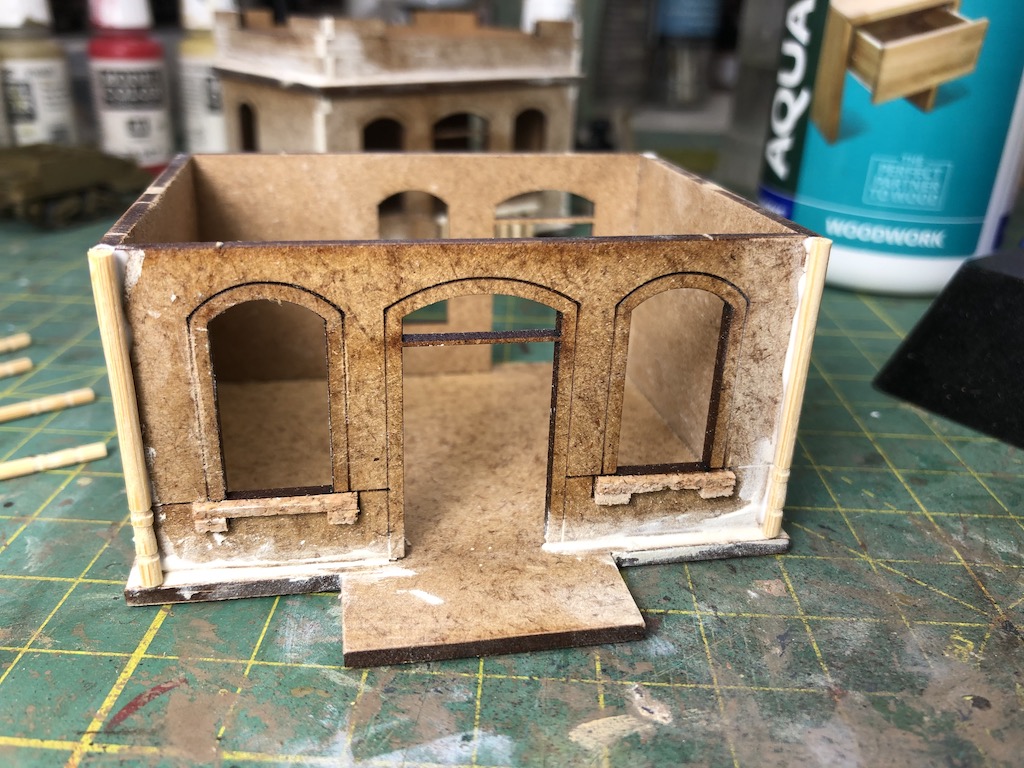
As with all the Sarissa kits they assemble quickly and easily.


A few years ago I bought some shaped cocktail sticks thinking that they could come in useful for a terrain project. Until now they have sat in a drawer unused.


The top ends are perfectly shaped for colonial style balustrades and by sheer coincidence, perfectly scaled for 20mm. I knew I bought them for a reason, even if I had no idea what that reason was at the time. I removed the original balcony balustrades from the Sarissa model and replaced them with the shaped ends of the cocktail sticks.


Next I filled all the joins in the MDF with all purpose household filler. Even though the parts fit well together there were still a few small gaps and some of the tell tale signs of the joins that so distinguish an MDF model.


A light sanding smoothed this off to the levels of the walls.


Inspired by the balustrades I decided to use the toothpicks for another feature. Many colonial style buildings have columns on the outside but anything too wide wasn't going to work with this particular house and so I thought the cocktail sticks would fill that role without taking up too much space.
To cut the cocktail sticks I use "The Chopper" one of my favourite terrain making tools. It makes cutting lots of pieces to the same size incredibly easy (not to mention fast).

Once cut to size these were attached to the front corners of the house. As I need to remove the upper level for gaming purposes I've done this in two halves, one for the upper and one for the ground level.


Plain MDF walls always lack texture but as these are buildings that are normally rendered I didn't want anything too heavy or rough. One coat ceiling paint has a thick consistency and must contain some sort of filler, so is perfect for this particular job.

I applied it using a sponge roller and dabbing with a paintbrush to try to tease out a bit more texture.


The next job was to paint. The first coat was Dulux emulsion Deep Bamboo, followed by a dry brush of Arava to pick out the texture.


I final light dry brush of Warm Neutral was then followed by a dry brush of a darker Burnt Umber into the recesses and corners to give a more three dimensional look.


The doors, window frames and shutters are all produced on grey board. A rather nice design feature is that you don't need to remove the window frames or doors from the grey board, the whole piece simply slots into the model at the appropriate place. Not only quick and easy it also ensures everything is perfectly aligned without the need to fiddle around. I wanted the look of slightly faded paintwork and so used Vallejo Grey Blue and brushed that lightly over the various features.


The faded blue works well against the main colour of the walls and once they are all in place the building really starts to take on some character of its own.


I find it's often the small details that can really lift a model. The house represents that of a local merchant or colonial administrator and I felt it needed more decoration to reflect the relative affluence of the owner.
I used Milliput to sculpt some simple plant pots and containers. While I was at it I made a number of small balls to use as door handles.


The tall windows let in a lot of light but made the building look a little like it had been abandoned. I wanted to give the place a more lived-in feel and played around with ideas for dressing on the windows. Rather than curtains, which had the danger of becoming a complex job, I settled on the idea of rolled cloth window blinds. The most simple solution was to use pieces of the absorbent paper towels that I use to clean my brushes. They already have texture and would require little work.


While I was thinking how best to tackle those window blinds I set to work painting the plant pots and adding tufts of Gamer's Grass shrubs.

The door handles were attached and I couldn't helping thinking how such a simple touch could transform the look of the doors.


I then cut the paper towel into strips to match the windows. I thought they needed some colour and so soaked them in a mix of paint and diluted PVA glue. Once they were wet it was easy to roll them from one end to simulate blinds and then while still wet attach to the interior of the windows.


The other pots I placed on the roof to add a bit more character to an otherwise featureless part of the building.


Lovely work Mark
ReplyDeleteThanks John, you’ve been a bit quiet lately, I miss seeing your latest works, always a good source of inspiration.
DeleteExcellent! The details really set these apart and make them look so much more like parts of an actual city! Really looking forward to seeing them in one of your fantastic AARs!
ReplyDeleteThanks, look forward to gaming with these soon (eventually!).
DeleteExcellent walkthrough of your construction process and you've done many of the things I would have done too.
ReplyDeleteGreat result.
Thanks Jim, yes, nothing groundbreaking here, just a few tweaks and embellishments to add character, glad you like it.
DeleteExcellent work detailing this kit. I am a big fan of Sarissas kits. I don’t have the patience to do all the detailing that you’ve done but there’s some great ideas here and the end result is stunning.
ReplyDeleteThanks Peter, not as time consuming as it might appear and hopefully some techniques that are easy to apply.
DeleteGreat tutorial, wonderful photographs, and your M5 is ace as well !
ReplyDeleteThanks.
DeleteSplendid work, another piece you have raised from the ordinary.
ReplyDeleteCheers Phil, I’m looking forward to trying something a little more ambitious with the bigger buildings, just hope I don’t get over ambitious!
DeleteVery nicely done- an excellent example of how to improve an MDF kit. The Sarissa kits are some of the best.
ReplyDeleteMost excellent! Thanks for sharing.
ReplyDeleteWhat an awesome build, excellent execution! I’d definitely use this for my Colonial games.
ReplyDeleteIf you put a steeply sloped roof on that building, it would look like a House my partners family own in Cambodia. I presume that it was a French design.
ReplyDeleteExcellent work Mark. Can't wait to see it on the table!
ReplyDeleteOnce again, great job improving upon the base kit. The flower pots are an especially nice idea and came out well. 😀
ReplyDeleteGreat job. Really shows what can be done with these MDF kits.
ReplyDeleteA great looking model, but it's the small details that make it special. Well done.
ReplyDeleteTony
That's a great piece of terrain
ReplyDeleteThat's the type of house that I wouldnt mind living in ... as long as it has a wargames cellar. :-)
ReplyDeleteRegards, Chris