

Last year I picked up Rendera's American Church in a sale as I thought that would fit in nicely. The church comes as a plastic kit which is a change for me as the vast majority of my terrain buildings are made from laser cut MDF. Overall it's a good looking kit, however it has a few features I didn't like and wanted to change.

The most obvious is that the church spire appears to 'float' above the roof and, to me, it looked quite odd given it should emerge out of the roof, not sit above it. There is clearly a reason for this - it allows you to slide the roof out if you need to access the interior, which for a piece of gaming terrain is quite important. Yet despite being functional it just didn't look right.

For some reason there also seemed to be a gap underneath the bell housing.

Unfortunately there was no way to make the spire fit the model better and still make the roof easy to remove without undertaking a lot of additional work. In the end I decided I'd rather have the building looking more complete and forego the detachable roof. Instead my solution was to make up a base from which the whole building could be removed and that way I could place figures 'inside'.
First though I wanted to add flashing and some tiles along the ridge line of the roof. There were several prominent gaps, most notably the one under the bell housing and those required filling.


This was looking a lot better and once primed it all tied together.


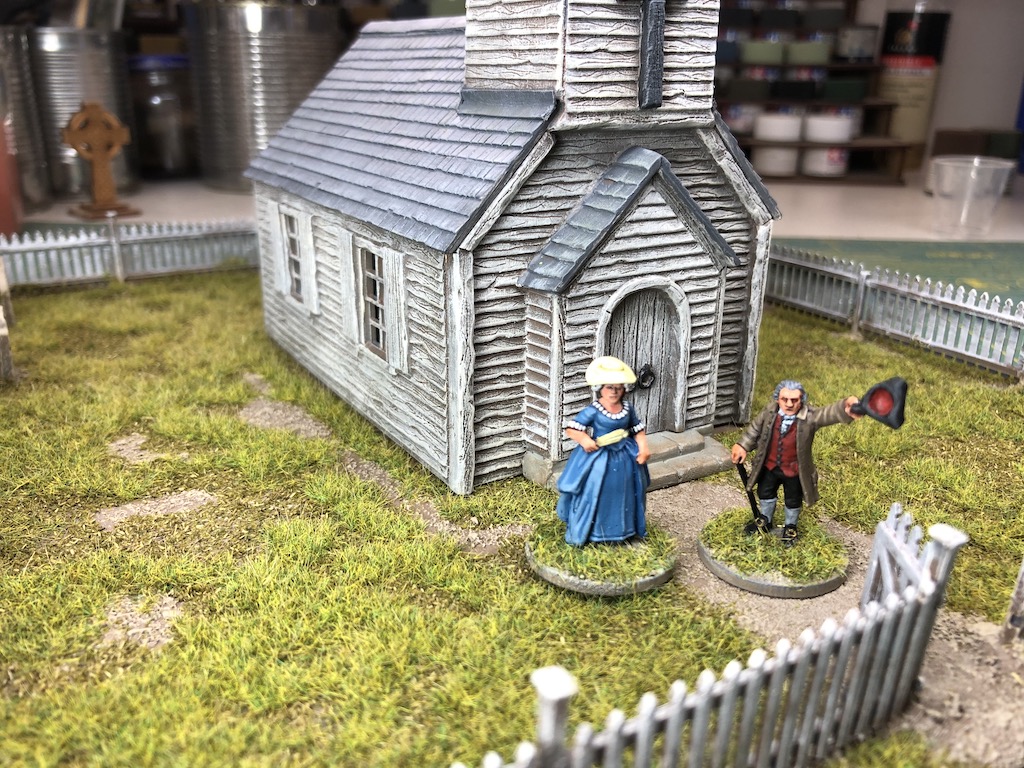
The walls then had their first coat of paint using Dulux acrylic emulsion (Brown Land).


This was followed with a dry brush using off-white acrylic made from a mix of white and a small amount of raw sienna.


This was gradually built up in layers, becoming progressively lighter in colour. I wanted a look of faded white paint on weatherboard.

The roof tiles were given a base coat of Dulux Western Myall followed by a dry brush of Timeless Grey. Small features, like the crucifix, door handles and stone steps were also detailed.


The kit comes with picket fencing and a couple of gravestones and so I wanted to make a base that the church could sit on. However to keep things versatile I didn't want the church permanently attached to it. That was for two reason. Firstly so it can be used in other settings but also because with the roof now permanently attached I need to be able to lift the model when I want to place figures inside.

There is enough picket fence to make a fairly large base and this should make the church quite a feature on the table.
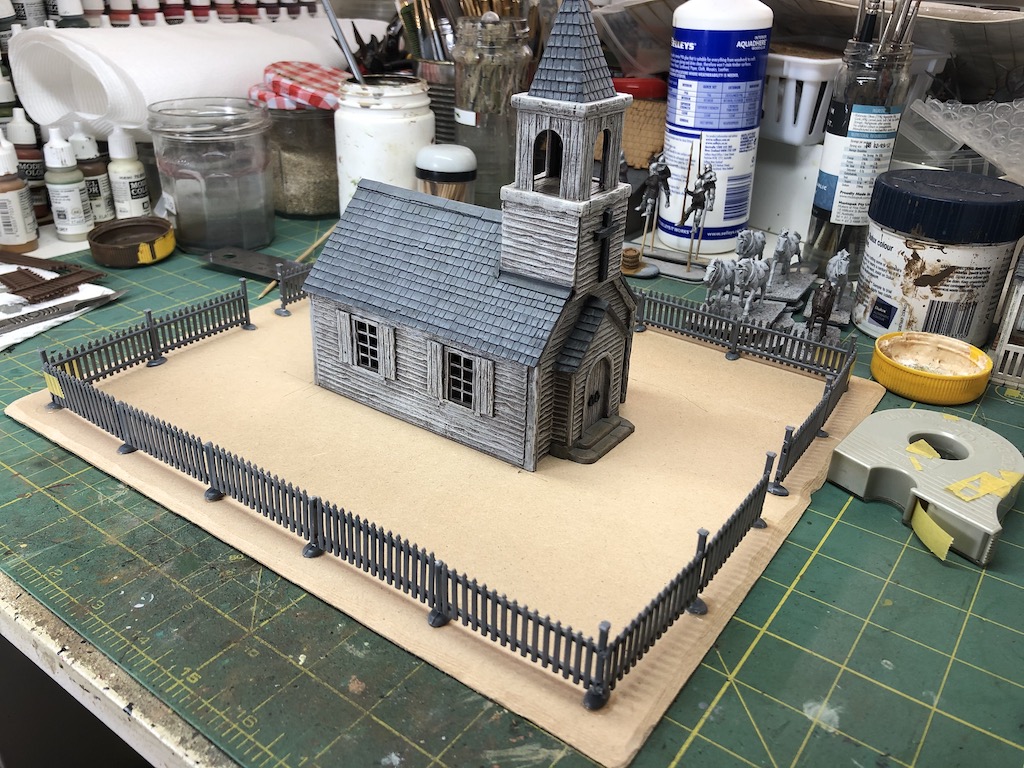
To keep the model in place I glued down a few matchsticks to help hold the church in position. The base was then textured using PVA glue and sand.


All that remained was to paint the picket fence in exactly the same style as the church and then paint the base in my usual earth colours. With flock added it was finished.


I have build the model ...... but it doesn't look like yours :-)
ReplyDeleteSuperbly done, a lovely centrepiece.
That is a fabulous piece! Superb painting indeed.
ReplyDeleteThanks for the step by step painting guide, very helpful.
Cheers
Matt
Very nice Mark, really superb painting, the weathered white really looks good.
ReplyDeleteVery well done! Love the addition of the base. The extra effort you put into the model really has payed off.
ReplyDeleteOutstanding work!
ReplyDeleteGreat work on that piece! I use mine for AWI, FIW, ACW and also for zombie games!
ReplyDeleteCheers
Matt
French Wargame Holidays
Great job! Looking fan-tastic. 😀
ReplyDeleteFantastic! Can I ask, what flocking do you use? I really like the longer grass and the contrast of light and dark.
ReplyDeleteThanks. I use the same method for my figure bases and there’s a detailed post on how I do it that you can find here https://thetacticalpainter.blogspot.com/2026/01/how-i-texture-figure-bases.html
Delete