Thursday, 7 April 2022

How I write a Chain of Command game report

I've been asked several times how I put together my after action game reports for Chain of Command. Someone even remarked that the pictures were so free of gaming paraphernalia like measuring tapes and dice that I must re-enact the game afterwards and if that wasn't so, what sorcery was at play? A comment after a recent report on our Many Rivers to Cross campaign suggested there would be interest in a blog post on how I actually do go about it. So, this is it.

Firstly, I want to say that I don't think there is a right or wrong way to do these, exactly like there is no right or wrong way to paint your miniatures. You do what works for you and so this is not an attempt to tell people how they should do it, this is simply me explaining how I choose to do it.

From the beginning my aim was to create the sort of reports that I would enjoy reading. I like to follow how a game progresses and be able to understand what the players are trying to achieve and how they are going about doing it as the game unfolds. Ideally I'm able to gain a decent grasp of how the rules play out in the context of a game, particularly if I'm not familiar with them. 

While it helps to know the rules I'd like to think there's a way to write reports where a knowledge of the rule set is not essential. If the reader has a reasonable understanding of warfare during a particular historical period and the rule set tries to reflect that in its mechanics and outcomes then I believe you should be able to follow what's happening in any game set during that period. 

So, where do I start? Well, at the risk of stating the obvious - I need an opponent. Which means the first thing I must acknowledge is that without the patient cooperation of Dave, my regular opponent, none of this would be possible. I think it goes without saying that if you want to document the game in some detail it requires the willing involvement of both players.

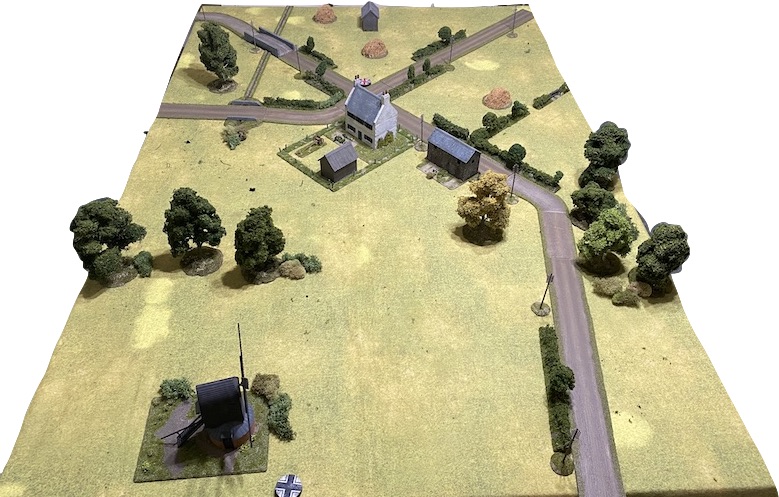
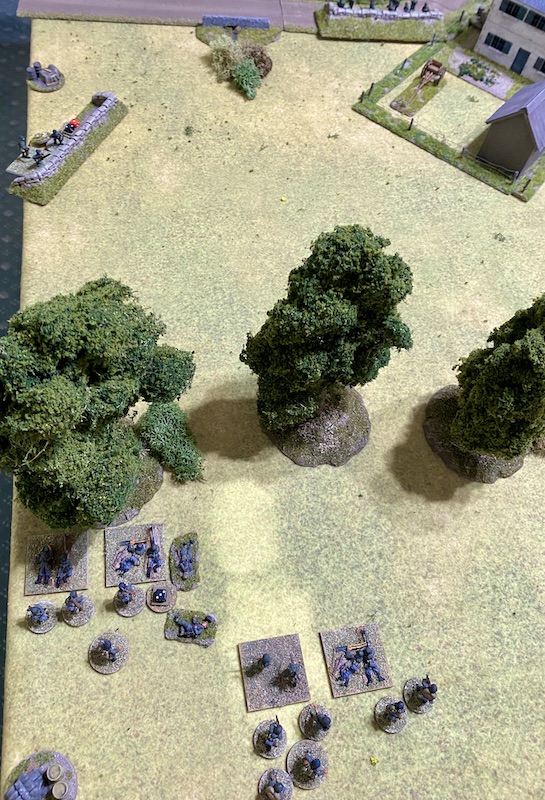
The next key element is an organised space to play and record the game. The vast majority of our games take place at Dave's house and the set up for the games room is simple enough - a 6x4 table with the terrain for the game: 

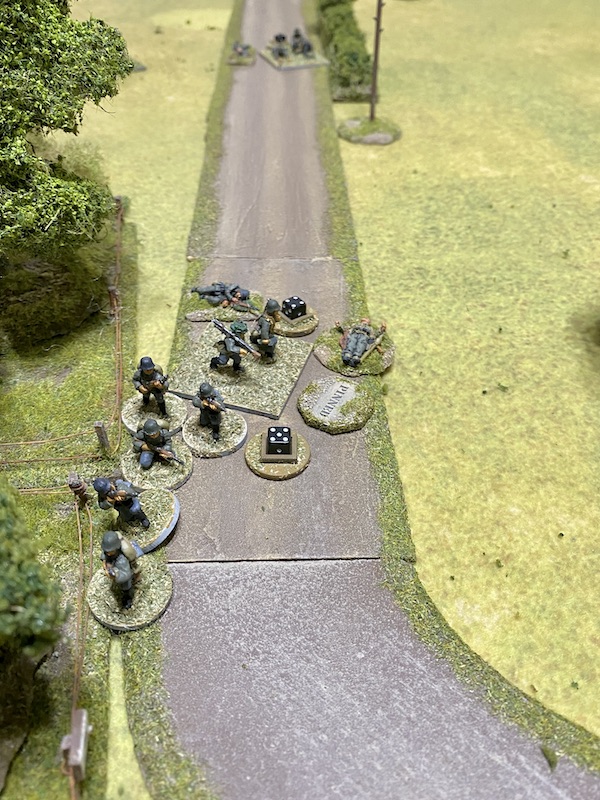
The other important piece of furniture is a side table. This is an essential for me whether I'm photographing the game or not. I just don't like my miniatures tables cluttered with rulers, dice, reference sheets or, far worse.... cans, cups and food wrapping (I can't believe how often I see this in photographs of games at shows and conventions). Nothing breaks the immersion more and the same applies when it comes to photographs for the blog's game reports. The best way to avoid that is to have a side table for all those various bits and pieces. Let's be honest, that's where they belong.

We light the room with bright lights which helps considerably with the photography - three ceiling lights using 24W cool daylight bulbs (that's 100W in old money).

I make notes and take photographs each phase and the best way I've found to do that is using an iPhone. Photographs are taken without a flash and using the iPhone's built-in camera (hence the importance of good lighting in the games room). I take a lot of photographs, both wide shots of the table so that you can see unit movements in the context of terrain and the other units in play, and then I take close-ups to illustrate specific information about things like where units are positioned in relation to terrain/cover, casualties or the line of sight of key weapons. On average I take about 200 photos per game. 

I tend to take pictures in small series that tell the story of the phase - if one unit fires at another then I will photograph the firing unit and the target unit, perhaps also adding a wide shot to show both units and their positions relative to each other. If the result of the combat is of note then I take an 'after' shot of the target unit with casualties removed, wounded leaders marked or shock recorded.

The notes are made using the iPhone's Notes app. This has the potential to be the most time consuming part and the one most likely to interfere with the flow and enjoyment of playing the game, so I try to keep it as simple and straightforward as possible. The picture below is a screen shot of the start of my notes for the report of the third scenario in the Many Rivers to Cross campaign which you can read in full here

I make a few opening notes to include pertinent details like force morale. In the case of the game below I have noted the respective starting strength of all the German units, as that is relevant to the game.

Each phase I record the result of the command dice. I then record each action and any combat results. Looking at the example below I use a capital letter to record the side whose phase it is (in the case below it's a G for German and a D for Dutch). 


You'll notice that these notes include words like Mitrailleursgroepen or Obergefreiter. I don't write out those entire words each time. To help speed things along I use the Text Replacement feature of the iPhone keyboard to add shortcuts for the most commonly used words. These include common game mechanic terms such as 'deploy'; non English words like the German rank 'Feldwebel', or, technical names for pieces of equipment like the Carden Loyd carrier. I'll update it for each campaign to reflect new pieces of equipment or unit types.


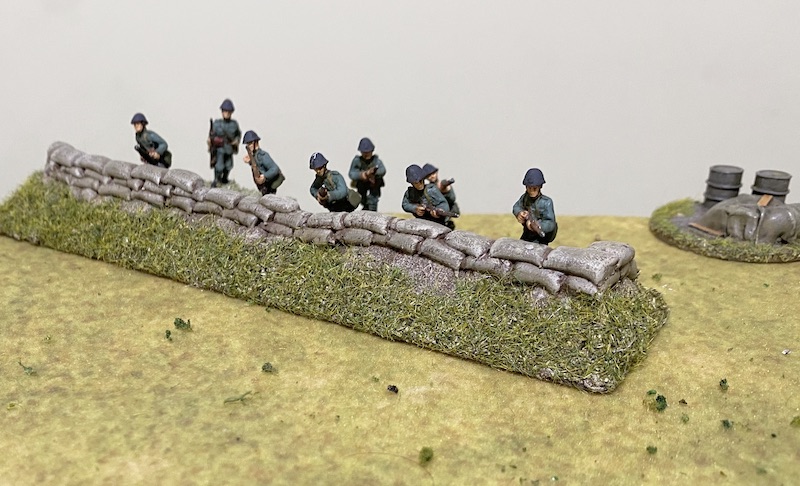
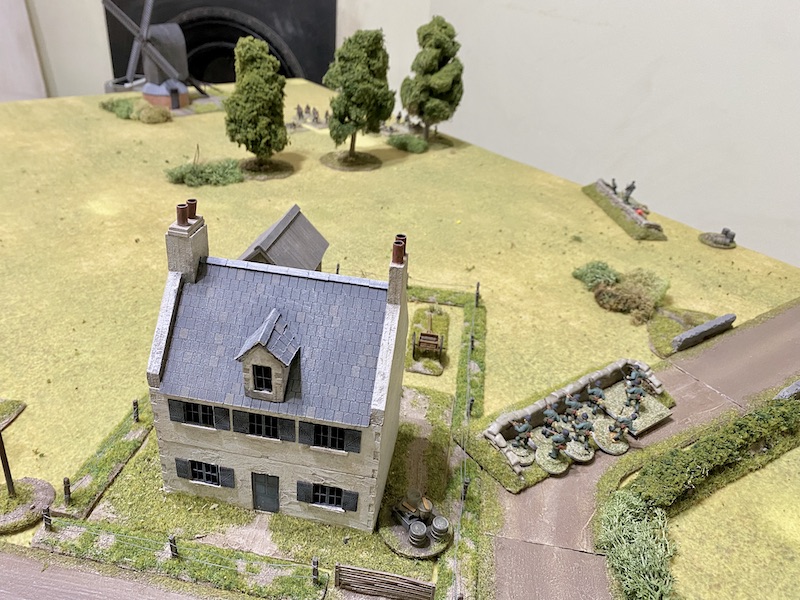
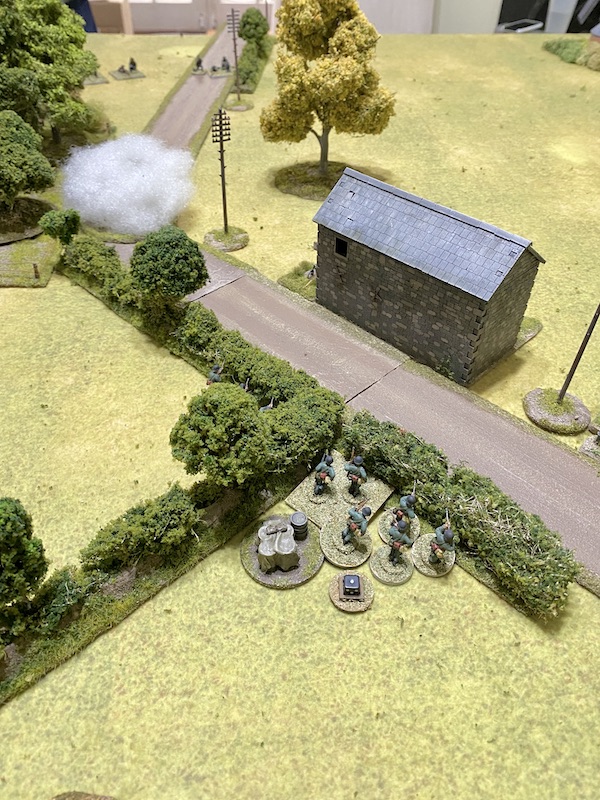
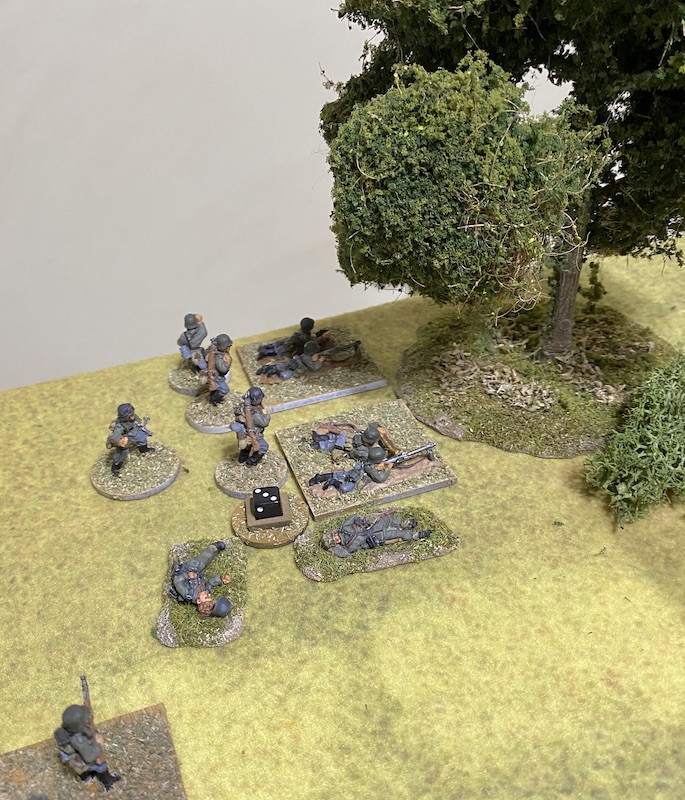
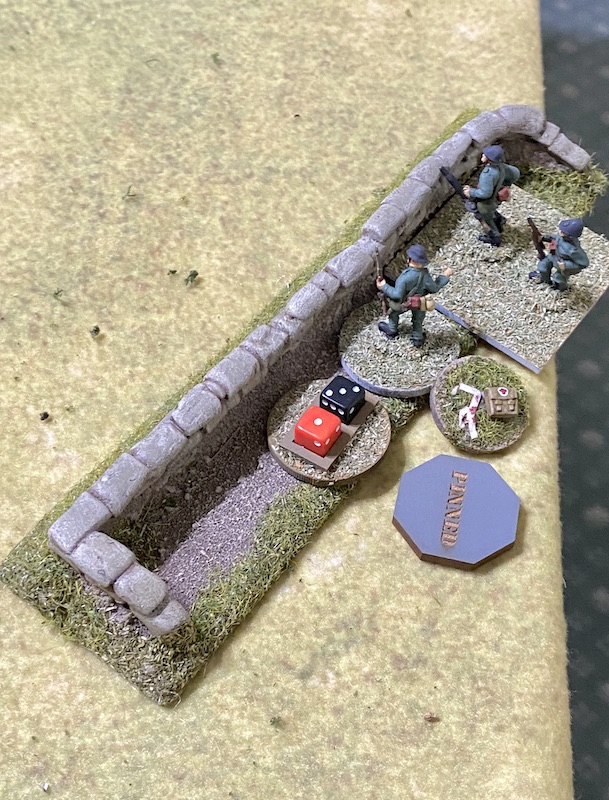
Several game events don't require notes and can be recorded using photographs, like the positions of the jump-off-points. Essentially the photographs back up the notes and vice versa.

It takes a bit of discipline to remember consistently to make notes and take photographs. Keep in mind that we don't stage the games for the blog - first and foremost we are playing the games. I'm simply recording what happens for the blog. We are both quite competitive and often it's easy in the heat of the moment to forget to make a note or take a photograph. That said, after producing more than seventy of these AARs, I rarely forget and Dave is so used to the process he will remind me if I do.

Once I get home I try to compile the notes and photographs in a draft form as quickly as possible. I've found it best to do this sooner rather than later, while the game is still fresh in my mind.

I used Google's Blogger and set up a 'New Post' in the design software. The first thing is to cut and paste the raw text straight from Notes into the draft post. The notes will be in their rough form but here it helps to have used the text replacement ability on the iPhone because it means less work to do expanding the notes into proper sentences later. 

The next task is to populate each event of each phase with one or two photographs. Occasionally, if a game has had a long series of phases at the beginning where the attacker is moving forward but the defender has remained concealed, I may abbreviate the events of several phases but otherwise I tend to stick to a phase by phase account.

All of the photographs are in the photo library (I use a Mac and so all the iPhone apps talk to each other and all the photos are automatically transferred to the photo library via Apple's Photo Stream). The original size of each is about 3MB so I edit them first before uploading to the blog. I pick the ones I want, crop or adjust them if I think necessary and then put them in a separate file. I then compress them all down to a more manageable size. This can be time consuming as I don't use all the photographs that I have taken and some will need editing before I put them in the blog post. The one advantage of taking lots of photographs is that they also tell the story of the game and they do it chronologically, so if you find your notes are not complete the gaps can often be filled by looking at the photographs - another good reason to do it while the game is fresh in your mind.

With the raw notes in the draft and each note followed with one or more photographs I then have a basic structure that is the raw timeline of events. That then gives me the framework around which I can write a more comprehensive narrative. To be honest while I'm compiling the notes and pictures in this draft form I am already starting to think about the narrative arc of the report. 

What do I mean exactly when I say 'narrative arc'? I've worked in the film industry for more than 25 years and in some ways I look at a game report much as you would a film script - as a piece of creative writing. All films follow some sort of narrative arc, with the 'arc' the pivotal moments of drama in the film towards which the story builds and around which the narrative unfolds. This applies as much to documentaries as it does to fictional drama. It's very similar to the classic structure of a three act play:

First, you have the set up - here we establish the characters, the world they live in and their relationships and towards the end of that first act the main character has a confronting incident.

Second, you have the confrontation - here the main character deals with the incident but typically finds themselves in an ever worsening situation, one they cannot resolve without rising to the occasion to tackle it in new ways or by acquiring new skills or knowledge.

Lastly, you have the resolution - this is a high point of drama and action where the protagonist confronts the incident and works to a resolution, often emerging wiser or better than they were previously.

I think you can see how this narrative arc can apply to many wargames. Invariably I find that I can identify one or two defining moments in a game, if you like, these are the confrontation of the second act. The ways in which each player attempts to deal with those defining moments is the story's dramatic arc and forms the third act, the resolution.

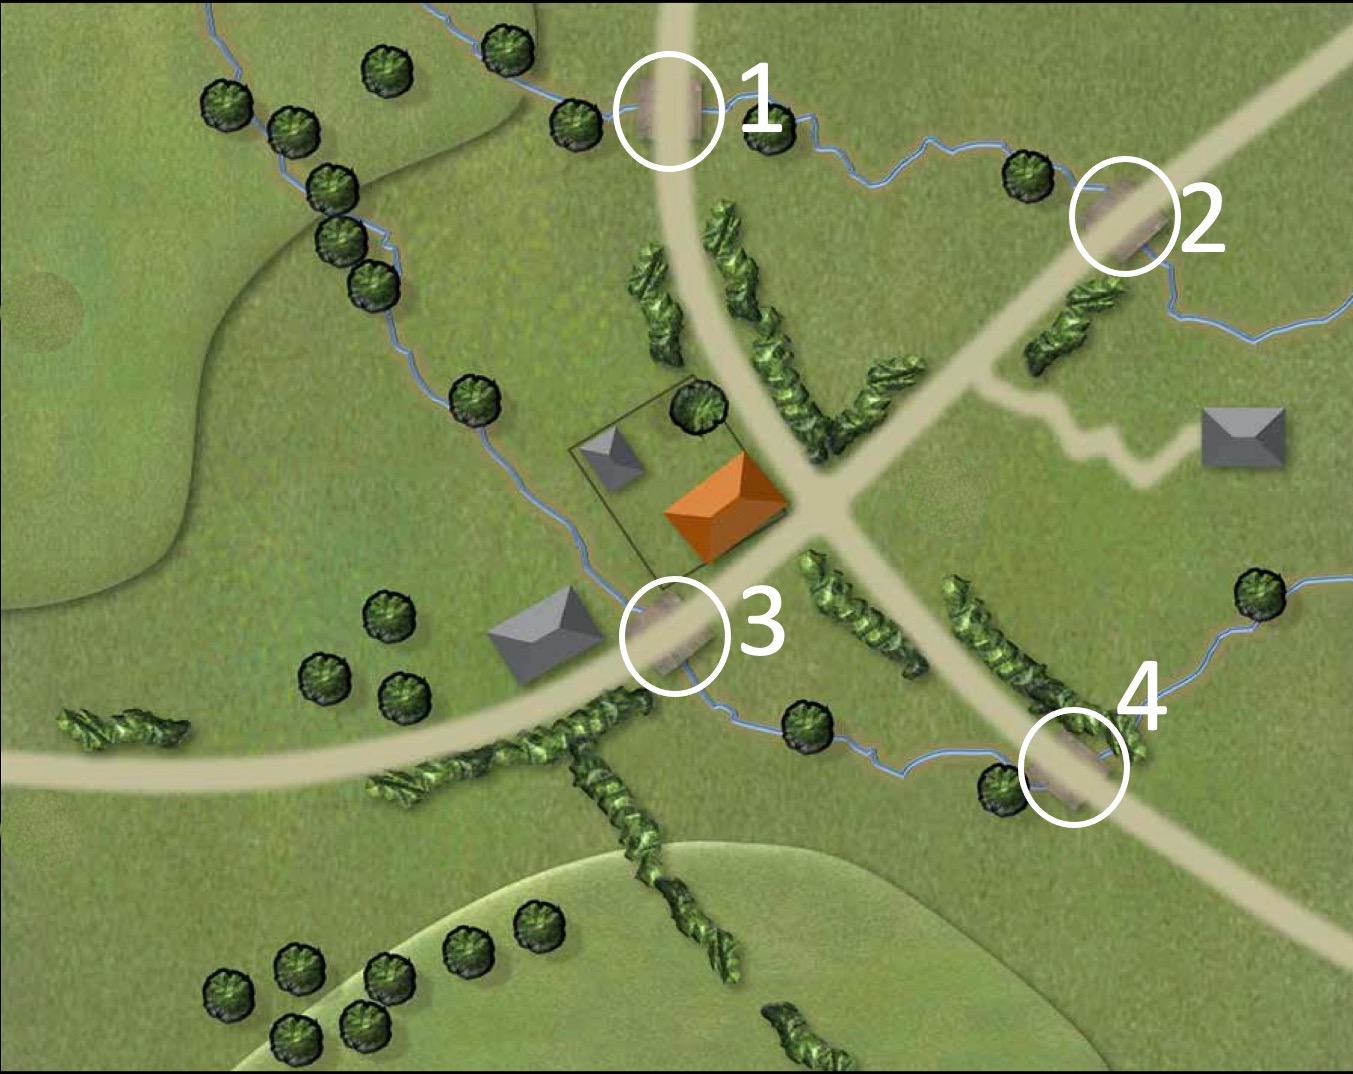
So the first stage of the game report is to create the set up -  to set the scene for the readers - what is the scenario? what are the victory conditions? what forces are being used and in what sort of terrain? what has happened in previous games to influence what is happening now? The game then begins and early on there is a confronting incident. Well of course there is, after all no plan survives first contact with the enemy! That could be the loss of a key unit, the death of a senior leader, the surprise appearance of an anti-tank gun etc

That set up leads to the confrontation, where both sides begin deploying and fighting for supremacy over key objectives and so the game ebbs and flows as each sides seeks to react.

Finally we have the resolution, probably a moment when one player makes a decisive breakthrough; it could be the exploitation of a moment of good fortune with an aggressive move, or, the execution of a surprise deployment that's enough to tip the balance of the game and eventually see one side emerge victorious. Sometimes it is simply the stoicism displayed by one player to ride through a rough patch to remain in the fight and attain a result that looked unlikely earlier in the game.

I have to say this is the bit I enjoy the most, it's the crafting of the story of the game. In many ways it's like playing the game all over again, but in order to do it justice I need to have as much material as possible to pull it all together, without that it's hard to produce something meaningful. 


Monday, 4 April 2022

Many Rivers to Cross Scenario 3: Farm & Road

This is the third scenario in our Many Rivers to Cross campaign set in the Netherlands during 1940 using the Chain of Command rules.

A victory in the previous game has presented the Germans with an opportunity to blitzkrieg directly onto the next map in the same campaign turn. The advantage is that this could buy them extra time to reach the final map before Dutch engineers are able to demolish the bridge. However the disadvantage is that they must make this new attack without any additional support and only with the units that survived the earlier scenario. As time favours the Dutch I've decided the Germans should take the risk and push on ahead. 


Having said all that, I'm not convinced this is a great idea. The reason being, the Germans are relying on infantry alone to make the attack. Until the river behind them is bridged they are without heavier weapons or armour. That means they lack both HE support and speed. Despite that, this is an opportunity to maintain momentum and keep ahead of schedule. It's a bit of gamble but I think it's worth a shot. 

Naturally, the Dutch are desperate to stop or delay them and in this scenario they must attempt to demolish two culverts to halt the progress of German vehicles. This is a Going with a Bang scenario from the Blitzkrieg 1940 Handbook. 

At the end of the previous game the German schützen platoon was close to full strength, missing only the second in command, the Feldwebel, who had been killed. The same cannot be said for the pioneer and schützen support squads who suffered more grevious casualties. Nonetheless with the help of a tripod mounted MG34 team and an Adjutant the Germans remain a potent force. Ideally they can get the job done, but if it looks like the cost will be too high or events start turning in favour of the Dutch I'll have no hesitation in withdrawing.

The map shows four possible locations for the culverts and we randomly determine two of these for the scenario. In our case it will be those at positions 1 and 2. The first, at position 1 will require a task roll target of 6 to set the charge and that at position 2 will require a target roll of 12.


That gives the Germans a fair distance to go to prevent the Dutch engineers completing their task. In terms of terrain there is a small woods on the German right by the bend in the road. The trees on the left are too thinly spread to offer any cover and so that flank offers little in the way of protection. 


That means there is barely anywhere for the Germans to secure jump-off-points. The best they can manage is to locate two in forward positions on both the left and right table edge with a third at the rear. The Dutch are placed to defend the crossroads and the two culverts.


Force morale starts at eleven for the Germans and ten for the Dutch. As this is a blitzkrieg the Germans won't receive any support, but the Dutch will have 1D6+3. Dave makes the roll in secret and I won't know what he's selected until they appear. He rolls a 4, so with the difference in force rating included he has a total of fourteen support points which he uses to call on an Adjutant; more infantry in the form of a support mitrailleursgroepen; a 6 Veld infantry gun; entrenchments for four teams, and, two minefields.  

The Dutch will field their first platoon, last seen in action in the first scenario of the campaign. They have lost four men permanently and one of their NCOs, so a man will be promoted from the ranks to fill that position.

The German 2nd platoon will start as it finished the last game, without the Feldwebel but otherwise at full strength. They will be joined by what remains of the support units that attacked with them. The pioneer squad lost nine men but they will be joined by the pioneer engineer demolition team. The engineers are without their demo charges and so will join as riflemen. The support schützen squad is almost at half strength but can still field both MG34 teams (one with two crew and the other with three) under the command of their Obergefreiter. To some extent the loss of the Feldwebel will be alleviated by the presence of an Adjutant.

Before we start the Dutch place fortifications. There are no Kazemat, but the woods on the German right flank have two minefields and are effectively taken out of play. 


That greatly reduces the cover available to the Germans as they approach the cross roads.
 

The opening German command roll is 42211 and I decide to use the support units to make the first move on the right flank. Given the lack of cover my plan is to deploy several units so that what I lack in cover I can make up for with firepower. The tripod mounted MG34 team are first to deploy and they take up position in the road alongside the cover of the hedge.


At least from here they have some protection if fired upon from the direction of the farm.


The weakened support schützen squad have little choice but to deploy in the open and are placed on overwatch. They are joined by the pioneers who take up tactical positions behind the woods.


That leaves most of the Germans in exposed positions, but between them they carry the threat of a considerable amount of return fire should the defenders decide to show themselves.


In the Dutch phase Dave decides to bide his time and see how the attack develops. 

The Germans continue to press forward. The MMG team advance tactically up the road hugging the hedges. 


The pioneer squad edge forward cautiously taking up tactical positions on the edge of the woods. 


Once again the Dutch decide to sit and wait. In the German phase the pioneers press forward leading the attack. The squad's Obergefreiter hurls a smoke grenade out into road. 


He then orders the squad to move up normally behind the plume of smoke.


I'm hoping the threat of so much firepower will give the Dutch second thoughts about deploying.


As it turns out, they are not so easily intimidated. A mitrailleursgroep is dug-in on the opposite flank and they drop their concealment and open fire. 


From this angle the pioneers are caught in the open, without the cover of their smoke. 


The sudden burst of fire cuts down one of the pioneer rifle team and the squad suffers three points of shock. So much for being intimidated, that's first blood to the Dutch. 


Both of the MG34 teams from the schützen squad are on overwatch and with a clear line of sight they return fire immediately.


Unlike the pioneer squad the mitrailleursgroep are in good cover and the initial burst of long range German fire leaves them unscathed. 


A second mitrailleursgroep then appears behind the hedge near the bend in the road. 


The smoke doesn't give them a clear line of sight, but that doesn't prevent them opening fire on the pioneers. 


While there are no casualties the pioneers suffer a further four points of shock. The decision to mine the woods has paid dividends, forcing the Germans to advance across open ground and suffer the consequences.


The Dutch haven't finished with the pioneers just yet and an antiquated 6 Veld 57mm infantry gun deploys at the crossroads.


They also target the pioneers, but the small HE round explodes harmlessly.


In the German phase the pioneer Obergefreiter rallies a point of shock and has the squad move tactically. Despite the shock they manage to move 2" but perhaps more importantly they have now found better cover.


The platoon Leutnant deploys onto the road and orders the MMG team to target the Dutch at the hedge nearest to the pioneers. 


They manage to inflict only a single point of shock.


The Leutnant then orders the schützen squad to continue firing at the entrenched position opposite. 


This time the hard cover is not enough to prevent a casualty and the Dutch lose a man. 


I decide the best thing to do now is to try and overwhelm the defenders with firepower before they can inflict too much damage. With that two squads from the core schützen platoon deploy from the left jump-off-point. 


One LMG team has its line of sight blocked, but the remaining teams all fire on the entrenched Dutch.


This time the German fire proves even more deadly. The mitrailleursgroep suffer a point of shock, lose another two men and see the sergeant suffer a light wound. That proves a blow to Dutch morale which drops two points to eight.  


The Dutch command roll of 55542 limits their response. First the entrenched mitrailleursgroep returns fire at one of the recently deployed schützen squads. 


The Germans may have superior firepower but they are in the open.


The Dutch fire proves to be just as effective as the German fire and one of the MG34 teams loses two men and suffers a point of shock. 


The Luitenant, the Dutch platoon commander, deploys into the farmhouse. 


It's a good, central location from where he can command the units around him. The first thing he does is issue an order to the mitrailleursgroep behind the hedge to continue engaging the Germans.


They open fire on the MMG team in the road.


The machine gun team are exposed in open ground and suffer two casualties.


The Luitenant then orders the 6 Veld infantry gun to fire at the pioneers. 


This time the fire is marginally more effective and the pioneers suffer a point of shock.


The Germans need to compensate for the lack of cover by asserting their superior firepower, so it's important it can all be brought to bear. In the German phase the Obergefreiter of the schützen squad on the left assigns a man from one LMG team to join the team that recently took casualties. I certainly cannot afford to carelessly lose one of the MG34 teams when they give me such an advantage. The squad then opens fire at the dug-in Dutch opposite. 


German fire is slowly taking its toll and the Dutch lose yet another casualty.


I try to bring the full weight of fire of the other squad in to play and have them move and fire at half effect. Unfortunately they only manage to move 1", not enough for both teams to have a line of sight. 


The single LMG team fires, but the Dutch survive unscathed. 


I'm determined to clear that Dutch position and the Leutnant commands the schützen squad on the opposite flank to engage them with long range fire. 


This time around the hail of MG34 fire proves to be deadly accurate and the Dutch lose three men and suffer a further point of shock. That's the fourth man they've lost this phase and it leaves the wounded sergeant and lone Lewis gunner as the only survivors of the eleven man mitrailleursgroepen. 


The Leutnant orders the MMG team to concentrate their fire on the mitrailleursgroep at the hedge. 


The tripod mounted MG is not proving anywhere near as effective as the other German MGs and the Dutch are unharmed.


The Leutnant then moves towards the woods and the schützen squad.


So far the Germans are managing to threaten the Dutch on both flanks and divide their attention.


On the downside they are having to approach across open ground and have some way to go to find decent cover. 


The situation is little different on the other flank. What I would do for a couple of tanks right now!


In the Dutch phase a third mitrailleursgroep deploys in the road alongside one of the culverts. They are dug-in and so once again the schützen squads on that flank find themselves facing an entrenched enemy while they themselves are in open ground.


The Dutch open fire immediately at the schützen. 


One of the LMG teams suffers two points of shock. 


The few survivors of the mitrailleursgroep on the flank also fire, but to no avail. 


From the farmhouse the Dutch Luitenant orders the mitrailleursgroep at the hedge to maintain their fire on the MMG team. 


They suffer two points of shock and lose another casualty, reducing the team to two crew members. 


The Luitenant then has the 6 Veld infantry gun fire once more at the pioneer squad. 


This time the gun has found its range and the blast from the HE round inflicts a point of shock and kills the Obergefreiter. That's a blow that leaves the pioneers leaderless and suffering eight points of shock. German force morale also takes a drop down to nine. It would be fair to say that pioneer squad is now combat ineffective.


With the Germans being kept at bay a Dutch engineer demolition team deploys by the crossroads. 


That puts them a short distance from the smallest culvert which should be the quickest to demolish.


Just as it's beginning to look like the German attack might stall their command roll is 66632. The impending turn end will see the pioneer's smoke drift away but the double phase will be an opportunity for the Germans to continue pouring fire on the Dutch. 

Despite the casualties they have inflicted I sense we are nearing the culmination point of this attack. Any further progress will come at the cost of more German casualties and there's no certainty that will deliver a scenario victory. It might be time to consider withdrawing - my force morale remains higher than the Dutch and they have suffered more losses.

For now there is a double phase and I'll await the outcome before making any decisions. On the left flank the Obergefreiter rallies a point of shock and the squad fires at what remains of the Dutch in the entrenchment, but it has no effect.


The other squad makes another attempts to move and fire but once again they only manage to move 1', however this time it's enough to give both MG34 teams a line of sight. 


They inflict only one point of shock but that's enough to pin the remaining two men. 


With that the phase ends and so does the turn. The pioneers' smoke is removed as is their tactical status, leaving them even more exposed than they were before. 


In the subsequent phase the Obergefreiter on the left rallies another point of shock. 


He then has both LMG teams put down covering fire on the entrenched Dutch in the centre. 


On the opposite flank the Leutnant has the MMG and the schützen squad fire on the same target. 


Once again a torrent of German automatic fire proves deadly and the Dutch lose two men and suffer a point of shock. 


The Leutnant then moves himself to the cover of the woods and relative safety. He's beyond command range of the MMG team but close enough to command the schützen squad. At this stage I'd rather have him in cover and out of line of sight, I can't afford to lose a second senior leader from this platoon. 


In the Dutch phase the pinned mitrailleursgroep return what pitiful fire they can generate at the schützen. 


They may only manage a brief burst with the Lewis gun but the Germans are in open ground and it's enough to kill one of the LMG crew. 


The Dutch Luitenant in the farmhouse orders the mitrailleursgroep at the hedge to take advantage of the disappearance of the smoke to fire at the exposed pioneer squad. 


They lose another man and suffer more shock, which is enough to see them pinned. 


The Luitenant then orders the 6 Veld infantry gun to also engage the pioneers. 


The LMG team lose another man and the rifle team suffer more shock. The Pioneers are not too far off breaking. 


The entrenched mitrailleursgroep in the road are ordered to open fire on the schützen squad opposite. 


I have a CoC die and now seems as good a time as any to use it to interrupt. Both MG34 teams from the schützen squad on the left swing in to action. 


The sudden burst of fire is enough to inflict a casualty and a point of shock. The Dutch will fire back less effectively than they might have done and they will do so with the added negative effect of the covering fire. 


Nonetheless it is enough to inflict three points of shock on the schützen.


The platoon's final mitrailleursgroep deploy into the upper level of the farmhouse. They are weakened due to losses taken earlier and their sergeant is newly promoted from the ranks following the death of their original NCO. Nonetheless they are in hard cover and add to the weight of Dutch fire that can hit the squads in the open. 


They target one of the schützen squads and the Obergefreiter is hit and lightly wounded. That takes German morale down to eight. 

At that point I've seen enough to know I can make little progress beyond this point without suffering more casualties. The schützen can generate significant firepower but they are in the open and facing several Dutch mitrailleursgroepen, two of which are in hard cover. German casualties from the core platoon are light with only three men hit. On the other hand the Dutch have lost nine men from their core platoon and if the Germans withdraw now with force morale equal to the defenders then the Dutch won't have the advantage of recovering casualties from holding the table. That's enough to convince me to call it a day and I announce the Germans will withdraw. 

Overall I'm not disappointed. The opportunity to blitzkrieg always carried a degree of risk and in the end the Dutch position proved very difficult to approach across so much open ground. With the defenders entrenched or in buildings it was always going to be a tall order for a platoon armed only with light infantry weapons. 

The German engineers will have made progress constructing the bridge and for the next campaign turn a number of heavier weapons will become available. Alas it will still be some time before the division's tanks will make it across. So in the next game we will return to this map for a second German attempt to clear the Dutch defenders. You can find out what happens next in this post.

You can find links to all the games in this campaign and several others on the Chain of Command Campaign AAR Page (link from here or at the top of this page).