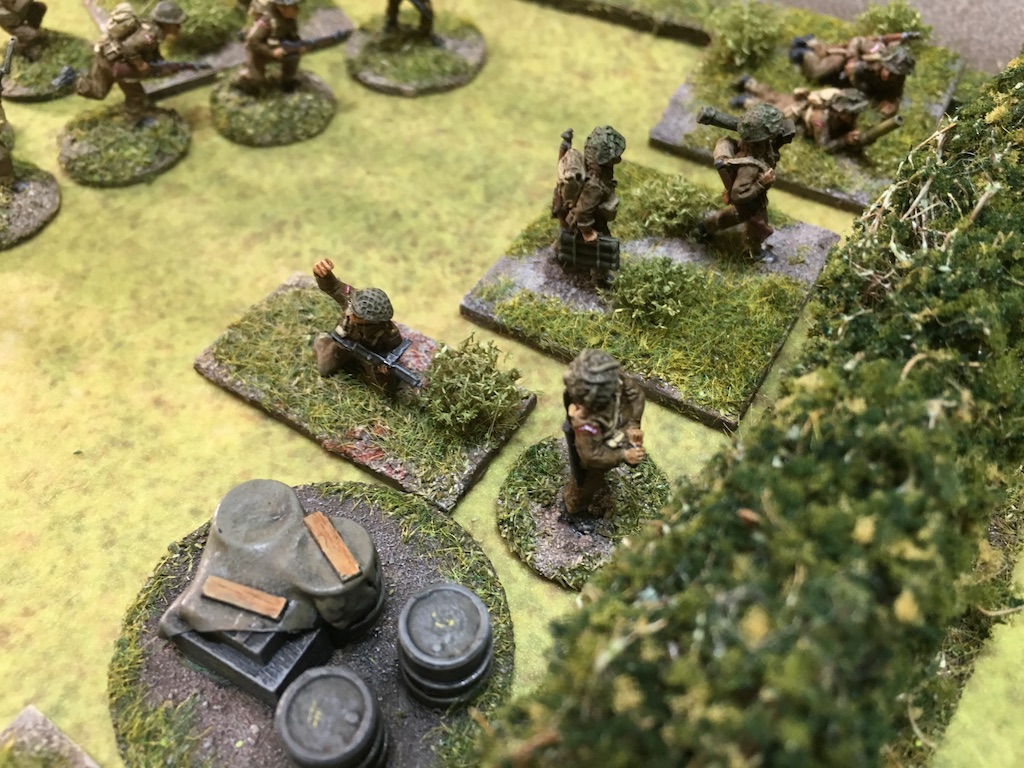
The command roll for the Germans is a mixed blessing - a double phase, but with only four dice it means there are not many options. However it's enough for the squad in the house to move to the upper level where it should be able to target some of the British sections across the river.
In the follow up phase the command dice are 6551. It gives me a CoC dice, but very limited options with the 1. It's enough to activate the LMG team in the upper level of the house and they manage to cause one casualty and some shock. While the British are slowly taking casualties none of them are enough to impact his force morale, which is what I really need right now.
The British return fire at the building and inflict some shock and in a rare use of HE one of the 2" mortars also fires a round at the house and adds to the shock. The FO brings the barrage 6" closer to the river, but the house is sturdy and the German squad suffers no ill effects.
With my squad isolated in the barrage and the Flak gun shrouded in smoke I use my recently acquired CoC die to end the turn. Without a CoC die himself, Dave is unable to keep the barrage going and this might be enough to give the Germans an edge. This is a close run thing at the moment. While the British have a larger force, their morale is low and it's not over yet by any means.
That done, the German command roll is disappointing - 6422. I really wanted to activate the Flak 38. My squad in the building is still under the barrage, even though it will cease after this phase and so the phase passes to the British.
The Platoon Sergeant organises the units behind the fence and they pour fire across the river at the now exposed Flak 38. The gun is in the open and the fire is devastating (16 dice) and results in four casualties, the only survivor is the gun crew commander (JL) and so the team is wiped out, taking German morale down to three.
 |
| It's lonely out here without the gun crew..... |
The FO tries to connect with the mortary battery, but has no luck and won't be able to try again until the next turn. Another well aimed round of smoke from a 2" mortar screens off the house by the bridge providing valuable cover to the demolition team. It looks like things are swinging the British way.
With only three command dice the Germans don't have many options, but it's clear the lone flak gun commander is an inviting target, not least because any wounds he suffers will put further downward pressure on German morale. The command role is 621 and so, pathetic as it is, I make up a 3, activate the junior leader and have him move tactically towards the rear.
The British sense victory is close. The demolition team set their charge but it fails to remove the wire. While that is a setback the German flak gun commander proves an inviting target. A section fires at him but none of the three hits are enough to cause a wound and that's not the end of it, a 2" mortar then fires HE at him but misses.
In an effort to save the flak gun commander the Germans deploy their final squad nearby and fire back at the British section and increase their level of shock.
Meanwhile the German squad in the house by the bridge moves to ground level in anticipation of a breakthrough at the bridge.
The British now come in for the kill and all sections try to target the squad and leader in the open. The section on the bridge moves slowly and fires at half effect, while all the other sections fire normally.
 |
| A lot of fire is brought to bear on the German squad |
It's not good. There are five casualties and the flak gun commander is wounded taking German FM down to one.
Down to two command dice I roll a 5 and 4. I bring on my Unterfeldwebel (SL) and try to rally the squad in the open and have them return fire, which they do to no effect. With that the British then return fire and inflict four casualties. The LMG team is wiped out and German morale slumps to zero. With that the Heer platoon dissolve into the countryside, unlikely to fight again. The British have their victory.

That was a very enjoyable game and there was a stage where it could have gone either way. The fight around the orchard and the loss of the Sherman really knocked British morale, but the Germans on that side of the river were trapped and their loss was to have just as much damage on German morale. That was not so apparent at the time, but once they had broken and routed it was clear they were doomed. Knowing that, I do wonder if it would have been worth making more of a stand on that side of the river and taking the fight to the British? With the Sherman out of the way, it might have been possible to limit the effectiveness of the barrage by keeping in closer proximity to British units. That's one to ponder as we move on to the next scenario.
The British suffered a total of nine casualties from the platoon plus two from the supporting engineers. However the British held the field with their victory and the net difference in force morale (British 5, German 0), meant five of those casualties were immediately returned. As a result this platoon suffers two permanent casualties, so is now down a total of five men.
Of the three British platoons, one is at full strength, this one is down five men from the rifle sections, and, the platoon that struck the supermine in map 2 is down one full section.
It has taken the British four campaign turns to get this far. From Turn five onwards the Germans can now roll for additional reinforcements, with a -1 to the die roll for as long as map five remains out of British hands. That's all well and good, but now we must return to the uncertainty that is Endkampf. Will the next German unit decide to stand and fight?
You can follow what happens next in
The Road to Bremen Scenario 4.
All the campaign AARs for this and other Chain of Command pint-sized campaigns can be read at
Chain of Command campaign AARs