Friday, 2 April 2021

Bloody Bucket Campaign Turn 7 scenario 1 Skyline Drive

The campaign reaches Turn 7 and that takes us into 17th December 1944, the second and final day of the campaign. So far the Americans have done well to hold off the German attacks and if they can prevent the loss of all six maps by Turn 10 they will have denied the Germans a campaign victory. However for each subsequent attack the Germans are forced to make on any map they will be receiving additional support points and the amount of that support increases now that we are at day two. With armour available in the form of Panthers and PzIV I'm expecting to face tougher challenges as we go forward.


Dave is starting to feel under time pressure and shares his thinking:

'This turn I decide to make a determined push to clear out Maps 1 and 3. With time pressure mounting, several failed attacks (four repulses and only the one successful probe) and several platoons now weakened or written down, the task of opening the road to Bastogne now appears increasingly difficult. The Volksgrenadier sturm platoon that arrives this turn will attacks straight onto Map 1 meanwhile I move into the village of Holzthum (Map 3) from the outskirts (Map 2) which I secured last turn. I am now able to interdict all the roads including the road into Consthum that the reinforcements use, which was something I wanted to do from the start.'


The Americans receive ten support points for this turn and given I expect to come up against more armour I decide to call forward a Sherman and two bazooka teams. These arrive from the west and as the Germans have a platoon at Assembly Point D they run the risk of interdiction (and possible destruction). I make a roll for each of the units and while none of them are destroyed they all fail to make it through to Consthum. I will need to try again in Campaign Turn 8. That's disappointing, but at least they are still available and can make another attempt to break through.


So we will witness two German attacks this campaign turn - Map 1 Skyline Drive and Map 3 Holzthum Village. We will start by playing the attack on Skyline Drive.

Campaign Turn 7 scenario 1 Skyline Drive
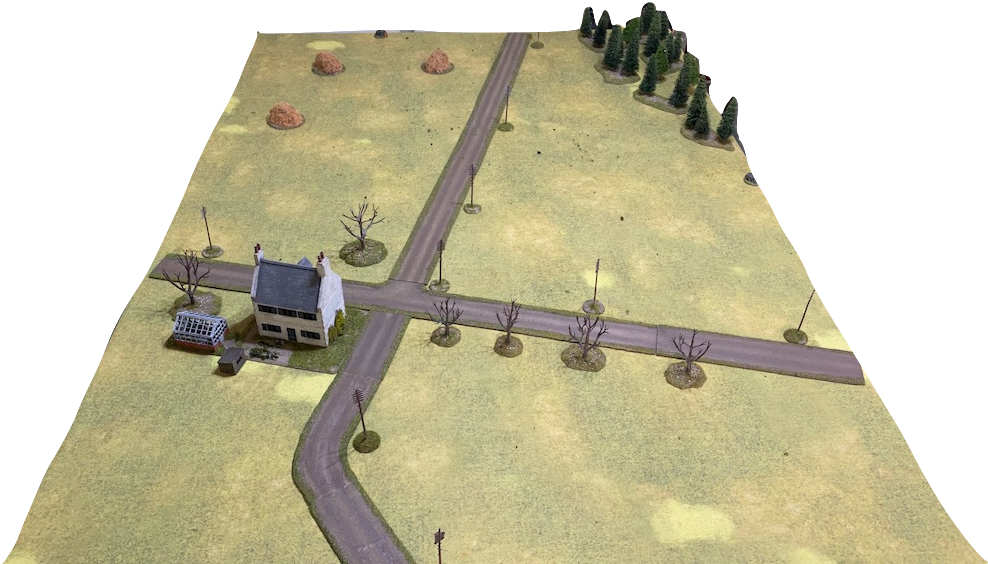

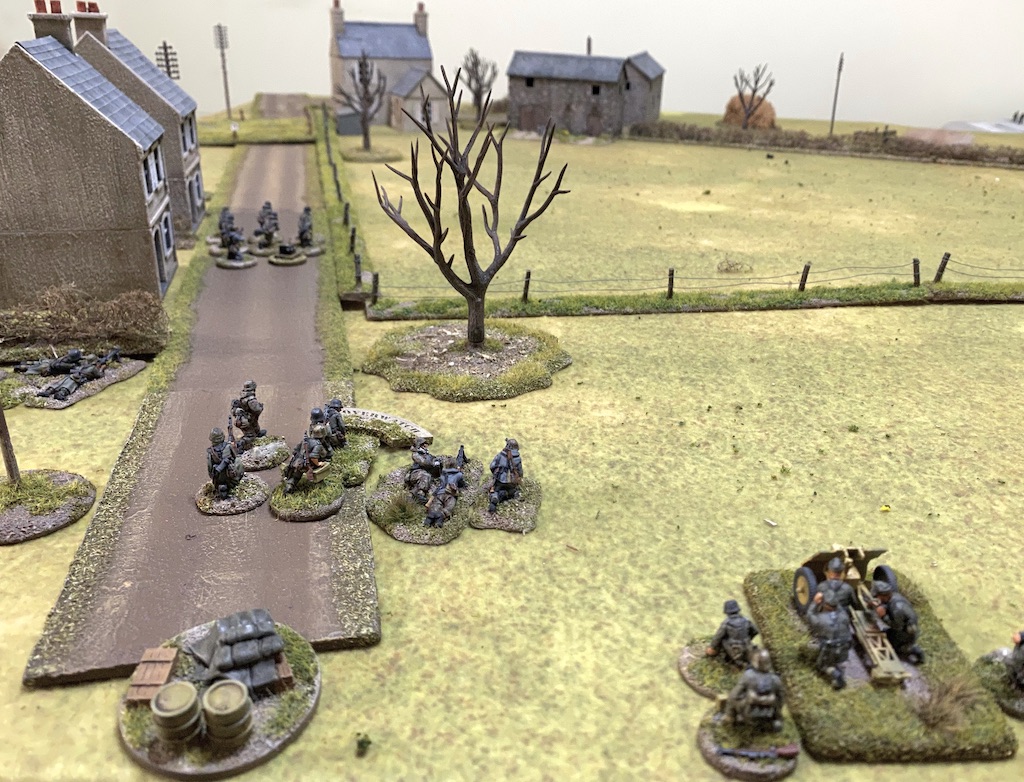
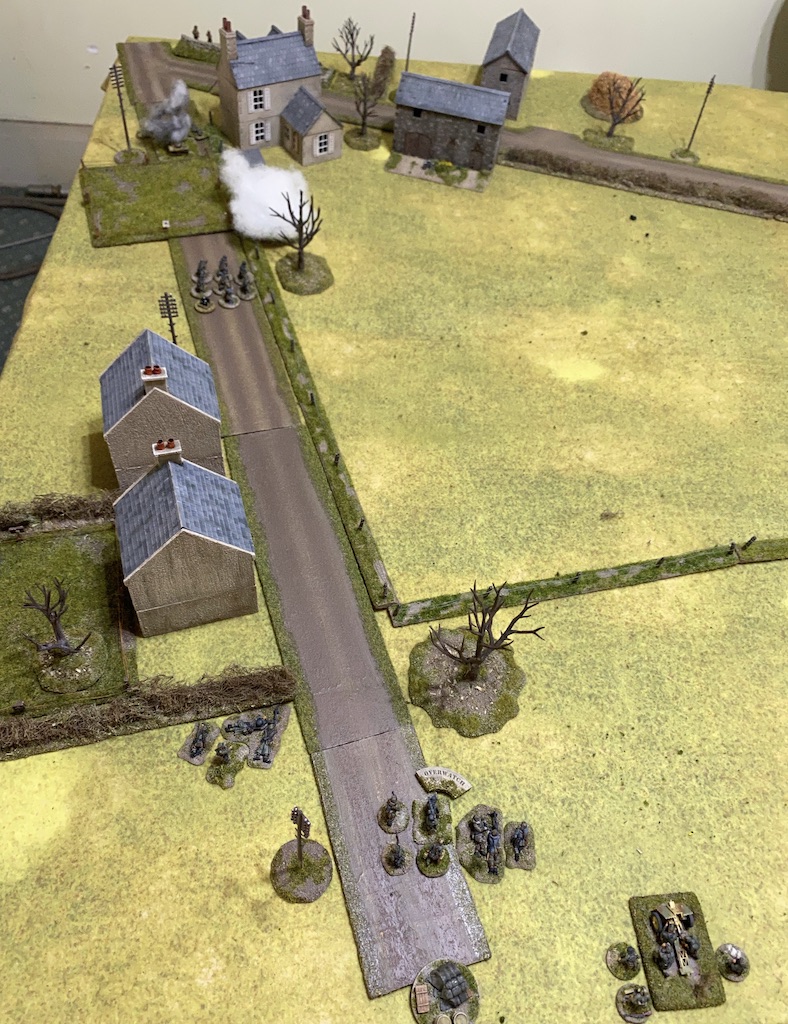
This will be their third attempt to clear the crossroads. Up until now the Americans have proven very difficult to dislodge but I have to confess I'm not very optimistic about this one. I have no doubt I'll be attacked by German armour and I suspect Dave will use it aggressively while keeping his infantry out of sight. If that's the case I will be asking a great deal from my solitary bazooka team, those two men will carry a lot of responsibility in the fight ahead.

Here are Dave's thoughts on how he intends to approach this one:

'For the third attack on Map 1, I will abandon any attempt at being tactically subtle and go for maximum armoured support – a Panther and a PzKwIV. My idea is to have the Panther advance covered by the PzKwIV and the infantry in the woods with the aim of advancing and shutting down the jump-off-points around the crossroads. Once that happens, if the Americans are still holding on, the PzKwIV can move up and hold the crossroads while the Panther advances relentlessly on the final jump-off-point. There is a mine clearing team to get rid of the bloody minefield in the woods, and I plan to keep the infantry in the woods and out of sight until needed. This attempts to mitigate the ‘US use a CoC die to end the turn, remove overwatches and then open devastating first fire on the green guys’ syndrome. The main risk is an ambush from the bazooka team taking out the Panther, but I cannot expose the infantry prematurely, so I will simply have to grit my teeth and wait for the first rocket.'

The Germans will attack with a fresh Volksgrenadier Sturm platoon. The American platoon is in very good shape, considering it has been attacked twice. They have had a rifleman and a squad leader killed. A man will be promoted from the ranks to fill the shoes of the squad leader and so one squad will be short two riflemen.


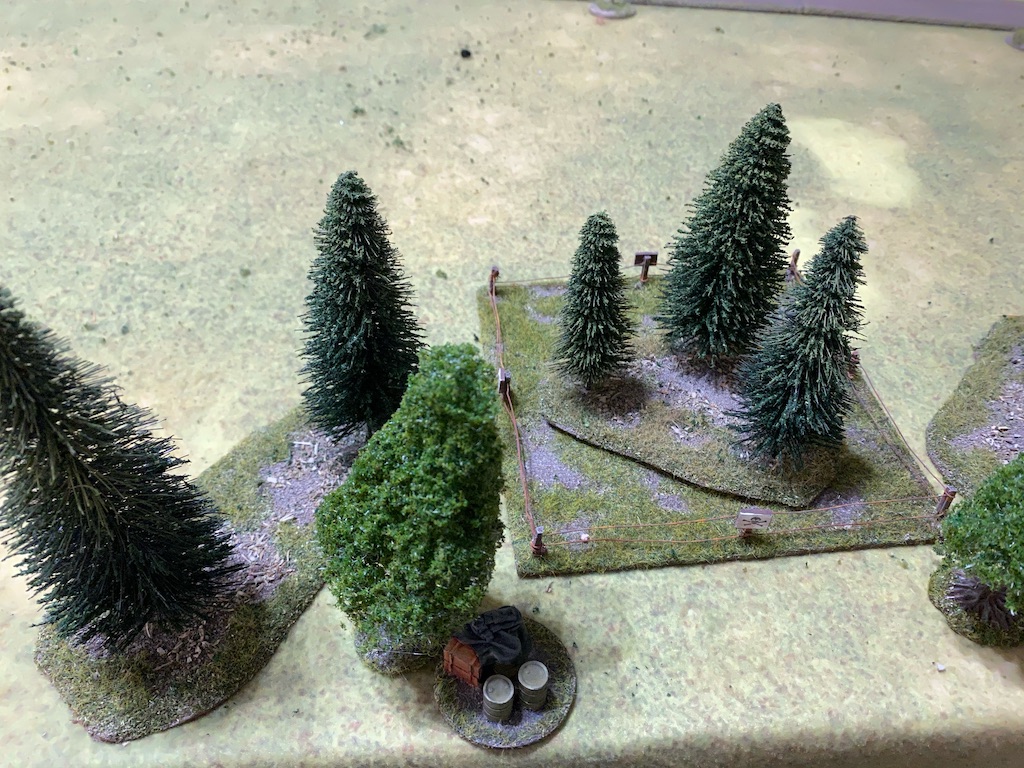
The promoted man has his base marked so that we remember he has a short command range and a single CI until he is fully accepted by the men of his squad.


The Americans placed a minefield at the edge of the wooded area in the last game and so that remains for this scenario.


In addition to the four entrenchments which were part of this map's initial supports the victory in the last scenario has allowed the Americans to strengthen the position. For this I have selected another minefield and intend to have this block the road. It should slow down any German attempt to make a rapid thrust for the crossroads as it will force vehicles to leave the road and traverse the soft ground, where they will risk bogging if they drive too fast. More importantly I'm hoping it may make a German tank turn and show its flank and that might just be the opportunity I need for the bazooka team.

The Germans receive five free moves at the start of the patrol phase but it's clear Dave is intent simply on establishing a position in the woods where his infantry can deploy into cover. 


We start with American force morale at nine and the Germans at eight. Before play begins I place the second minefield on the road.


As I said earlier, I fully expect the Germans to have armour for this game, most likely two tanks and I'm not sure how I'm going to deal with those. The first time the Germans tried to take this map they did so without armour support and their infantry were badly mauled. The second time they had armour in support but allowed their infantry to become exposed to American fire and once again they suffered badly. This time I don't expect to see the German infantry take any risks and would be very surprised if their armour doesn't lead the way for this attack. 

That being the case, my plan is simple. I will stay concealed for as long as possible and wait patiently for the right circumstances for the bazooka team to make their strike. If there are two tanks I will need to find a way to eliminate one of those and then somehow for the bazooka team to survive long enough to find a way to take out the second. That's not going to be easy.

Given my plan is to stay concealed I'm not going to give a blow-by-blow account of the opening phases. Instead I will summarise the key activity, as it's all very one sided and carried out by the Germans.

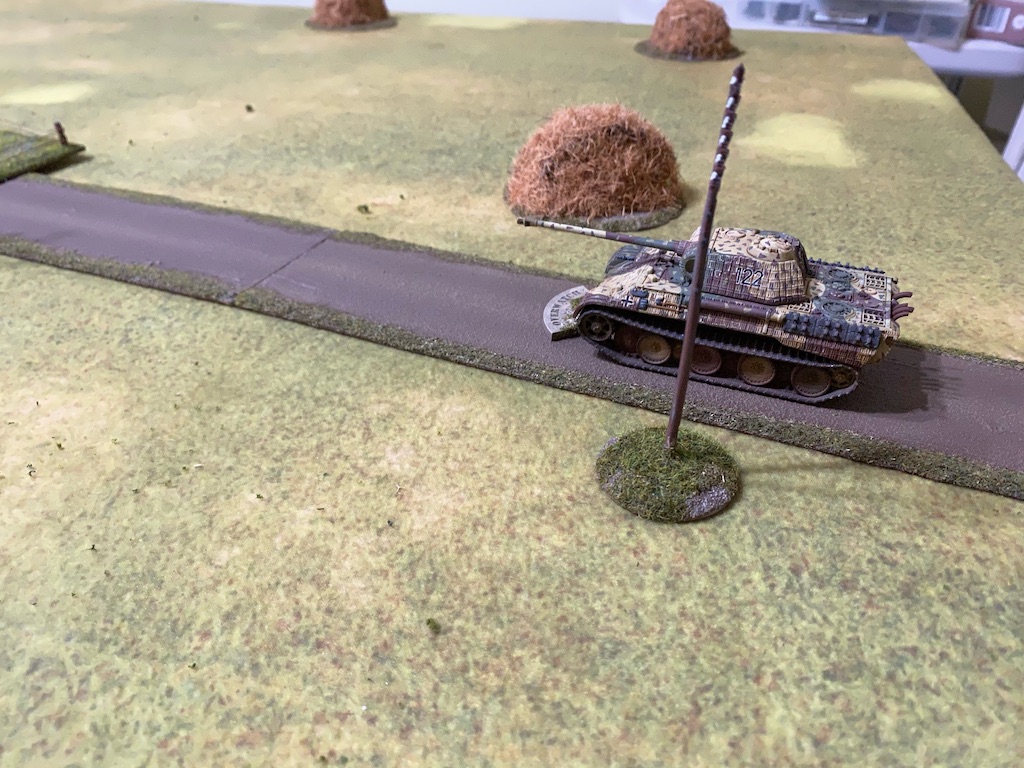
The first sign of activity is the appearance of a lone Panther on the road. I don't like the look of it, but I'm not surprised to see it.


An engineer mine clearance team deploys into the woods by the minefield. 


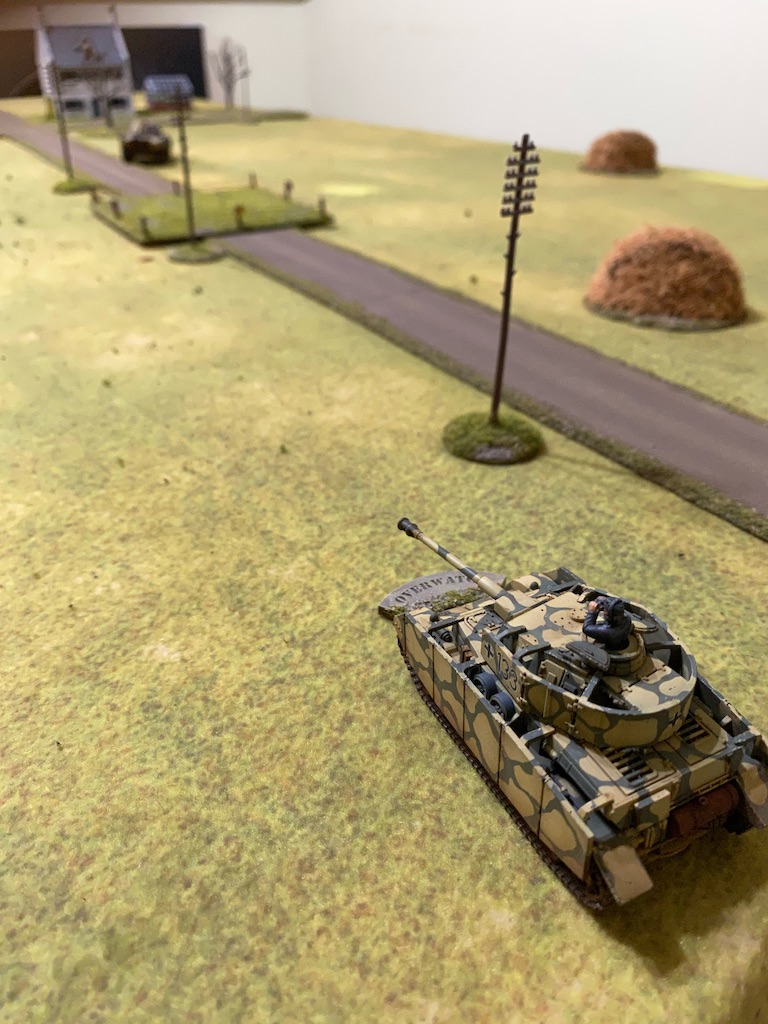
The Panther is soon joined by a PzIV and the gunners of both tanks are placed on overwatch.  
 

They look menacingly up the table toward the American positions.


German squads begin to deploy in the woods, but they are all careful to keep back from the tree line and out of the line of sight of the Americans.


The engineers set about trying to clear the minefields, but don't have much success.


More Germans appear in the woods, again taking care to keep back from the tree line. Meanwhile the engineers continue to struggle clearing the minefield.


The most threatening moves come from the Panther which makes its way forward carefully. It leaves the road to negotiate its way around the minefield taking care to drive slowly and avoid turning its flank to the Americans.


During these opening phase both sides are quick to acquire a full CoC dice - I have a feeling those could play a significant role as the game develops. The Volksgrenadier LMG squad deploys into the woods and, like the remainder of the platoon, keeps out of sight.


Over several phases the Panther is the centre of German attention as it slowly and carefully makes its way forward. The Americans wait patiently. Most likely they will have one good opportunity to strike the German tanks and so I need to wait for the right moment.


With three squads from the Volksgrenadier platoon deployed their senior leader, the Unterfeldwebel, joins them in the woods. From what I can work out this looks like the full German force I will have to face. The question is, how will I deal with them? I see no easy answer. 

The engineers finally clear the mines, opening up the way for the Germans to form a cohesive firing line at the edge of the woods.


With the PzIV on overwatch and the Panther creeping dangerously close to the crossroads the point at which the Americans need to react is fast approaching.


Eventually the Unterfeldwebel orders the Volksgrenadier platoon to reveal itself and they all move tactically to the edge of the woods. 


Meanwhile the engineers are sent out toward the road to clear the second minefield. 


While all this has been happening the Americans are close to acquiring a second CoC dice and I begin to formulate a plan. My best chance is a side shot on the Panther and to do that I would need to have the bazooka team deploy as far out to the flank as possible. Using a CoC die for an ambush from the jump-off-point at the rear of the table would allow for just that. Ideally I get a shot off and then the team slips away. 

The problem is that both German tanks are on overwatch which makes the bazooka team's chance of survival very slim. If I can get a second CoC die then I could end the turn, which would see the Germans lose their overwatch before I conduct the ambush. 

I think this sets up a terrific narrative. Rather than see use of the CoC die as a gamey mechanism I think this is exactly how they are intended to be used. Using the die for an ambush is obvious and represents the platoon commander watching and waiting for the right moment to surprise the enemy. The end of the turn might not be so obvious, but I'm seeing this as the same thing. Once again the platoon commander is using a trained eye to watch events unfold. He's waiting for the right moment to launch the ambush, perhaps a momentary pause by the Germans while they confer or think about their next move. This pause is what the turn end is supposed to represent - the Panther stops while the commander looks back towards the infantry to indicate that so far he can see no sign of the Americans. I think you can give it any number of plausible story lines.

The time to make that happen is drawing ever closer as the Panther continues to roll forward relentlessly. 


In the next American phase I collect the extra CoC point I need for the second dice and so I think it's nearly time to seize the moment. Meanwhile the Unterfeldwebel organises a powerful base of fire with the whole platoon placed on overwatch along the edge of the woods.


This makes it imperative that the turn ends before the ambush. Ideally the bazooka team disable the Panther and escape, ready to return to deal with the PzIV.


I think the moment of decision has arrived. In the following American phase, before the command dice are rolled, I use my first CoC die to end the turn. That sees all the German units come off overwatch. The command roll is 65333, which would mean an opportunity to deploy the American squads if the moment is right. However, before that, the bazooka team are called into action. I use the second CoC die to declare an ambush and deploy the bazooka team.


They have a good line of sight to the Panther's flank and need a 6 or more to hit.


But it's not to be, a roll of three means the rocket fails to find its target. My heart sinks.


I thought the bazooka team were safe to slip away but Dave makes a quick check of the rules and discovers he can use a CoC die to interrupt the ambushing team before it can slip away. This use of a CoC die also fits our narrative well. This time it's the German platoon commander who is alert to possible danger, he's quick to spot the bazooka team and reacts quickly. He uses one of his CoC dice to have the LMG squad open fire. 


The bazooka team are caught in the open and they are lucky to escape with just two points of shock. 


However Dave is not prepared to let them slip away easily. He uses his second CoC die to have the PzIV fire a round of HE. That proves far more deadly and the bazooka team is wiped out. American morale drops a point down to eight.  


Well that's a lesson for me about using CoC die during an ambush. One to remember in future. The issue now is what to do from here? The only possible chance remaining for the Americans is to drive down German morale by focussing on their infantry. With that I use those very useful command dice for this phase to deploy all three squads from the platoon. Two of the squads are entrenched at the rear of the table.

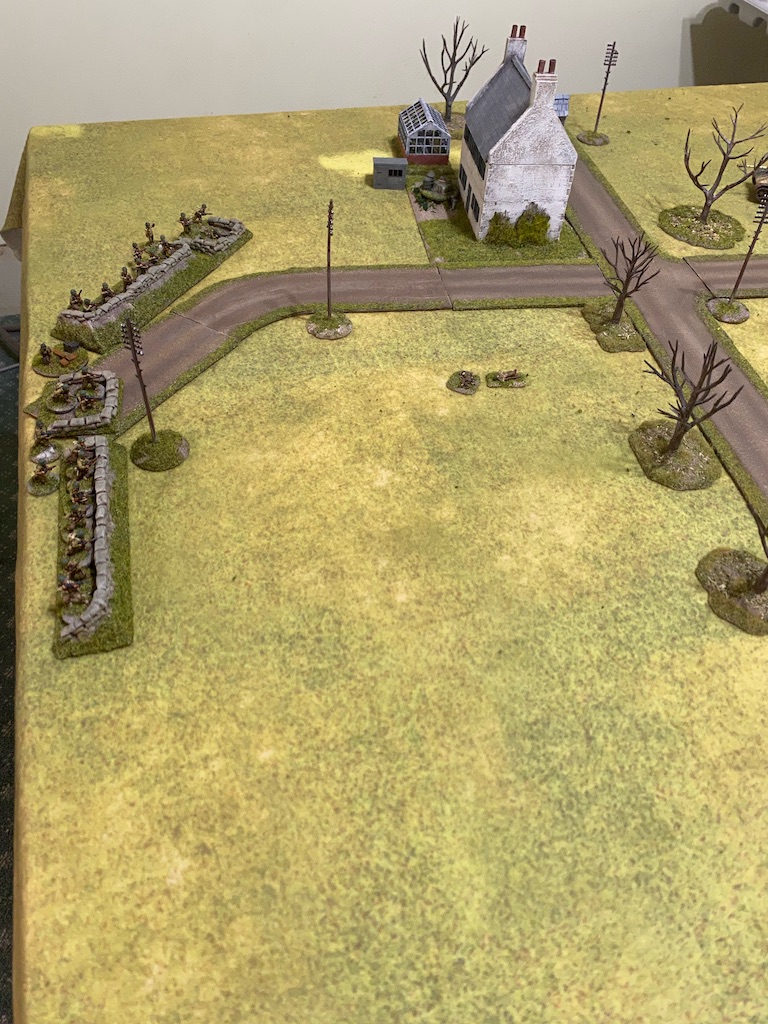


The third squad takes up position in the house.


The first rifle team engages the nearest German squad in the woods. 
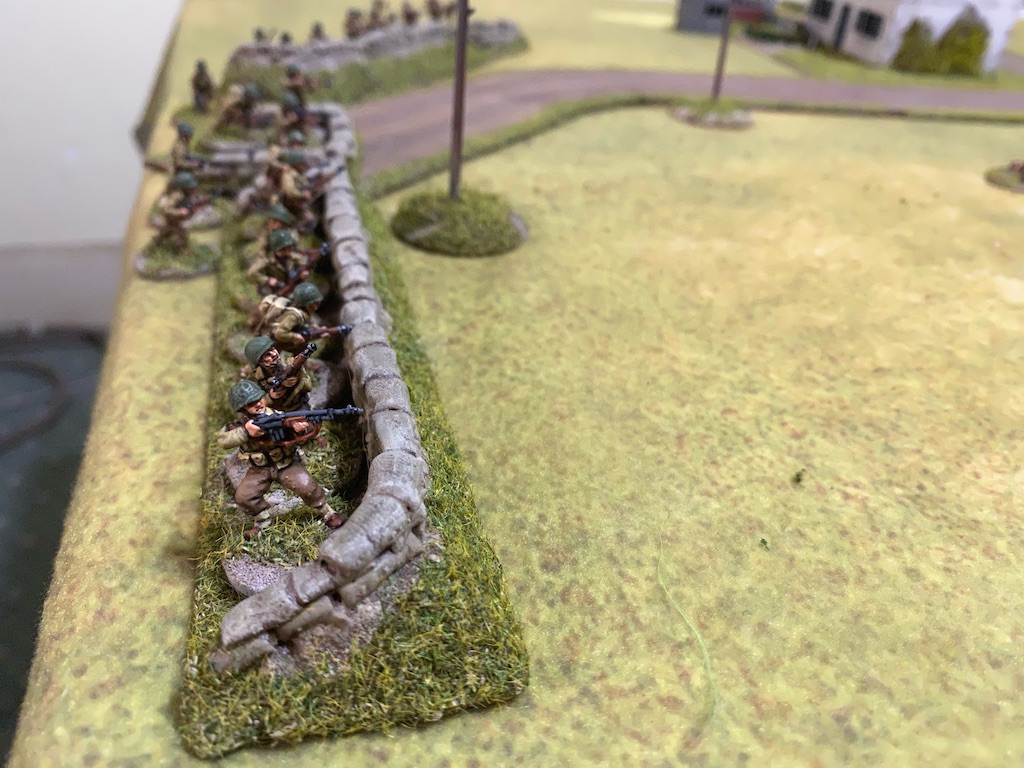

They lose one man as a casualty and suffer a point of shock.


The squad's BAR team try to wipe out the engineers who are in the open. 


The team loses one man killed. 


The next American squad does exactly the same thing, with the BAR team engaging the engineers and the rifle team firing on the squad. 


Another engineer is killed.
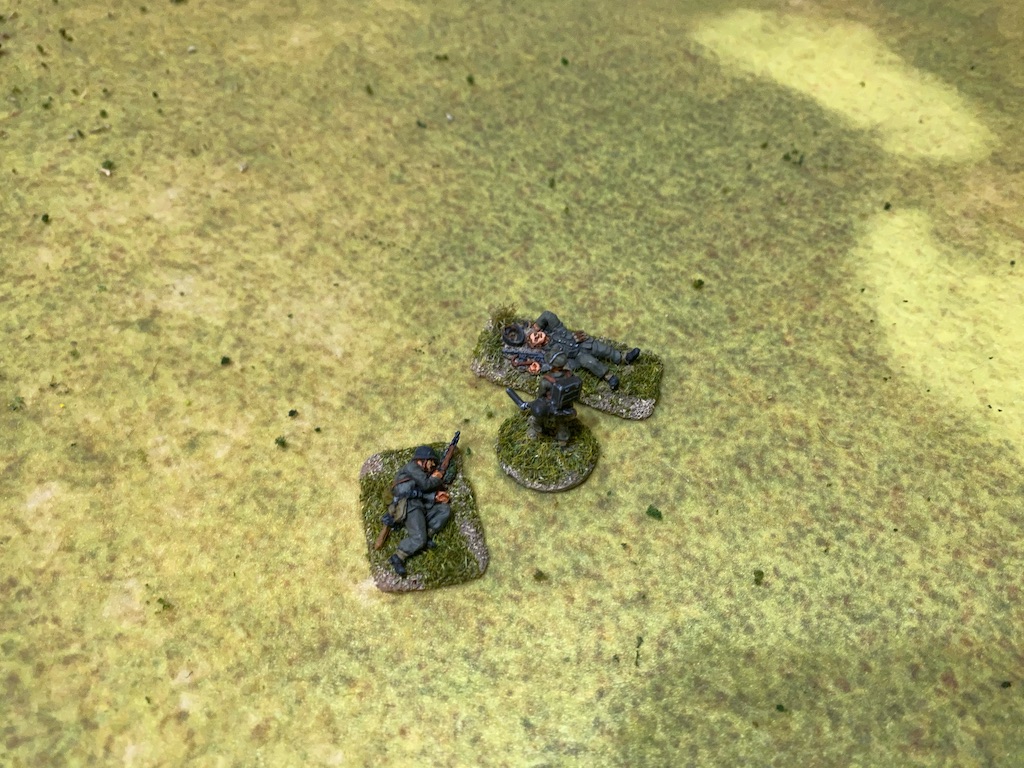
 

The remaining engineer looks unlikely to make it to the minefield.


The squad in the woods suffers shock but don't lose any more men.  


Lastly the squad in the house opens fire. Once again their BAR team targets the engineers. 


The last engineer is hit and killed. The loss of that team takes German force morale down to seven. 


Lastly the squad's rifle team puts covering fire on the Volksgrenadier LMG squad.


When the German phase arrives it's clear Dave is not planning on playing my game. A command roll of 64431 sees the Unterfeldwebel orders the LMG squad and one of the sturm squads to pull back into the woods and out of sight. 


The Obergefreiter of the other squad rallies off a point of shock before ordering his squad to pull back as well.


With that all the German infantry disappear into the woods, leaving the Americans with no targets.


With the threat of the bazooka eliminated and the American platoon deployed all that remains for the Germans to do now is have both tanks hurl HE and MG rounds at them for as many phases as it takes to break or destroy them. That means this scenario can have only one outcome. The American platoon have done more than was expected and forced the Germans to make three attempts to clear the map. There is no dishonour in withdrawing now that they find themselves defenceless in the face of tanks and so they concede the crossroads to the enemy.

Dave reflects on how the game unfolded from his perspective:

'In the end the plan worked more or less as intended. I did break my own rule and advance to the edge of the wood on overwatch. Naturally, at the optimum moment, Mark used a CoC die to end the turn and strip the overwatch status, and then another CoC die to spring an ambush with the bazooka team and fire at the Panther. Luckily the rocket missed. I could then use two CoC dice to fire on the team before it withdrew and wipe it out. Once the American squads deployed I withdrew back into the woods to avoid being shot up, and with no anti-tank weaponry it left the Americans with no choice but to abandon the position.'

Despite their heroic defence the American rifle platoon will now exit our campaign and melt away into the forests of the Ardennes. Some will make it back to friendly lines, others will be rounded up and captured. Sadly, history will make little mention of their stand, more often than not judging them as one of those American units that collapsed in the face of the German onslaught. It is only more recently that historians have come to understand the crucial role played by numerous small groups of determined Americans whose actions collectively caused the Germans considerable delay. I'd like to think this platoon's stand on Map 1 is representative of one of those actions and this campaign has given us a small window on history.

In terms of our campaign this victory sees the Germans undertake an important bit of tidying up on their front before they direct their energies to clearing Holzthum and Consthum villages. Our attention now turns to the first of those villages, Holzthum, and the second German attempt to clear the Americans from that map. You can follow what happens in that attack in this game report.

You find reports for all the games in this campaign and many other campaigns on the Chain of Command Campaign AAR page here.

Friday, 26 March 2021

Bloody Bucket Campaign Turn 6 scenario 2 The Outskirts of Consthum

The Germans made their first attack of Campaign Turn 6 on Map 2 in the previous game. Here they tasted victory for the first time in the campaign. As a result they had the option to 'blitzkrieg' and advance immediately onto the next map. That attack must be made with whatever force is available at the end of the scenario, without replacement by a fresh platoon and without any additional support. 


This is a tempting opportunity to squeeze one more game into a campaign turn, but in the end Dave resists that temptation. He had a Volksgrenadier Rifle platoon that was at full strength backed up by a PzIV, but his other support, a leIG18 infantry gun, had lost three of its crews as casualties. He knows from bitter experience that Map 3 Holzthum Village is held by a full American platoon backed up with two 30cal MMG teams. His men have also seen a Sherman make its way along Skyline Drive into the village. That would make it a tough nut to crack. With the rifle platoon the weaker of the available Volksgrenadier platoons and the infantry gun on the verge of losing its crew, he has decided he lacks sufficient force for the task.

That means we now move to Map 4 The Outskirts of Consthum for the second attack of the campaign turn. This will be carried out by a Volksgrenadier Sturm platoon coming from Assembly Point D. The men have already been in action and were roughly handled during a failed attempt to take Holzthum Village in Campaign Turn 3. Since then the platoon has infiltrated to a new assembly point from where they can launch this first assault on Consthum. However, the platoon is below strength, short of four men they lost during the abortive attempt to take Holzthum. This has meant the rifle grenadier team has been disbanded in order for the men to make up the numbers in the squads.

  
Like so much of the agricultural landscape in the area this attack must be made across open fields, making for yet another tough assignment for the Volksgrenadier platoon. The Americans will be holding the small cluster of buildings at the road junction and the Germans will come from the opposite side of the table. They have opted to fight this as an Attack & Defend scenario and so must force the defenders from the table to win.
 

The Americans start with three free moves at the start of the patrol phase and are able to quickly pen the Germans into one corner of the table. As a result their jump-off-points are grouped close together. 


This will be the first combat for the defending American platoon, who are at full strength. Among their supports are two minefields. These have been placed to deny the Germans access to the nearest buildings and to channel them into the open ground.


The Americans will start with their force morale at nine, while the Germans will be at eight. The minefields are then placed and the Germans announce that a pre-game barrage is in effect. 


Dave shares his thoughts on how he plans to make this attack:

'For this attack on Map 4 I am initially thinking of a similar attack to the one I conducted on Map 3, but after the patrol phase when I see how bunched the US JOPs are, and that there is a road leading from my board edge straight into the American position, I decide to be a bit audacious and try a coup de main with a captured vehicle. The M8 is not available so I have to settle for a jeep. But if I can fill the jeep with men and drive down the road at full speed before the Americans can deploy through the barrage, who knows?'

As the attacker the Germans have the first phase and they open with something that takes me by surprise. From one of the roads appears a captured jeep packed with men (in our case this is represented by a Kubelwagen). It comes barrelling down the road going flat out, racing towards the road junction and the American jump-off-points. 
  

The jeep is carrying a junior leader and a Volksgrenadier rifle team that has been called in as a support (by the way, the plume of 'dust' is used to record that the vehicle has moved flat out, as it helps us remember to apply the modifier if it's fired on in the next phase, however, I'm not sure the wintery roads of the Ardennes would generate anything like this much dust, so you'll have to forgive a touch of artistic licence).


The squad's LMG team deploys near the other road, where it is joined by an Unterfeldwebel, who has been brought in as a second senior leader to assist the platoon. 


Well, that's an interesting opening. The captured jeep means that the Americans will not necessarily be able to determine if it is a friend or foe. There's a 50% chance that, when they first try to target it, they are unable to decide and hold their fire. And that's assuming the Americans are able to deploy through the barrage in the first place. 

Dave is clearly trying a coup de main here. The speed of the jeep; the uncertainty of it as a target, and, the delays caused by the barrage, all present an opportunity to enable a rapid closing down or capture of the American jump-off-points. I could find myself punished for having all my jump-off-points grouped so close together.

In the American phase I'm fortunate that one of my squads can deploy through the barrage. They take up position in the barns either side of the road and form a welcoming party for the jeep's occupants. There are only a few windows and so the squad leader has the BAR team placed at one and a rifleman and the extra BAR gunner from the rifle team at another.


Having overcome the barrage the next challenge is to identify the jeep's occupants as friend or foe. Once again, fortune favours the Americans and the men from the squad determine that while the jeep may be one of theirs, the men riding in it are definitely not. They open fire.


Unfortunately, the fire has no effect, but at least the Americans have men in place to try to prevent the Germans from capturing their jump-off-points. 


That may be easier said than done - the next German command roll is 66552. While the threat of a double phase presents quite a problem, at least the jeep won't be moving in this phase. Nonetheless, one of the Volksgrenadier Sturm squads deploys in the road with the clear intention of making a dash towards the American positions.


German good fortune continues with their next command roll of 66541. They are about to enjoy a run of phases that could see the American position unhinged.

The Unterfeldwebel moves with the LMG team along the hedge towards the road. 


Once there, he orders the squad to move at the double down the road. 


They set off at a dash and cover a lot of ground.


Over on the other road, the driver of the jeep keeps the accelerator pedal pressed to the floor, travelling flat out and covering 22" in the phase. They may yet pull off their coup de main.


The next command roll is 63331, which may mean an end to the run of phases, but it will see the Germans able to activate a number of units. The platoon's LMG squad deploys across the road and both teams are placed on overwatch.  


Even more menacing, a leIG18 infantry gun deploys alongside them and fires off a round of HE at the barn. Unlike the LMG teams the gun crew don't need to see the American infantry at the windows, it's enough for them to know that enemy fire has been seen coming from the building. 


Despite two hits, the sturdy stone structure provides good protection and the Americans are unscathed. 


Once again the squad in the road moves at the double bringing it close to the minefield and the road junction. 


The squad's Obergefreiter hurls a smoke grenade forward to provide the men with some cover. 


The jeep driver seizes the opportunity to continue driving flat out and he races past the men in the barn before they can react. 


That brings the vehicle close enough to prevent the Americans deploying from the jump off point near the road junction. This has been an audacious move by the Germans, not to mention very risky, but they might just pull it off. They have taken full advantage of the run of phases to put the American position under real pressure.


However, the fortunes of war swing both ways and the next American command roll is 66541 which might be just the opportunity they need to restore the situation. The pre-game barrage is still in effect and any decisions on deployment will require a delicate balancing act to ensure the opportunity to deal with the jeep and its passengers does not slip away. Nothing makes that more apparent than when the platoon sergeant fails to make his way through the barrage. 

That means I must activate the rifle team in the barn, it will be the only chance this phase to be sure I can target the jeep. As it requires the whole team to turn and face the opposite direction, this will call for a move and fire at half effect. 


It doesn't generate a lot of firepower and the jeep occupants suffer a single point of shock, but at least the rifle team are now facing in their direction and ready for the next phase.


American luck continues with a command roll of 66531. I'm hoping this is my chance to eliminate the threat posed by the jeep. The squad leader is close enough to use his SMG and he joins the rifle team in letting loose a volley of gunfire at the impudent Germans. 


The fire inflicts a further two points of shock on the passengers, which is a little disappointing, however there are three 6s in the hit roll, which means this hail of bullets has had an impact on the vehicle itself.


While it doesn't damage the jeep, it causes the driver to panic and speed off immediately, going flat out. The movement roll is 18" and as it reaches the road junction there are two directions in which the jeep could travel. We resolve the driver's panicked decision with the roll of a D6, he will either turn right and disappear off the table or turn left in the direction of the German jump-off-points. He chooses to turn left and speeds past the jump-off-point and around the corner.  


With the threat of the leIG18 infantry gun still present the BAR team in the other barn take cover in tactical positions.


The next command roll is 53311, which will see an end to the run of phases. While the jeep is no longer in the line of sight of the men in the barn, it still represents a considerable threat. On the upside, the panicked driver has propelled the jeep far enough away that the American jump-off-point near the road junction is no longer closed down. I try to deploy another squad from that point, but they fail to make it through the barrage. 

I have one more squad left and I'm hoping desperately I can bring them into action. Fortunately, they are successful and deploy entrenched covering the road junction.  


This puts them in a good position to cover the flank, yet keeps them out of the line of fire of the German LMG squad and the infantry gun. From there, most of the squad can also target the jeep and so once again it becomes the subject of a barrage of small arms fire.


There is only so much fire a jeep can take. This time it's unable to weather the storm. The Americans have rolled four 6s in the fire dice and the end result is catastrophic. The fuel tank ignites and the jeep explodes in a ball of flame, killing all the passengers. The Germans lose a rifle team and their junior leader. That's enough to bring German morale down three points to five. 


So, the German attempt at a coup de main comes to a grisly end, after a very entertaining sequence of play. That was a wild ride and one that delivered more than its fair share of cinematic moments. 

With that threat eliminated, I now want to be in a position to deal with the sturm squad that's closing in from the road. The squad leader in the barn orders his men to follow him across the road to the cover of the other barn.


The Americans need to prevent the German squad in the road from climbing over the wire fence and making it into one of the buildings.


However, that's not something they will need to concern themselves with for the moment. With the failure of the attempted coup de main it's clear this under strength Volksgrenadier platoon is going to find it very tough forcing the numerically superior Americans from their position. Dave decides there is nothing to be gained from a probable defeat and the ensuing casualties. The Germans decide to withdraw.  


That was a short, but highly entertaining game. On another day the Germans may well have succeeded with their coup de main. All the elements were in place - a pre-game barrage, a captured enemy jeep that may have deceived the Americans when they first tried to target it, and not least, a vehicle capable of moving very fast along the roads. Like all these things it also needed a little bit of luck, the one element you cannot plan on. Alas, for the Germans it was not to be.

Dave reflects on how things unfolded:

'Well, the jeep got close, but the Americans defied the odds to walk through the barrage, deploy, recognise the jeep immediately, and then use a triple phase to chase it off and then destroy it. With the failure of that move, victory once again becomes impossible and so I chose to fall back. I have learned that sticking around trying to deplete the defenders for the next game doesn’t really work, as the force morale difference at game end means that they get their casualties back, so I call it a day rather than write down another platoon.'

All the German casualties came from the support squad and so despite the drama both the American and German core platoons come away from this encounter without losing any of their men. The German victory in the first game of the campaign turn and their light casualties in this one has gone some way to improve the men's opinion which climbs from -6 to -4. The Division commander's outlook does not improve though and he goes from Aggressive to Bitter.

The American men's opinion suffered as a result of the defeat on Map 2 but was buoyed by this victory and so it stands at +3.

We now move to Campaign Turn 7 which is the first turn of the second day of the campaign. This will see the level of German support increase for their second attempts to take any of the maps and so the Americans can expect to face increased pressure in the turns ahead. You can find out what happens next in this report.

You find reports for all the games in this campaign and many other campaigns on the Chain of Command Campaign AAR page here.