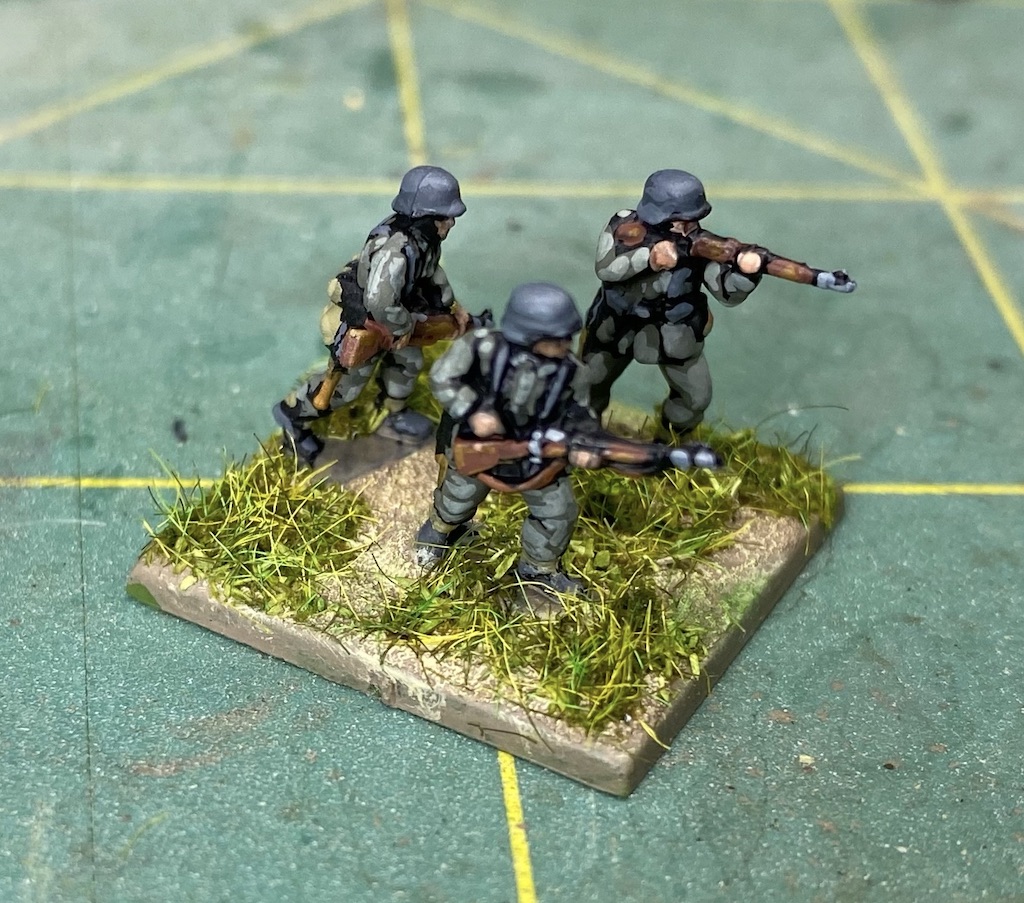
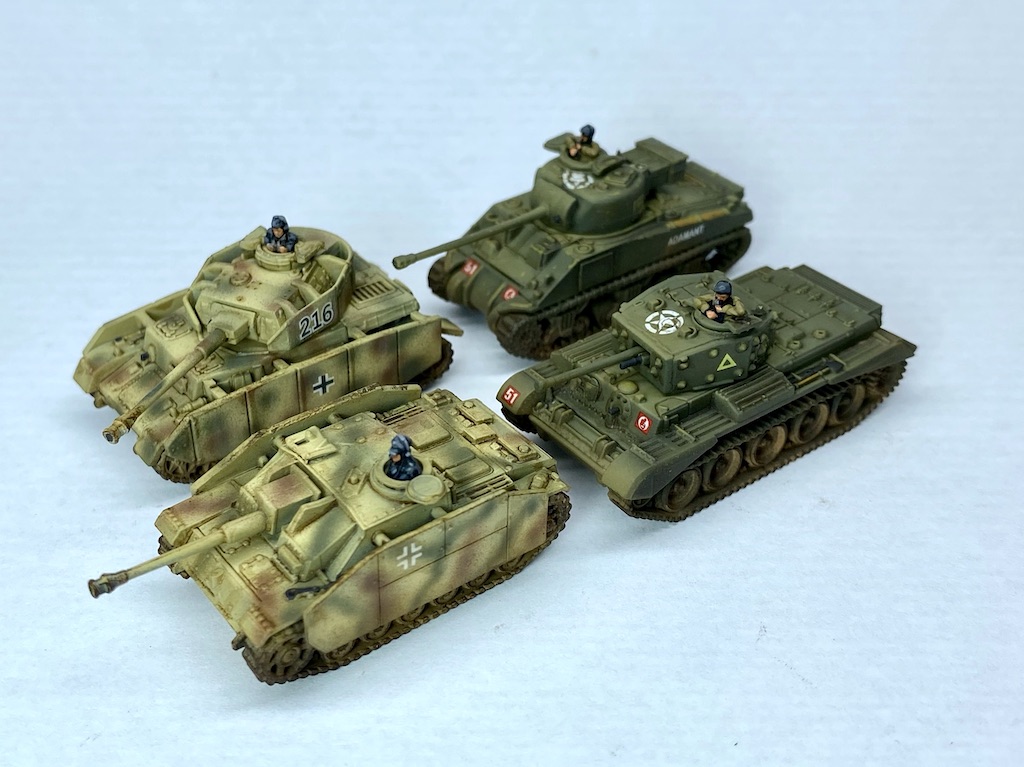
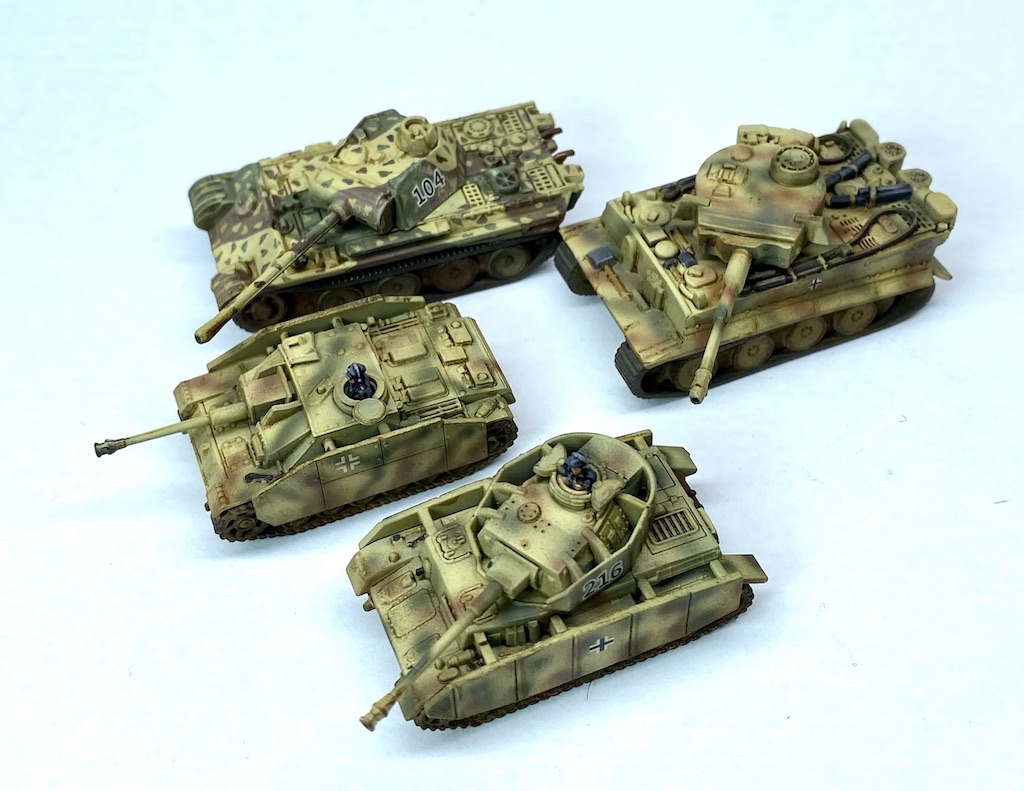
For the new campaign turn the Germans receive a fresh Volksgrenadier Rifle platoon at Assembly Point A, this roll is done secretly, as is any movement of their units between the various assembly points.

Any movement the Americans make along the roads between maps are subject to interdiction but, as there are none this turn, there is nothing to do at this stage. With that completed the Germans announce what attacks, if any, they plan to make this turn. Here is what Dave is thinking:
The first game will be the attack on Map 2 by a fresh Volksgrenadier Rifle platoon. This must come from the direction of Assembly Point B, as Map 1 is not yet in German hands.
Turn 6 first scenario Map 2 The Road to Holzthum
This map is defended by an American platoon that has yet to see action. The support allocated prior to the campaign was four entrenchments, a minefield, a 50cal HMG team and every squad was armed with an additional BAR. While I'm confident that's a force well equipped to tackle German infantry I now face the prospect of German armour and I'm not certain the platoon's solitary bazooka team will be enough to do the job.
The Germans will begin with patrol markers along the table edge at point B and they have two options for how they play this scenario, either as an Attack & Defend, or as a Probe.

There is a real threat for the Americans here as it is always difficult to defend in a Probe scenario when playing across the table. This allows the attacker the shortest distance to travel while the defender has a very wide front to cover. The Germans have a good opportunity here to make an important breakthrough and cut across Skyline Drive to separate Maps 1 and 3. It's a task that should be made a lot easier now they can call on the support of armour, so it comes as no surprise to learn that Dave intends to play this as a Probe scenario. This is exactly what he has in mind:
'For this attack on Map 2, I choose to run as a Probe, which will be easier to win – victory can be achieved by driving a tank off the map. I am fairly sure he will only have a bazooka so this should be a good bet.'

The American patrol markers start clustered together on one flank. There's a distinct possibility that the Germans can outflank them in the patrol phase and, if things go well, it could result in a jump-off-point on the eastern table edge. That might allow for a swift move off the table for a scenario victory. Somehow the Americans have to use the patrol phase to find a way to prevent the Germans moving too close to the farmhouses while at the same time trying to prevent a flank move that results in a German jump-off-point placed on the table edge near the entry point from Map 1.


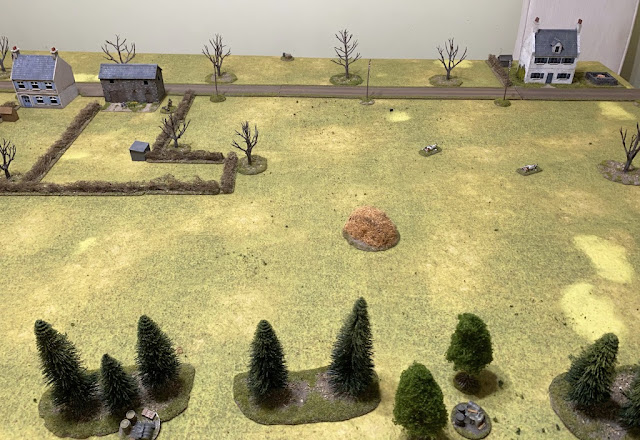
We start with American force morale at nine and the Germans at eight. Before we begin the minefield is placed on the road.


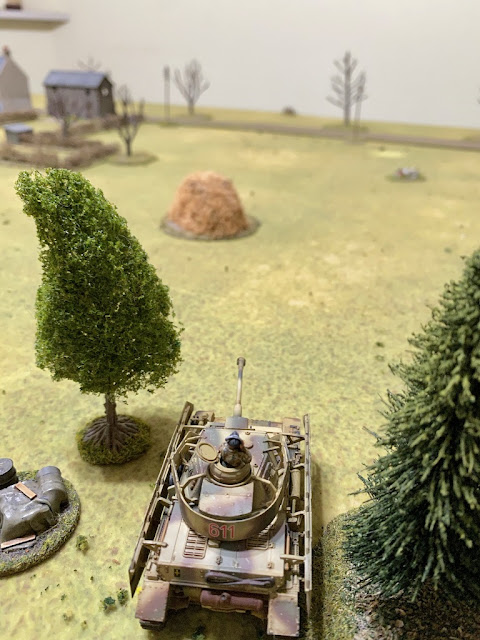
From there it can cover almost the entire width of the table.


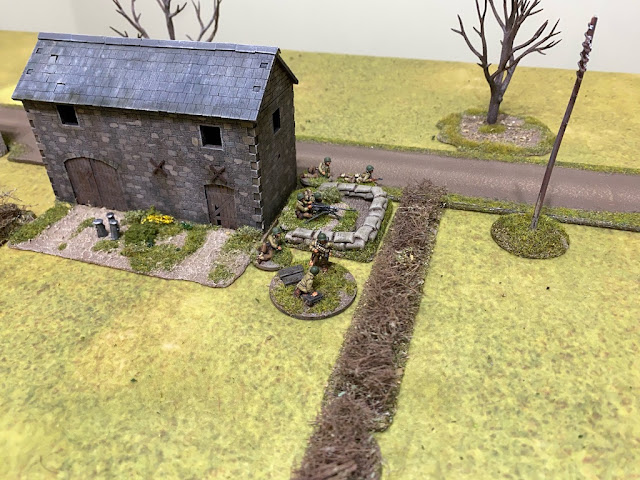
They have one very obvious target that demands their immediate attention and they open fire on the squad in the open.


The bow MG also opens fire and is even more effective than the main gun, killing another two members of the 50cal crew. This has turned into a particularly vicious opening round of fire from both sides.


The squad pours all its fire at the remaining two Germans.


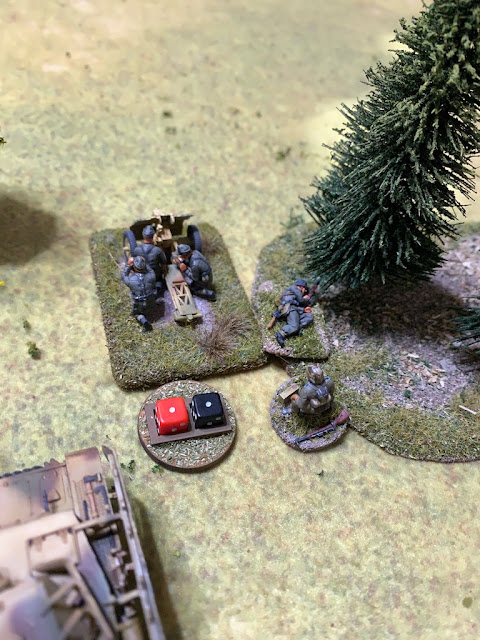
The tank and the infantry gun both target the 50cal team with high explosive.


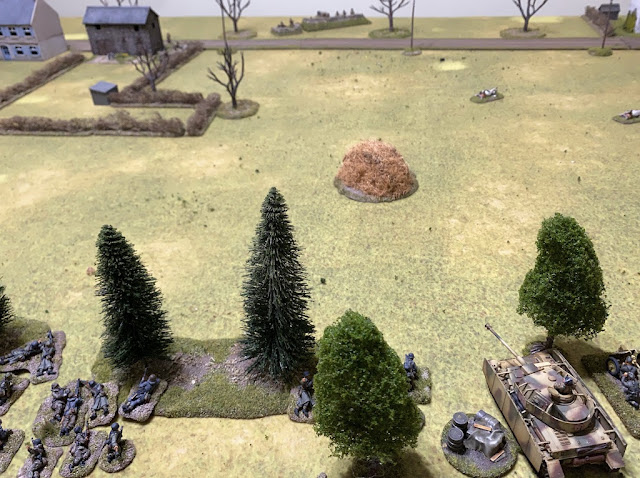
This puts a full German platoon with the support of a PzIV and infantry gun at the tree line. I'm certain this is the core Volksgrenadier platoon and the squad that deployed on the flank was most likely a sacrificial support squad.
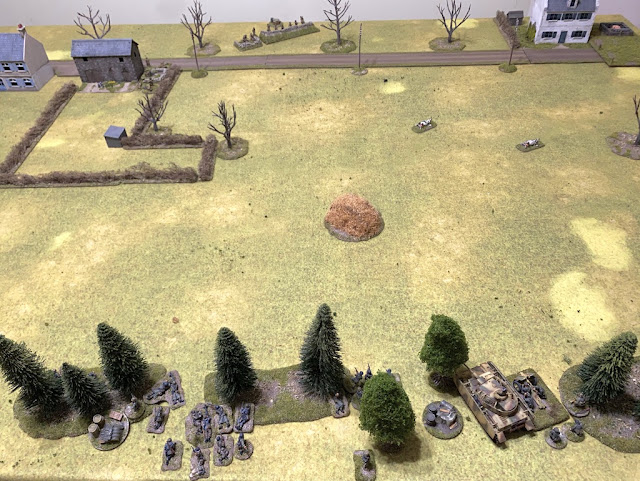


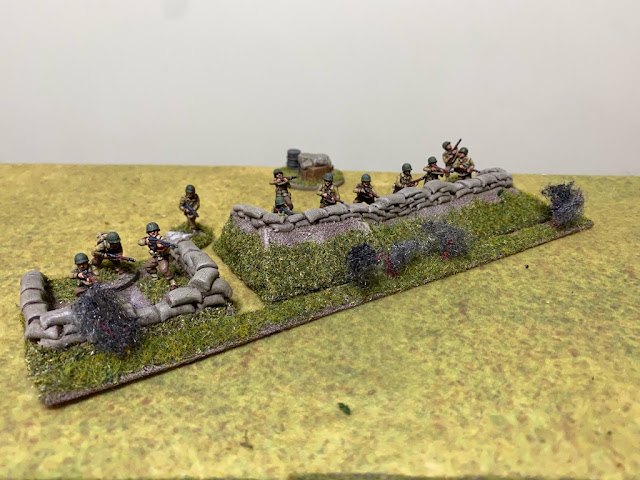


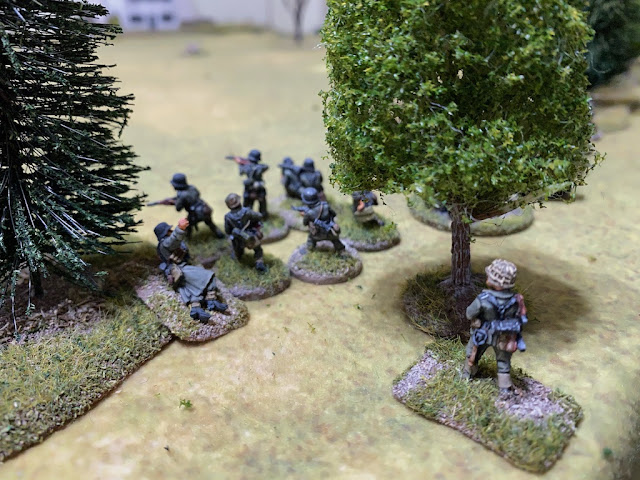
The Unterfeldwebel orders two of the German squads to open fire, and the bow machine gun of the PzIV joins them.
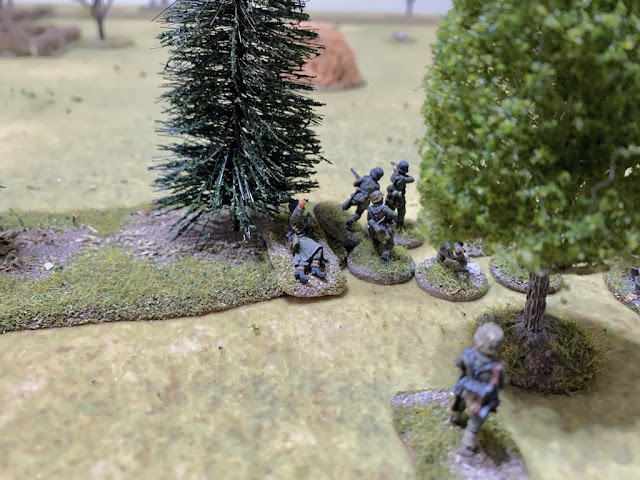

This hail of small arms fire proves far more effective than the high explosive rounds. The Americans suffer two killed, one of whom is the squad leader. That's a further blow to American morale which falls to four.



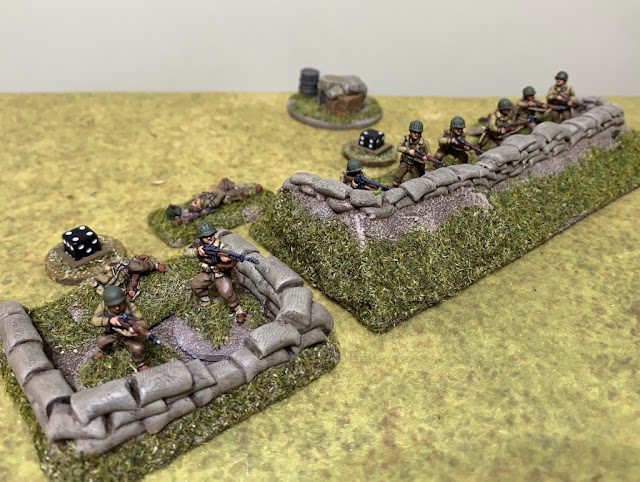




While they suffer no further casualties the shock is starting to build up quickly and with their squad leader killed there is no way to reduce it.

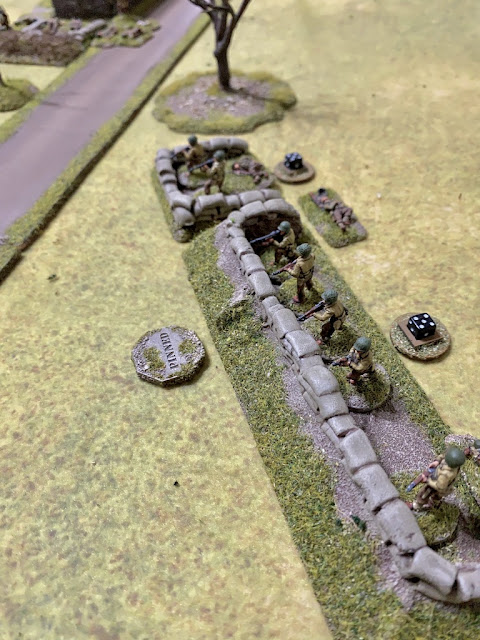



The rifle team suffer only a point of shock, but with the squad now down to six men and suffering eleven points of shock they are unlikely to last much longer before breaking.


One of the BAR crew is hit and each team suffers a point of shock, which is more than enough to break the squad.
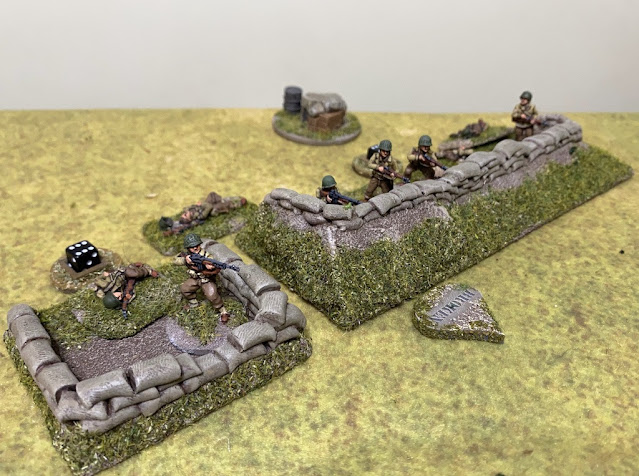


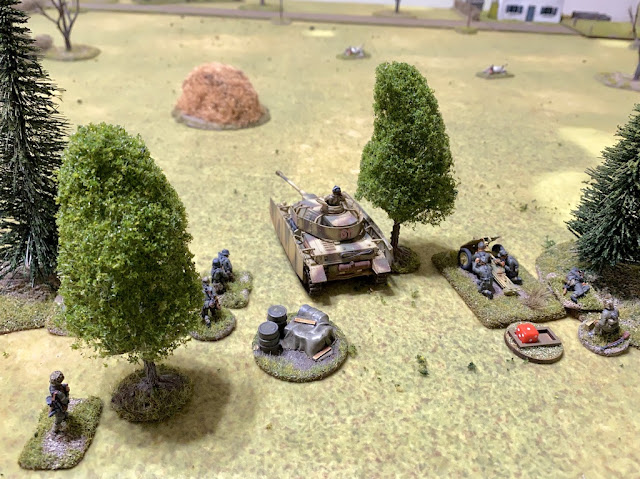


The commander of the PzIV orders the driver to continue moving slowly - this is no time to have the tank bog down on the soft ground by driving too fast!
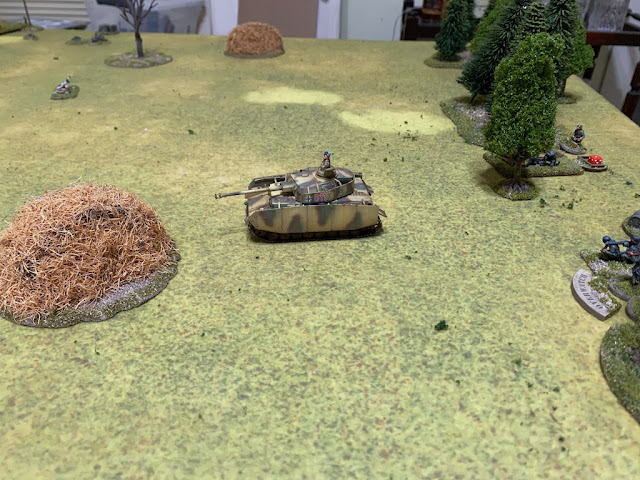

'I could take advantage of the blitzkrieg option to attack immediately onto Map 3, but with my force now consisting of a rifle platoon, a PzIV, and a gun with 3 crew left, and knowing what the Americans have defending the village (two 30 cal teams, a Sherman plus fortifications) I've decided that discretion is the better part of valour.'

The American patrol markers start clustered together on one flank. There's a distinct possibility that the Germans can outflank them in the patrol phase and, if things go well, it could result in a jump-off-point on the eastern table edge. That might allow for a swift move off the table for a scenario victory. Somehow the Americans have to use the patrol phase to find a way to prevent the Germans moving too close to the farmhouses while at the same time trying to prevent a flank move that results in a German jump-off-point placed on the table edge near the entry point from Map 1.

The Americans have one free move to start the patrol phase and this isn't enough to prevent the Germans working around their flank. As I feared they are successful in placing a jump-off-point only a short distance from the American table edge. This could turn out to be a very short game.

The American jump-off-points are positioned around the farm buildings.

If the Germans can establish a base of fire in the wooded area opposite it will be almost impossible for the Americans to move a unit towards the other flank given they would have to cross open ground swept by enemy fire.
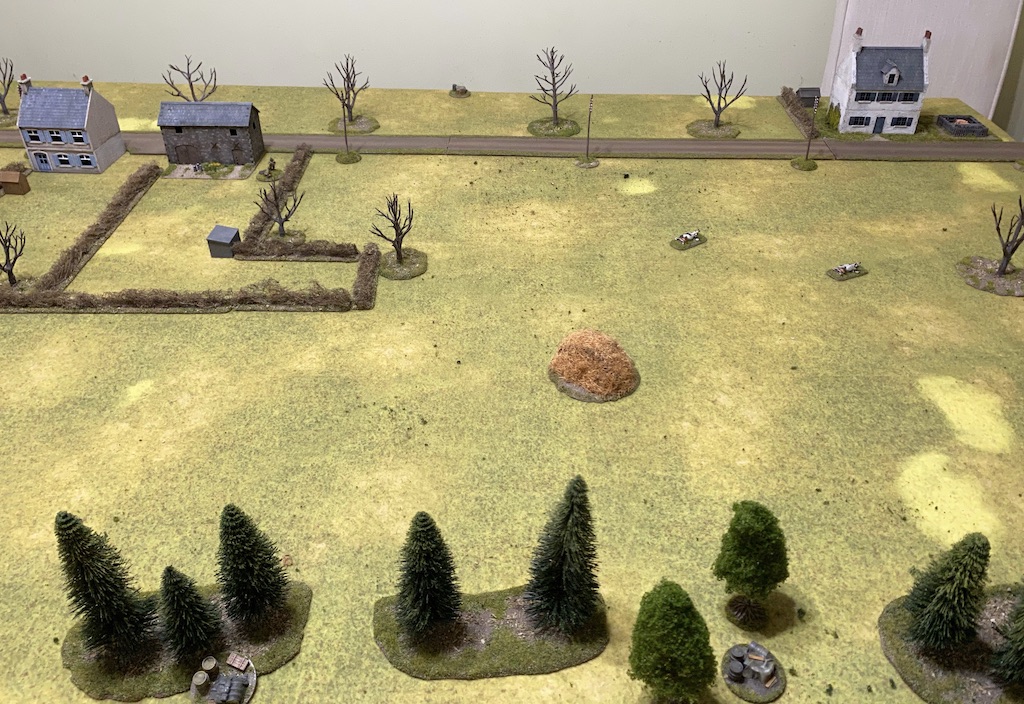
Fortunately one of the supports I had selected for this map prior to the campaign was a minefield. My original intention had been to use it to force German armour coming from Map 1 off the road onto the soft ground where, unless they drive slowly, they run the risk of bogging down. For this scenario I intend to put it almost exactly where I had planned, but this time it will act to force the Germans to move around the farmhouse in the direction of my jump-off-points. That gives them further to travel to the table edge with an increased chance of doing so while exposed to American fire. That's the theory anyway.

Despite the threat on my flank I don't want to risk deploying too early, I think that will simply allow the Germans to set up a base of fire to suppress the Americans before deploying a squad on the flank and making the push to reach the table edge. So even though my opening command roll is 66321 I opt to do nothing in this and the subsequent phase.
The opening German command roll is 63222 and they waste no time bursting into action. It comes as no surprise to see a squad deploy on the flank and take up tactical positions.

In the tree line a PzIV deploys and the gunner and bow machine gunner are placed on overwatch.


Nearby two Volksgrenadier squads deploy and take up tactical positions.


The Americans have little choice but to respond to the deployment on the flank. A command roll of 65441 doesn't leave many options but it does allow the 50cal HMG team to deploy.


The initial burst of fire proves deadly. The Germans lose two men from the LMG team and one from the rifle team with each team suffering a point of shock.

The German response is swift and the PzIV, whose main gunner is on overwatch, fires a 75mm HE round directly at the American HMG team.

The round kills one of the crew and inflicts a point of shock.


The German command roll is 65544 and with more units yet to appear Dave wants to keep his only senior leader off the table to ensure they can deploy. Much to my relief the Germans pass on this phase.
The American command roll of 54432 means the platoon sergeant rushes forward to take command of the 50cal team to keep them firing. He rallies their shock and orders them to continue targeting the squad in the open.

The 50cal spews out another deadly burst of fire that sees the squad's MG42 team wiped out, the Obergefreiter killed, and, the loss of another man from the rifle team. That leaves two men surviving and they are suffering two points of shock. The loss of a team and the Obergefreiter sees German force morale drop from eight to six. The 50cal may have suffered casualties but in the process has made short work of the flanking attempt.

I want to ensure those two surviving Germans don't manage a lucky breakthrough on the flank (unlikely as it might be) and so, seizing an opportunity to further drive down German morale, I deploy a squad from the jump-off-point at the back of the table.


Another of the rifle team is killed and they suffer five points of shock. With only one surviving member that's enough shock to see him break and rout off the table. That kills two birds with one stone, taking German force morale down to five and eliminating completely that particular threat on the flank.

While that feels like a good start there is no room for complacency. Now the Americans are exposed to German fire and with their only anti-tank defence a single bazooka the outcome of the scenario is by no means certain. Somehow I need to find a way to disable the tank or drive down German morale.
In the next phase it is clear why Dave was reluctant to deploy his senior leader earlier, he has more fire support to bring to the battlefield. First up a leIG18 infantry gun joins the PzIV at the tree line.
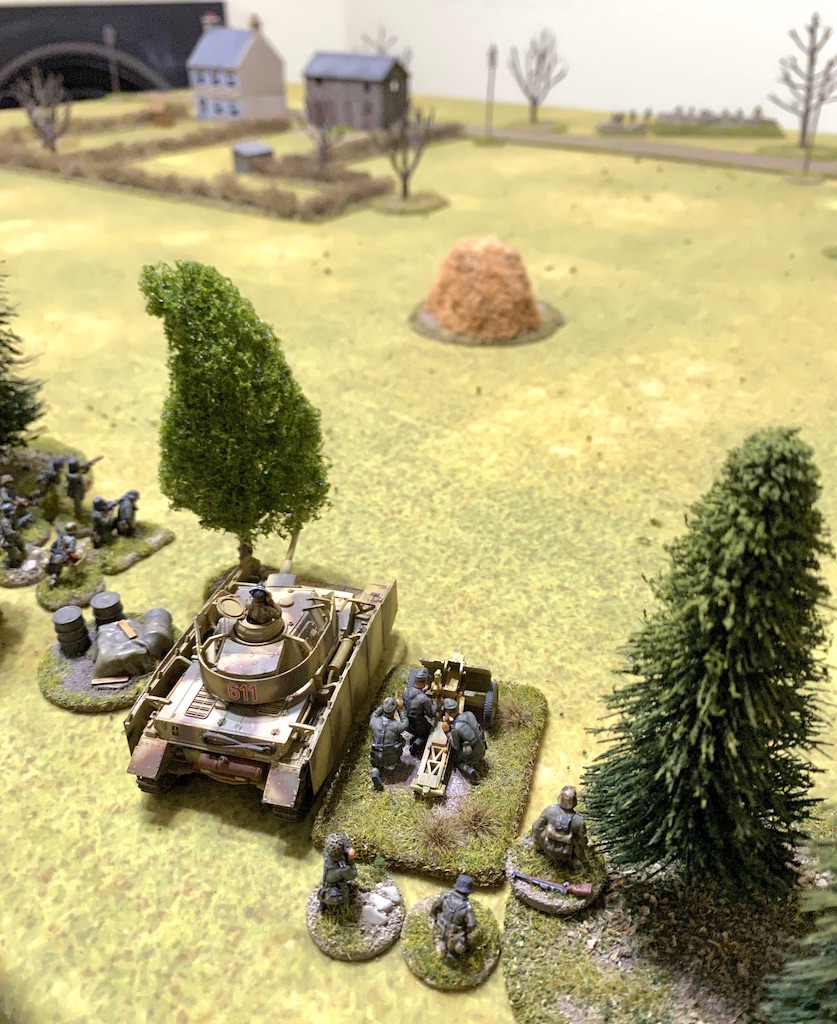

The HE rounds crash into their target with devastating effect and the two remaining members of the 50cal team are killed. To make matters worse the platoon sergeant is also hit and wounded, putting him out of action for the remainder of the turn. This turns out to be a real blow to American morale which drops two for the loss of the 50cal team and another two points for the wounding of the platoon sergeant, taking it down to five. This was always going to be the danger of an early American deployment, but there was going to be no other way to deal with the threat on the flank. I may have succeeded in preventing a quick German victory, but it has come at some cost.

A third German squad and the Unterfeldwebel (senior leader) join the other two squads in the woods.


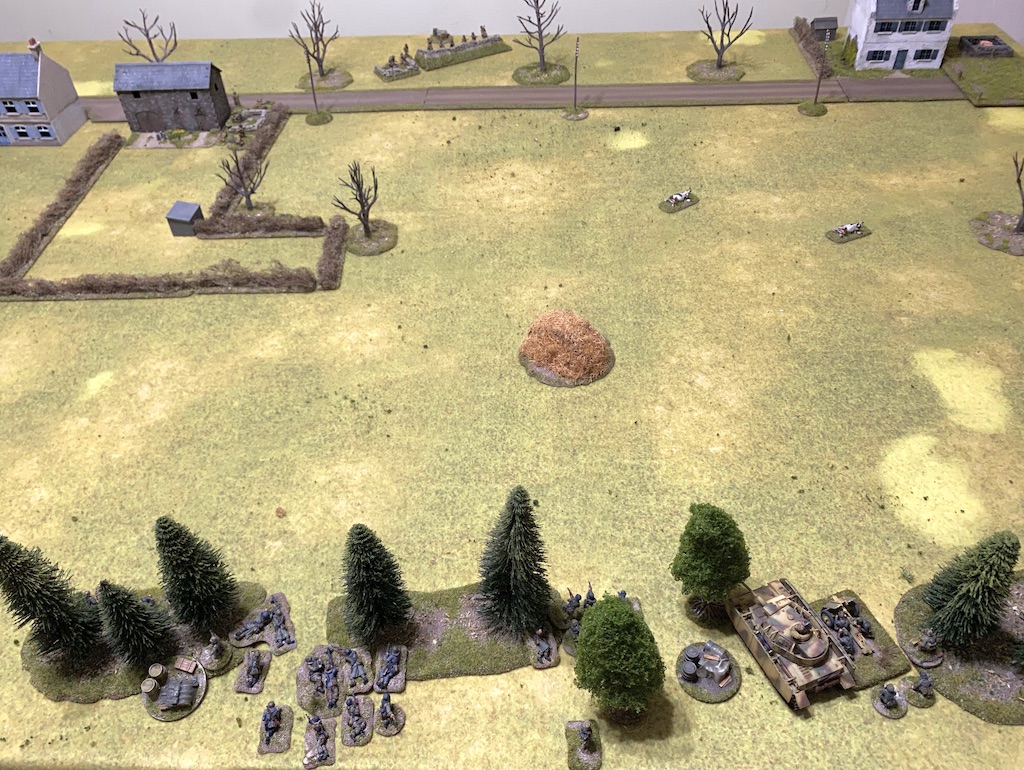
Two of the German squads target the American squad opposite, however the combination of firing at effective range and the hard cover of the entrenchments sees that fire have no effect.


Lastly, the third German squad puts down covering fire on the Americans to limit the effect of any return fire in their coming phase.

In the American phase I'm faced with a dilemma. I'm not certain there is any advantage to deploying more of the platoon and engaging in a long range firefight. The Germans have considerable fire support in the tank and infantry gun and I can't see any benefit in offering up more squads as targets. That said, it then leaves my single squad left to face the wrath of all the German firepower. What to do?
I decide to hold off on any further deployment at this stage and see if the Germans try to push units forward. For this phase I have the squad target the crew of the leIG18.

The combination of firing at long range, the covering fire and the hard cover enjoyed by the gun crew limits how effective that fire can be, nonetheless the gun crew lose one man as a casualty and suffer a point of shock. With that I decide to wait and see how the German attack develops before reacting any further.

The next German command roll is 66555 yet Dave's excitement at seeing the double six is short-lived once he sees all the 5s. The next command roll of 65433 is much more useful.
The commander of the leIG18 rallies shock from the crew and orders the gun to join with the PzIV and fire at the Americans. This time around the HE is less effective and both teams suffer only a single point of shock.

The Unterfeldwebel orders two of the German squads to open fire, and the bow machine gun of the PzIV joins them.


Once again the third German squad puts down covering fire to try and suppress the American response.

With force morale down to four the Americans are restricted to four command dice and it's becoming quite clear that sitting here taking all this German fire is only going to see morale drop further. A command roll of 5421 allows me to organise my response.
First the squad continues to target the crew of the leIG18 crew which loses another two crew members and suffers a point of shock. That's reduced the crew to three men - the gun commander and two crew.

My best hope lies in driving off the leIG18 crew and dealing with the PzIV, if I can do that I think I may still have a chance to hold off the German infantry. Desperate times call for desperate measures. The only weapon that can deal with the German armour is the bazooka and so the team deploys into the entrenchment recently occupied by the 50cal team.

This is a long shot in every sense of the word. It is not the easiest of targets and at that range, with the tank in the cover of the woods, the team needs to roll a nine or better to hit. To my delight that's exactly what they do, rolling nine. The bazooka rocket sails through the air and hits the frontal armour of the PzIV.

I could do with a bit of luck here. The round makes an AP strike of three but it is matched by the PzIV's armour save of three. The result is zero net hits. That's enough for the tank crew to suffer a point of shock and force the tank to reverse out of sight back into the woods. While it is better than nothing, I suspect it offers only a temporary reprieve.

The next German command roll is 66311 and that means any reprieve is likely to be very short lived indeed. The leIG18 fires at the bazooka team.

The two men are lucky and the HE round inflicts a single point of shock.

All three German squads then open fire on the entrenched Americans who suffer a kill and a shock in each team.

Matters take a turn for the worse when the following German command roll is 66312. The PzIV commander rallies the shock from the crew and orders the driver to move slowly back toward the tree line.

The leIG18 gun targets the bazooka team once again, but this time it has no effect at all.

Lastly one of the squads fires at the entrenched Americans but much like the fire from the leIG18, it has no effect.

Despite that, this now puts the full German force back in the firing line and they have another phase to come.
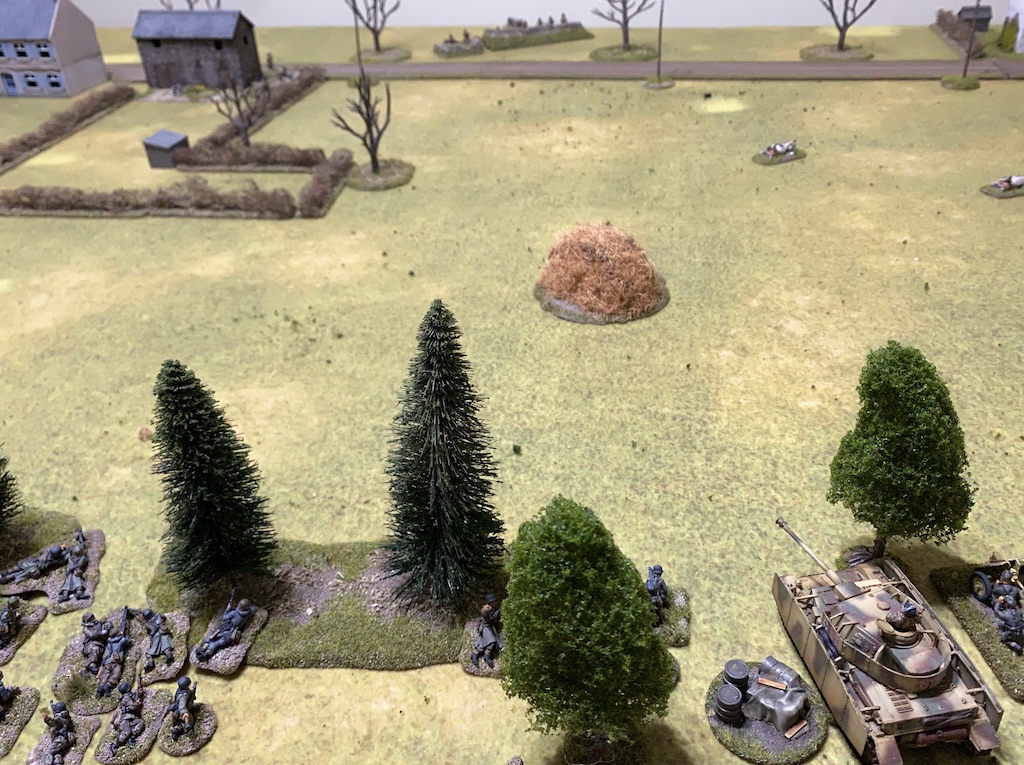
Their following command roll is 65431. It may mean the run of phases has come to an end but it is nonetheless a very useful set of command dice.
Once again the leIG18 gun targets the bazooka team. This time though the HE round falls with unnerving accuracy and kills both of the crew. While American morale remains steady there is no denying the loss of that team is nothing short of a disaster, as it leaves the platoon without an anti-tank weapon.

The PzIV commander orders the main gunner to turn his attention to the American squad. He despatches a round of 75mm HE in their direction.


The tank commander then orders the bow machine gunner to open fire and he is joined by the fire from two of the adjacent squads. The American rifle team lose another man and with an additional three points of shock that's enough to see the squad pinned down.

Sensing there is little need to maintain their covering fire the third German squad opens fire.

The Americans lose yet another man which puts the squad perilously close to breaking.

At this point it's clear my options are limited and it looks increasingly unlikely that I can hold on to this table. The best outcome I can hope for is to inflict maximum casualties on the German platoon. That might prove enough to prevent them following up victory here with a 'blitzkrieg' move - a bonus attack this campaign turn by the same Volksgrenadier platoon on to Map 3.
The next American command roll is 6332 which would allow other squads to deploy, however, other than the upper levels in the barn and farmhouse, there is nowhere else from where they can fire without decent cover. My best hope is to catch the German infantry if they break cover from the woods and that's going to call for patience on my part. Meantime my single squad must remain the sole target of German attention. In the American phase the pinned squad directs a meagre fire at the leIG18 crew and unsurprisingly it has no effect.

In the German phase the Unterfeldwebel directs the leIG18 to fire once again.


The rifle team suffer only a point of shock, but with the squad now down to six men and suffering eleven points of shock they are unlikely to last much longer before breaking.

The Unterfeldwebel then orders one of the Volksgrenadier squads to open fire.

One of the BAR crew is hit and each team suffers a point of shock, which is more than enough to break the squad.

The remnants break and rout off the table, which brings American force morale down to three.

Despite seeing the Americans abandon their entrenchments the Unterfeldwebel decides there is no harm in exercising caution and he orders the nearest squad to put covering fire on the trench.


With the bazooka team wiped out and confident the Americans may be about to abandon the position the commander of the PzIV orders the driver to emerge slowly out of the woods.


I decline to make use of the American command roll of 621 and let the phase pass. Unless the German infantry moves into the open I can see little advantage to deploying.
In the German phase the gun commander rallies shock off the leIG18 crew. The Unterfeldwebel then puts one squad on overwatch and has another lay down covering fire once again.


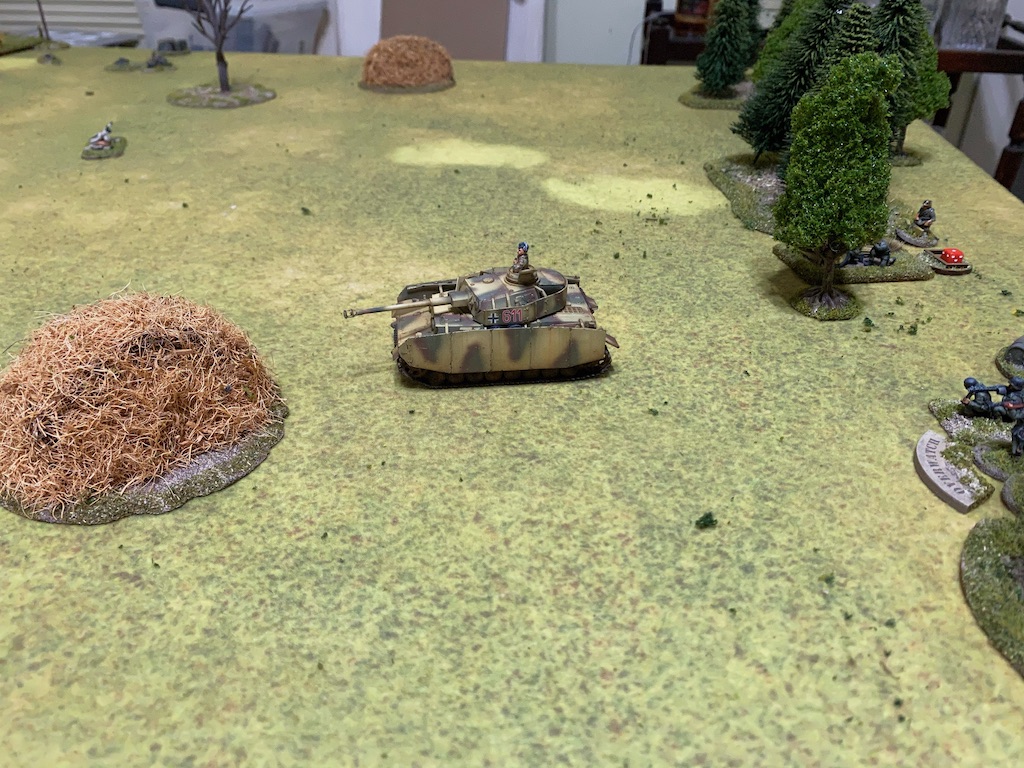
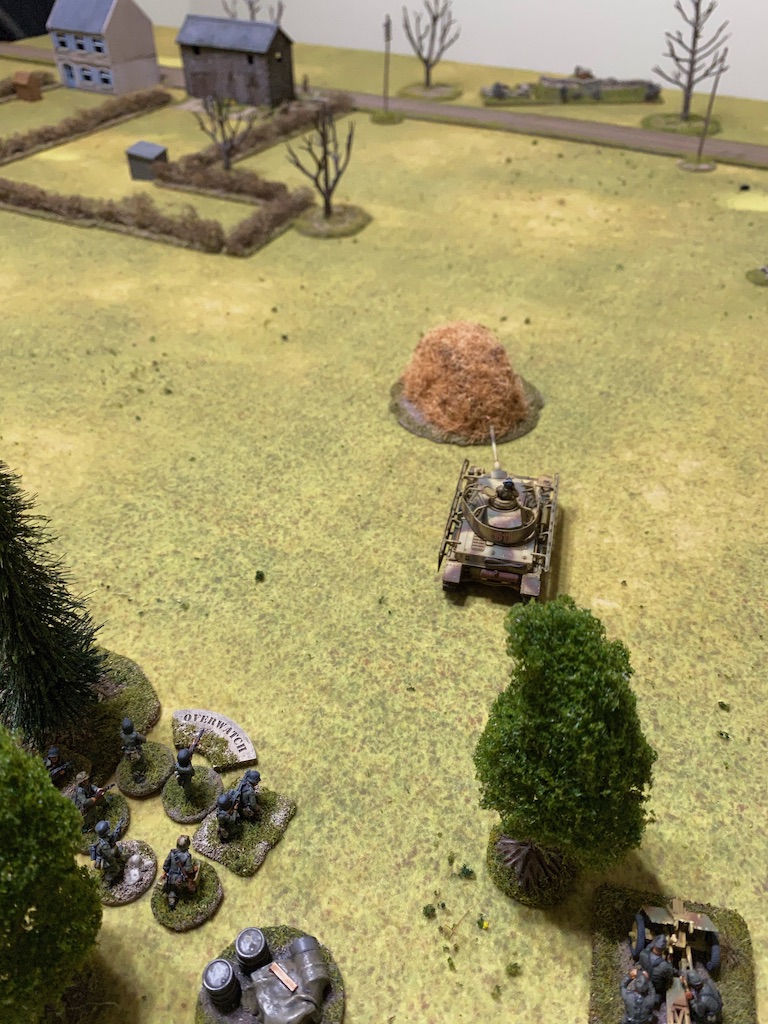
At this point it's clear what is about to happen. The Americans have no way of preventing the PzIV from crossing the table and the Germans have no incentive to move their infantry forward and risk losing men to American fire. So in the American phase I decide to withdraw and see if I can pull some men back to Map 3. In the end only five men will make it there, the remainder are dispersed into the hills of the Ardennes or will end up in German PoW cages.
The option to make this a Probe scenario was always going to make it a difficult proposition for the defenders, especially now that the Germans have armour in support. Despite their early success wiping out the Volksgrenadiers on the flank those Americans were left exposed to German fire against which they could do little. In hindsight I could have held back the bazooka team until a more opportune moment came to hit the tank, but that still would have meant the 50cal team and entrenched squad weathering all that enemy fire on their own. It was a case of damned if you do and damned if you don't. It goes without saying that a bit more luck with the bazooka and the elimination of the PzIV would have changed the complexion of the game entirely. Alas, it was not to be.
With that the Germans have their first victory of the campaign. It is one that results in the isolation of the Americans defending Map 1 and opens up the option to attack Map 3 from two different directions. They also have a choice as to whether they use the platoon that just won this game to carry out a 'blitzkrieg' and immediately attack Map 3 with the force it has to hand. It's an opportunity for a bonus additional attack this campaign turn and could help get the German timetable back on track.
Dave gave this some thought:
You can find out what happens next in this report.
You find reports for all the games in this campaign and many other campaigns on the Chain of Command Campaign AAR page here.