Our initial games had been a little lacklustre. They had devolved quickly into static affairs as we concentrated more on fire than on movement. It's easy to be seduced into firing controlled volleys from a formation and forget that historically there was just as much, if not more movement as fire.

Two things in particular have been an important part of this process. The first was gaining a much better understanding of the characteristics of different unit types and the second was how to make best use of the command cards.
The first of our recent games was set during the early part of the war. A force of sundry rebels holding an inn by a ford were trying to fend off a force of regulars sent to evict them. The scenario was inspired by one in the Swamp Fox campaign.
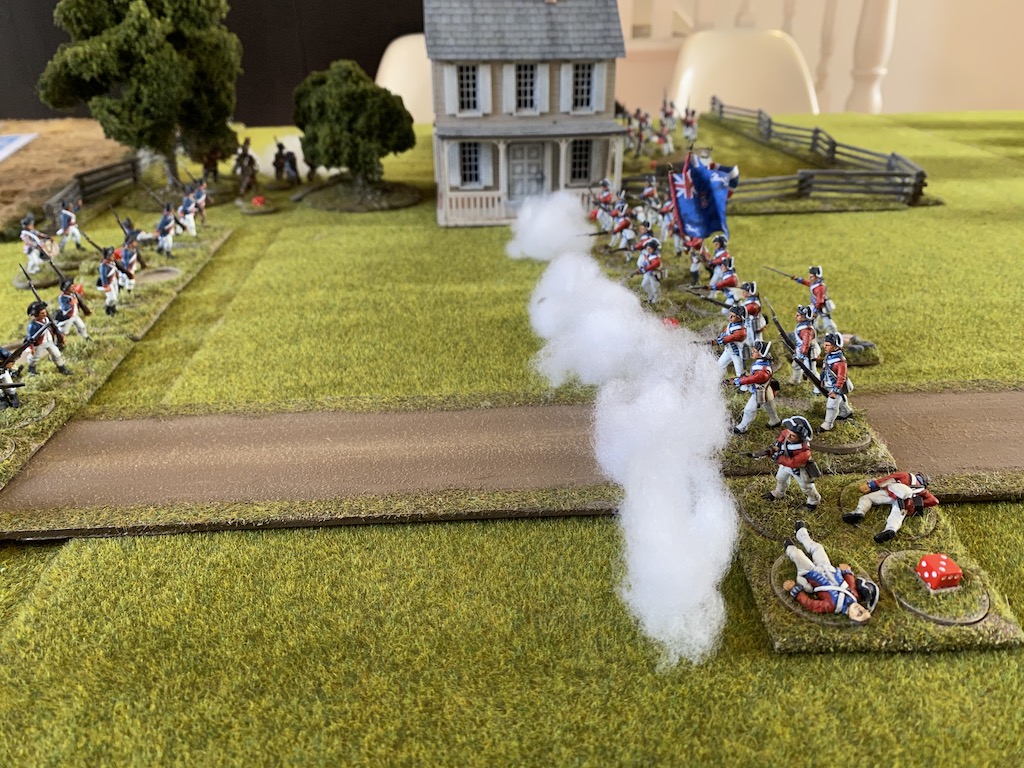
The British were first to deploy. Their Status III leader commanding three groups of line infantry took advantage of the lack of an enemy in sight to deploy across the ford and in closed column on the road. Rebel skirmishers appeared out of the inn but before they could inflict any casualties the British formed up into line. The ability to form up was one of the rule concepts that we had under valued. In earlier games our use of formations lacked flexibility. I recall being particularly concerned with any movement that broke up a formation, like moving over a tall farm fence, when in fact it is a relatively simple matter for the commander to have the groups form up again if they are only 1-4" apart.

The rebels deployed a column of state line from the deployment point in the inn but this was to prove a costly error. While it was clear Dave intended the column to move out and form line to face the British the fall of the command cards meant that the British would have an opportunity to act before the Americans could change formation. Despite firing at long range the British line was able to let loose a powerful controlled volley enjoying the benefits of first fire and a target in column.


In an instant the state line lost men and accumulated shock.

Advancing quickly behind the British line a second column of two groups crossed the ford and moved toward the right flank ready to drive off the skirmishers.


We have a tendency that I suspect is common to new players and that is to allow your units to engage in prolonged but often indecisive firefights. I fell into this trap once again. There’s a terrible fear that if you’re not shooting then you’re at a disadvantage. Having opened fire on the state line it was too tempting to keep on firing instead of closing on them with cold steel. The problem is, if you're not moving into Fisticuffs then you are also a target for enemy fire. As a result the British line began to suffer casualties and shock inflicted by return fire from the state line and the skirmishers. There was no doubt the state line were getting the worst of the exchange, but nonetheless shock was accumulating on the British and that would make any decisive move to contact more difficult later.
However I could not consider moving the British line forward with skirmishers on my flank. The risk of enfilade fire and double shock meant the skirmishers needed to be chased off before a forward move could be contemplated.
The second British formation advanced aggressively to the fence and the rebel skirmishers, who were unloaded at the time, were wise to take the opportunity to Evade and move back behind the inn. There would have been no advantage in having my line infantry engage them in a firefight where the skirmishers have the luxury of firing at me from good cover. The threat of British bayonets was enough to see them fall back. A case of playing to the regulars’ advantages and not allowing the skirmishers to do the same with their's.
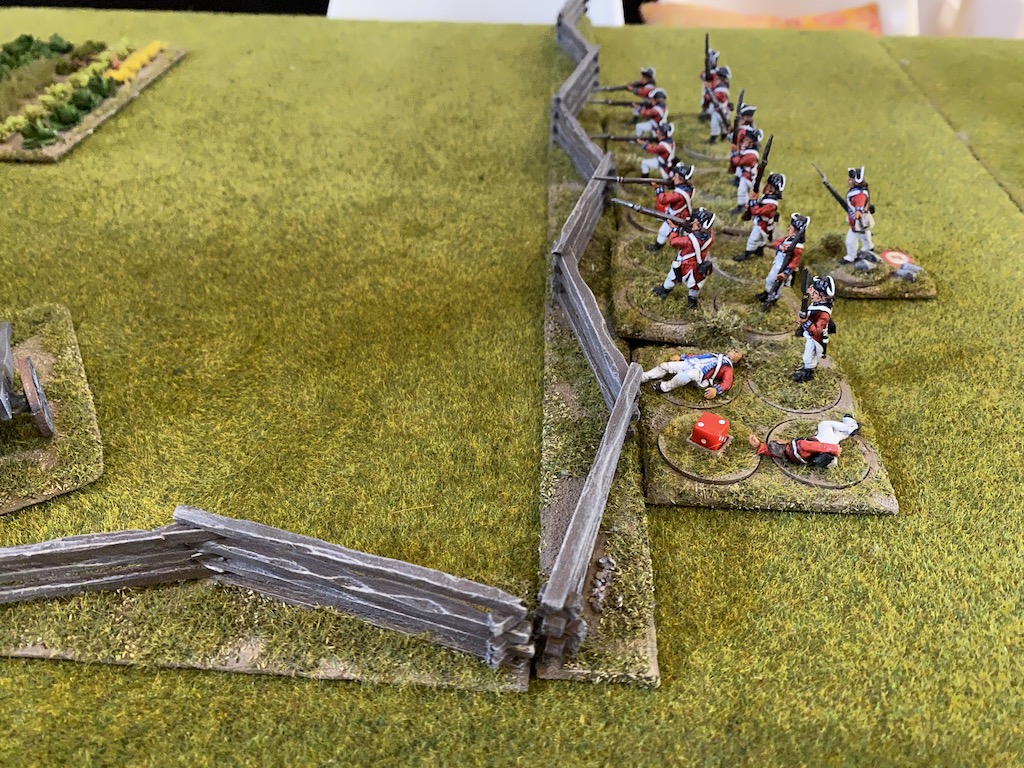
But while that was happening a group of Militia were able to come to the support of the state line.

At the same time, in the woods on the other flank, more rebel skirmishers began firing at the British line. I moved a group of light infantry quickly through the woods and that was enough to see these skirmishers also evade. In the end the Americans had to send a group of Militia into the woods to guard the flank.

By the time I finally decided to send the regulars into attack they had accumulated enough shock to make this slower than I had hoped. Eventually I was able to play two command cards for Thin Red Line and in the end this proved enough to send the rebels reeling back in disorder. I suspect my hesitancy had cost me more casualties and shock than were necessary.

As Dave and I discussed the game afterwards it was clear we were both unhappy with our tactics. Neither side had taken full advantage of the characteristics of their various units and so we failed to have them operate as effectively as possible. Despite that we agreed it had been another good learning experience, if only to learn from our mistakes.
A week later we played a second game. This was a simple Encounter (scenario 1 in the rulebook). A force of Continental Army would face a force of mixed British regulars. The focal point of the table was a road junction and a small church. We rolled high for support and the British were able to call on a group of light infantry skirmishers while the Americans brought in an additional leader for the Continental line infantry and a group of Frontiersmen skirmishers.

In this game we both made an effort to focus on making the most of command cards, unit characteristics and formations. The result was our most enjoyable and satisfying game to date.
The command cards came quickly for the British who were able to deploy most of their force ahead of the Americans. Despite that we were quick to exploit the mobility and fire benefits of our skirmishers and light infantry.
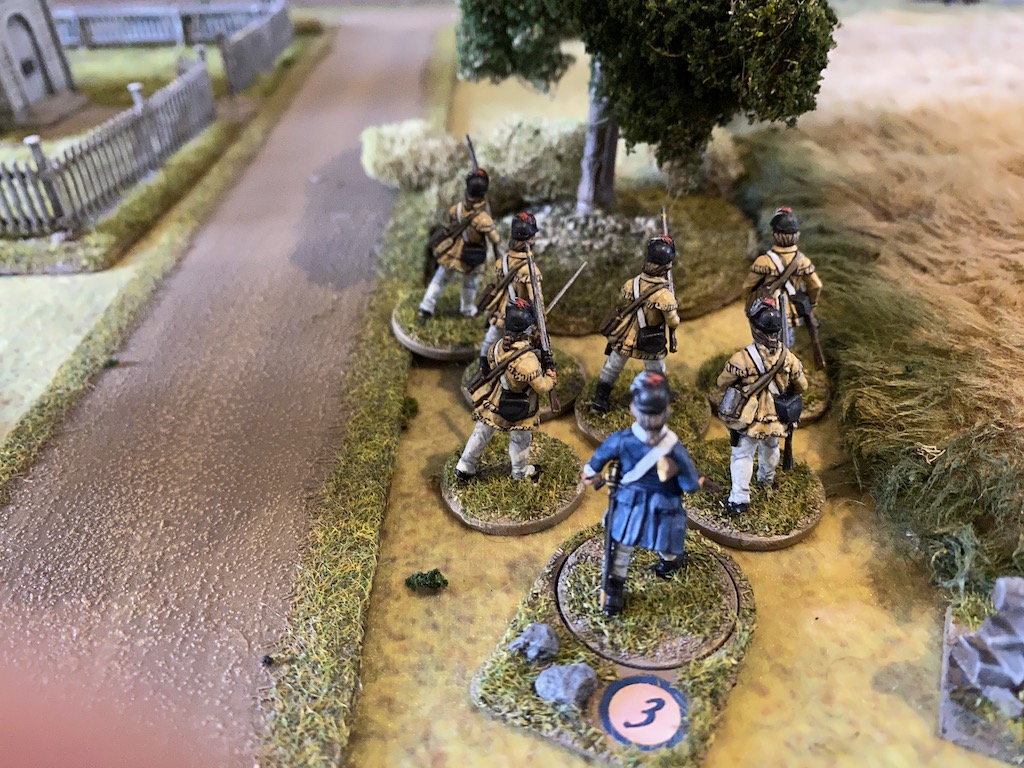


I think the game benefited from a good density of terrain but not so much as to hinder movement or firing to any great degree. Playing along the longer table edge also allowed us to try to manoeovre around our opponent's flank and that made for a more fluid game.
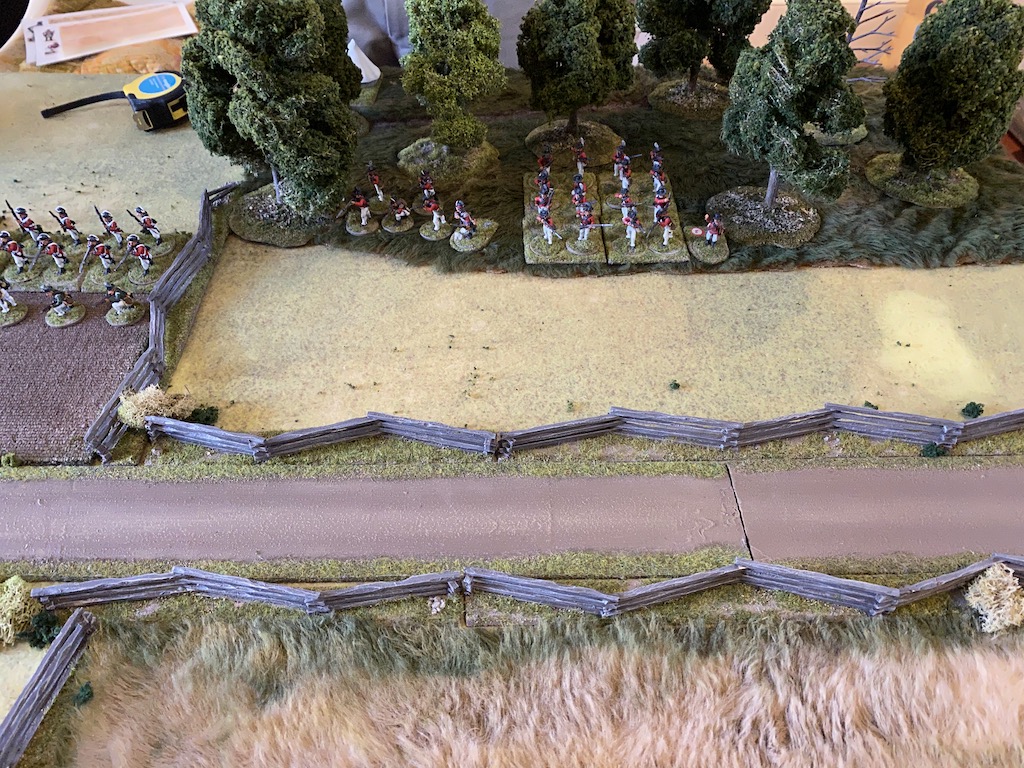
The British line infantry took full advantage of a screen of loyalist skirmishers to approach the American centre.

The opening rounds of combat saw forward screens of skirmishers and light infantry probe for weakness while the line infantry sought out the most advantageous positions.


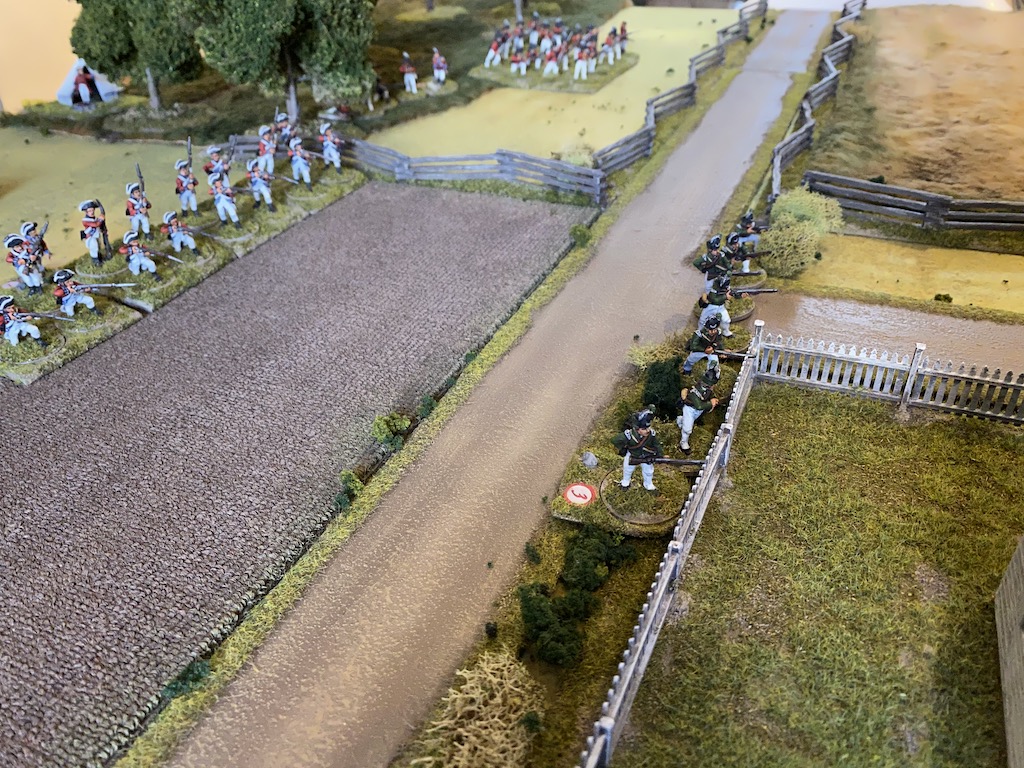
I neglected to take photos of some of the most intense action but we had an interesting encounter between two groups of British line infantry and two groups of state line. Despite taking a volley of British fire the state line held their fire until they were in close range and using two cards for a Crashing Volley made the most of first fire and their one chance at a controlled volley to inflict considerable shock on the British. However we soon learned that the state line have one chance at this and once their fire became uncontrolled and lacked the same effectiveness things looked a lot less favourable.
The British were able to rally off shock and holding their nerve they resisted the urge to fire immediately, opting instead to Present and wait until the next turn. The decision was rewarded with an early card draw for their commander and before long the state line were falling back in some disorder and breaking their formation. At this point I forgot that shock does not effect movement away from the enemy and rather than trying to rally shock the state line’s leader I would have been much better off pulling them back out of range. Another lesson learned.
On the other flank British light infantry engaged the Continental line in a firefight, where once again we fell into the trap of several indecisive turns of fire. As the Americans I was reluctant to leave the safety of the fence line, knowing that the speed and aggression of the British light infantry would put me at a disadvantage.


The scenario probably lacked an incentive for either side to attack the other and this provided some insight into the sort of considerations we should work in to future scenarios. We are still playing fairly vanilla games while we come to grips with the rules, but I can see how introducing leader characteristics and sub plots help to drive the narrative and incentivise players into action.

Despite the static nature of this firefight between the British light infantry and the Continentals, the American Frontiersmen showed their aggression by charging the remnants of the loyalist skirmishers and hurling tomahawks at them before seeing them off.
Overall we played a much better game where we focussed on making the most of what each unit was capable of doing. In terms of learning the Sharp Practice rules I feel it represented some sort of watershed and I fully expect to see our style of play really improve from here on.