It's not a coincidence that MDF models make up the majority of the buildings in my terrain collection. For gaming I find they are both sturdy and functional and with solid construction and easily removable roofs and building levels they stand up well to handling. That said, they are not without their downsides.
One of the tell tale signs common to nearly all MDF models are the lugs and joins. It's their least attractive feature and nothing is more obvious than when they are in the roof. As we stand around the game table, invariably looking down on to the tops of buildings, my eye is always drawn to them. Taking photos for the AARs for this blog only draws my attention to them even more.
For the last few years I've been making efforts to cover them as part of any new building project. Fortunately there are several easy solutions. The most straightforward is a very old school method - simply cut out pieces of card from something like a cereal box. It's certainly a method I've used before, like when scratch building this 28mm barn for my American War of Independence games.
While it can be laborious it works just fine (and you can see that build in detail in this post if you're interested in learning more).
Those of you familiar with MDF model companies like Sarissa Precision and Charlie Foxtrot Models will know they also produce laser cut roof tiles in grey board or other similar material. I've been using these for a while on new buildings but I'm finally getting around to retrofitting them to a few of my existing models.Up until now I've been using these below from Charlie Foxtrot Models for my 20mm buildings.
They are easy to cut to the length you need and can be glued in strips directly to the existing roof using white glue or PVA with virtually no wastage.
It's surprising how much difference they make to the finished look.
Recently I placed an order for a few buildings with Sarissa Precision and thought I'd try their laser cut tiles. I accidentally ordered a set that are aligned in a slightly irregular pattern but thought these might work well for a rustic barn.
I decided to revert to the Charlie Foxtrot tiles for the second barn and I was much happier.
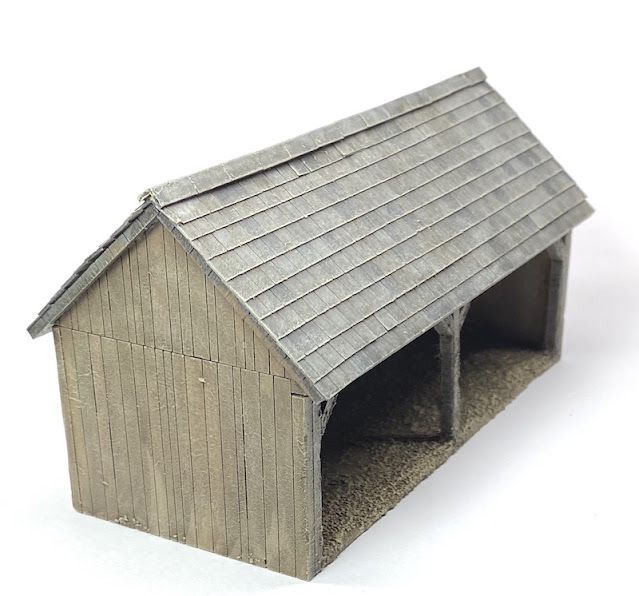
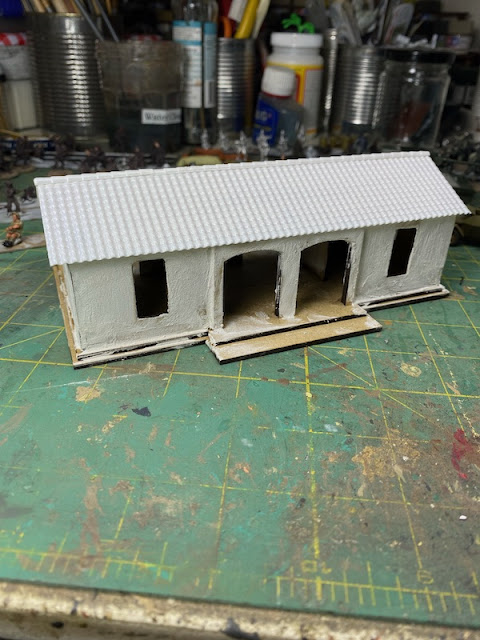
The Sarissa tiles are not a disaster, although I did consider going back and replacing them at one stage, but I don't think I'd use them again for a 20mm building. On the other hand the Charlie Foxtrot tiles look the correct scale and blend in well with the building.I used the same tile set for another Charlie Foxtrot building, this time a wagon shed and once again I'm happy with the result.
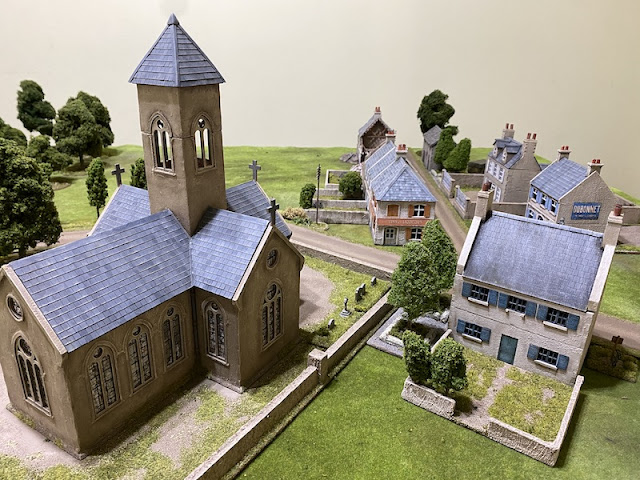
The combination of roof tiles and a similar colour palette for all the buildings is an effective way of tying them together so they all look as if they belong in the same location. It helps to create a more natural looking setting when you combine them to make a village.
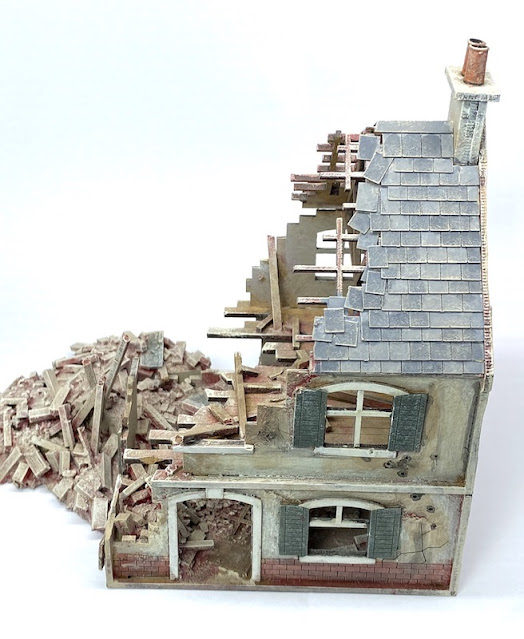
It's for that very reason that I added tiles to what was otherwise a perfectly good building that a friend had given to me. He doesn't play in 20mm but had a few Sarissa buildings that he had been sent and made. He's a very good terrain maker and when he sent me a picture and asked if I wanted one I was happy to take it.
Much of the colour palette was similar to my own, so it would fit in almost straight away.
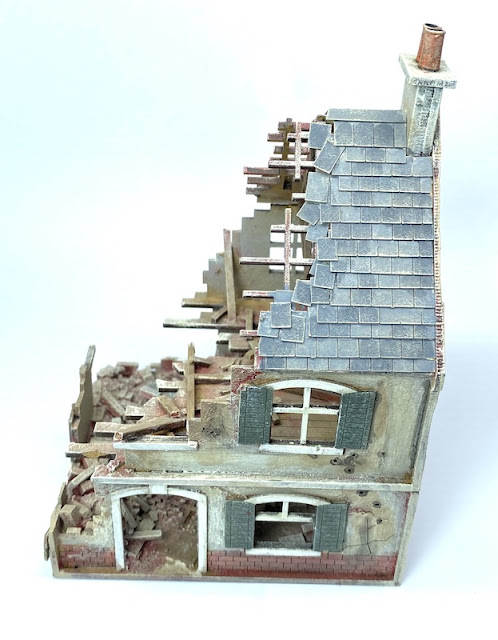
However, if I wanted it to blend in with my other Sarissa terrace houses I needed to make changes in two areas. First I would add roof tiles and chimney pots and second, I would paint them to match my existing terrace houses.
I think this shows the versatility of the laser cut tiles. It's also a very useful way to make use of the various end pieces of the strips.








Excellent terrain hints and I agree with you about the irregular tiles, they are too thick and probably a bit too higgeldy piggeldy too!
ReplyDeleteSplendid work the effort pays dividends in the look of the buildings, have to agree on the Sarissa tiles they actually look too regular. You are also The Tactical Tiler now🙂
ReplyDeleteI agree with rross, the irregular tiles are too exagerrated and the 'irregularity' too regular so they really don't look like tiles that are just poorly aligned. As ever your work on the buildings is great - I really must do something to improve mine, albeit resin or plastic rather than MDF.
ReplyDeleteI like the laser cut shingle sheets from Warbases. They do other styles but these transform the 4Ground fantasy buildings and other makes as well and helps to blend them all together.
ReplyDeleteLovely work Mark
ReplyDeleteThank you, what a thoughtful, useful tour! The availability of kits, in all their formats and brands certainly makes for a potentially wonderful table...such as you feature.
ReplyDeleteI have been using the Charlie Foxtrot roofing since my very first MDF building! All my stuff is 20mm and now looking into 15mm, It certainly makde a difference in the look of the terrain.
ReplyDeleteThose are wonderful buildings. I like the south seas hut roof and walls the best I think- that's a great texture. A couple simple upgrades really improve MDF kits as you have shown.
ReplyDeleteI totally agree! Having “proper” tiles makes a big difference. If I ever get back to gaming with my Northern European buildings then they’re going to get upgraded roofs. Really lovely models you have there too.
ReplyDeleteCheers
Matt
Great work!
ReplyDeleteHi Mark What size are the Charlie Foxtrot tiles. i.e each separate tile?
ReplyDeleteThose ones are 5mm wide. Each tile is laser cut 6mm deep into the strips. Each strip is 10mm deep which allows you space to overlap the strips as you lay them down on the model. Hope that helps and is useful.
DeleteThank you for the reply Mark it is exactly what I wanted.
Delete