Campaign Turn 4
Unfortunately for the Germans both attacks were repulsed and each platoon took fairly heavy losses. One thing has become clear, they would benefit from heavier support. That will only be available with the bridging of the River Our, but exactly how fast the pioneers can do that is unknown. There is the possibility that it happens in time for this turn, it all depends on the outcome of a secret die roll made by the German player to determine when the bridge becomes operational. As the American player I will only discover how successful they have been when German armour and other heavy equipment begins to appear on one of the maps.
So we start Campaign Turn 4 with Dave making the secret die roll for the bridging attempt (he is unsuccessful, although I am unaware of that). The Americans receive six support points and I send forward another Sherman which arrives on Map 6.
The Americans may also choose to move mobile supports between the maps, however if the Germans have platoons that spend the entire campaign turn at one of the assembly points they may try to interdict movement along the stretch of road nearest to them. While there is a distinct possibility the Germans have done this I decide to risk moving one of the M4 Shermans from Map 4 along Route 1 to Map 3 to further bolster the defence in Holzthum village. Based on the last game I'm fairly confident I can make a real fight here and make it very tough for the Germans to dislodge my platoon.

Another German Volksgrenadier sturm platoon (IV) arrives at Assembly Point A and Dave then announces which stretches of road may be interdicted. Unfortunately for me, Route 1 is one of those and so Dave rolls a D6 to judge the outcome. Worse case the Sherman is destroyed (a roll of 1), otherwise it finds the way blocked and returns (a roll of 2,3 or 4), or it makes it through (a roll of 5 or 6). Dave rolls a 5 and so I let him know his men have just seen a Sherman make its way along the road to Holzthum village and they have been unable to prevent it.
Then, a little to my surprise, Dave announces there are no German attacks this turn. On reflection this makes sense, considering both the platoons that attacked last turn are now less combat effective. Dave confirms that was his thinking and decides they are best infiltrating or interdicting the roads than actually fighting. While I'm unaware that the Our River has yet to be bridged, the lack of armour has also had an influence on Dave's thinking.
So that has the German 1st platoon remaining at Assembly Point C to interdict the road, while 2nd platoon infiltrates around to join them. Meanwhile 3rd platoon moves to Assembly Point B and newly arrived 4th platoon remains at Assembly Point A.
Campaign Turn 5
Once again the Germans make a secret die roll to determine if the Our river has been bridged. This time Dave is successful, although I won't know this until the armour actually starts to appear. The Americans move the Sherman from Map 6 to Map 5, as this occurs within the village of Consthum we don't need to check for road interdiction. The Germans receive a fresh Volksgrenadier rifle platoon at Assembly Point A. Lastly, the Americans and Germans who were wounded while fighting in Turn 3 on Maps 1 and 3 now return to their respective platoons.
Dave's thinking for the turn is this:
'The Our is bridged and the panzers arrive – not a moment too soon! Although I could attack twice, I decide to move forward and position myself to attack table 4 next turn. With the disposition of my squads and losses suffered, the attack on the café is the only one I can really conduct this turn.'
The Germans announce there will be one attack this campaign turn and it will be conducted from Assembly Point A by the newly arrived Volksgrenadier rifle platoon who will make a second German attempt to capture Map 1 Skyline Drive. After their experience the first time I can only imagine they will make this attempt with armour in support, which makes me suspect they have bridged the Our successfully. I will find out soon enough.
As we discovered in the first game this is a very tough map for the attacker who must cross a large expanse of open ground.
The Germans will commit a fresh Volksgrenadier Sturm platoon and as this is their second attempt to take Map 1 they receive an extra three support points to add to the twelve allocated by the scenario. In addition, a force rating difference of +1 will apply, taking their total available support points to a substantial 16.
Here is Dave's thoughts on the attack:
'My plan for this one is to call on a Panther and a leIG18 infantry gun and to use most of the troops as a firebase while a scouting squad advances on the American jump-off-points to lure him out. Once again, I select a barrage in the hope of disrupting his deployment.'
The American defenders are in good shape. They have lost one man permanently however two men who were wounded in the first attack return, which means they will be just one man short of a full platoon.
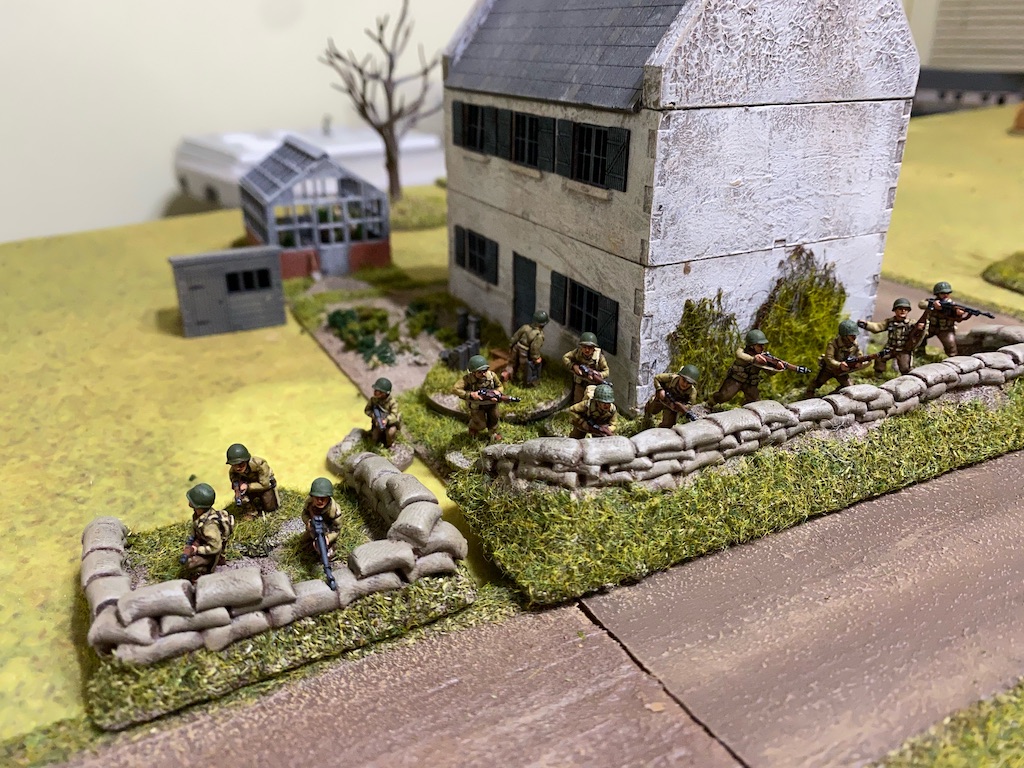
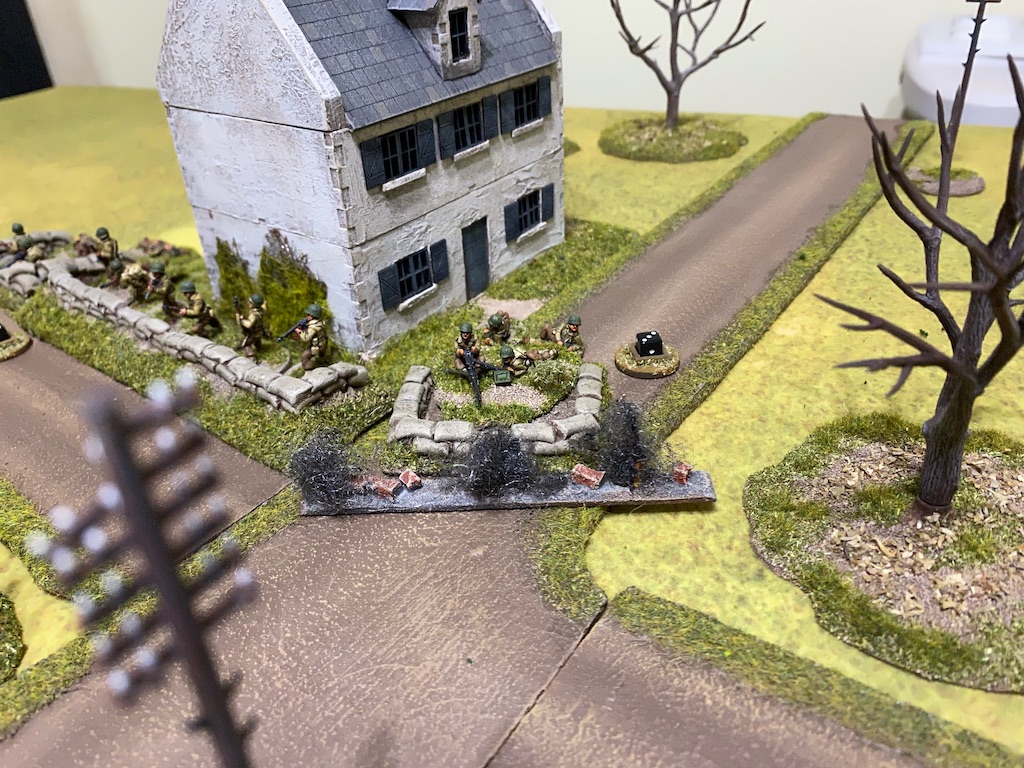
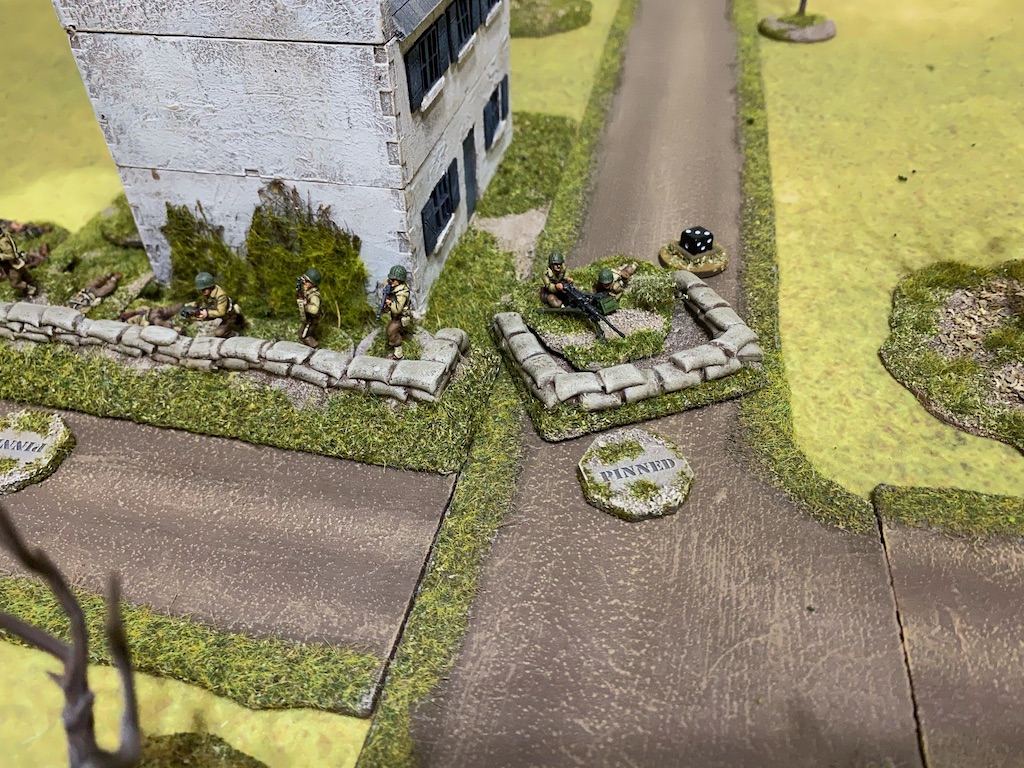
They have four entrenchments and the support of a 50cal HMG team. Their earlier victory has allowed them to strengthen the position and I have added a minefield. My intention is to mine an area of the tree line and limit the options for a strong base of fire from that position.
The Germans start the patrol phase with five free moves, but given the limited cover on the map the placements of jump-off-points is restricted to a few fairly obvious locations. As previously it's my intention to make a stand around the farm house at the crossroads and I have two jump-off-points there.
We start with American force morale at eleven and the Germans at nine. Before play begins the minefield is placed in the woods around a jump-off-point. I'm not trying anything gamey here, it will be possible for some deployment from that point, I'm aiming simply to make it difficult for the Germans to establish a cohesive base of fire from that area. They in turn announce that a pregame barrage will be in effect to hinder American deployment.
We are now ready to start and the Germans have the first phase. Having just announced the pregame barrage Dave is horrified to roll 66652 as his very first command roll. That will see the barrage lift before it has had a chance to be effective. Not the opening he would have been hoping for. I'm glad he rolled those dice and not me, I can enjoy the good fortune and do it free of guilt.
The Volksgrenadiers' LMG squad deploy into the edge of the woods and with that the turn ends.
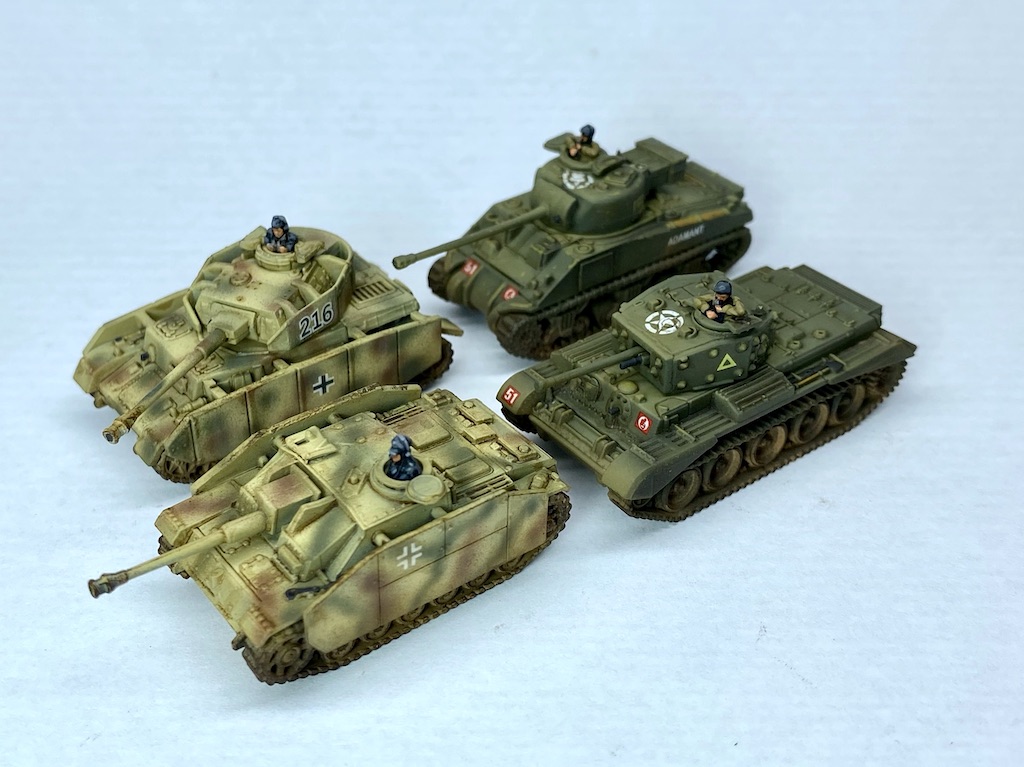
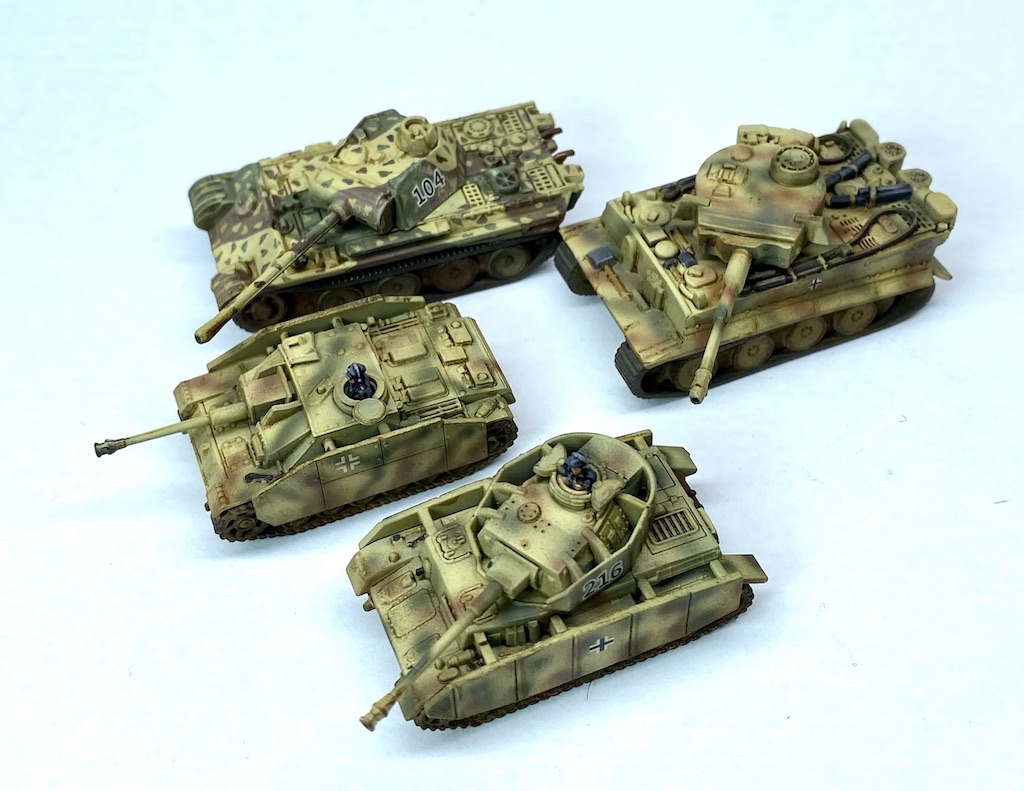
The Germans have another phase and it's at this point I discover that they have indeed bridged the Our River successfully. They can now draw on heavier support and for this campaign it doesn't come much heavier than a Panther and one rumbles down the road into view. That changes the complexion of the game, particularly given my solitary anti-tank weapon is a bazooka.
To make matters worse the tank is not the only heavy support they have brought with them. An leIG18 infantry gun deploys into the treeline.
In one sense this new development won't change the way I intend to defend the crossroads. As before I want to hold my concealment until the Germans commit themselves to advance. The last thing I want to do is become embroiled in a long range firefight when the odds are stacked against me.
I'll need to maintain concealment for as long as I can and then try to deal with the German infantry while hoping the Panther and the infantry gun don't inflict too much damage. What that means is the game opens with a fairly lengthy series of phases where the only activity comes from the Germans. Rather than subject readers to a blow by blow account of American phases where nothing happens, I will try to summarise the key opening events.
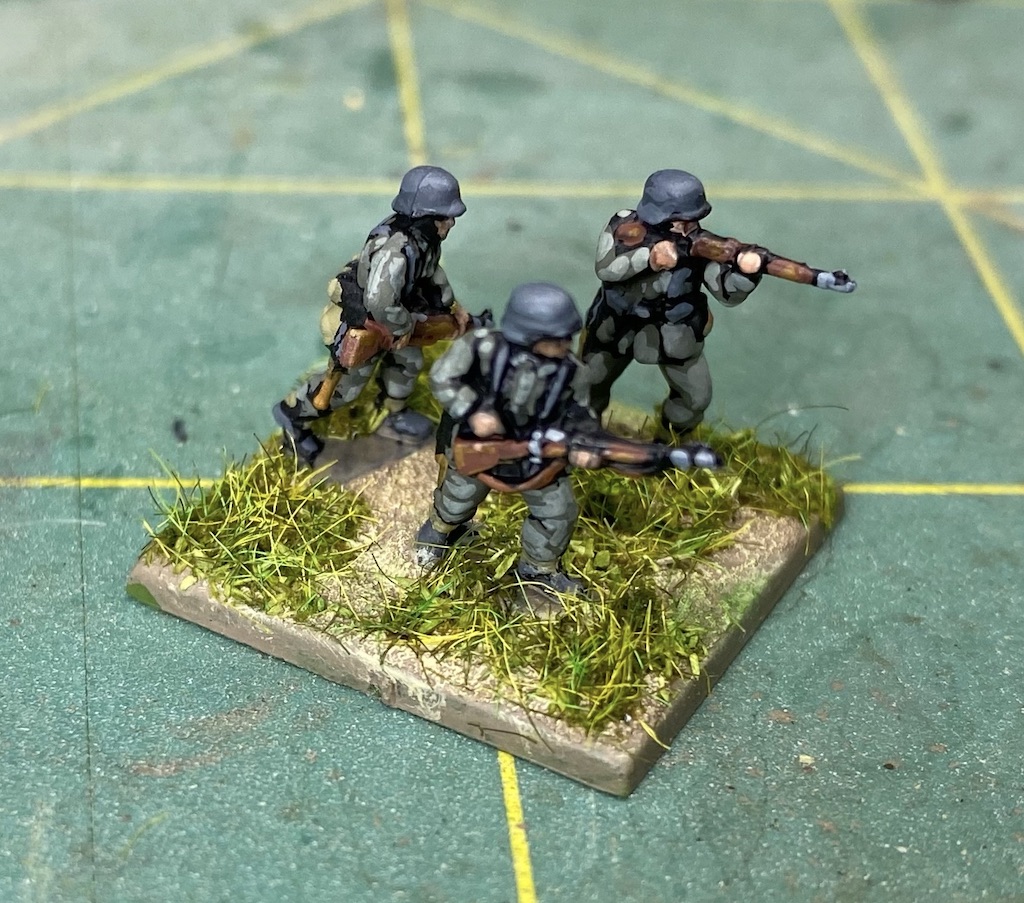
The Panther and infantry gun are placed on overwatch while the full German platoon deploys into the wooded area. The minefield causes a bit of crowding but otherwise does little to disrupt the Germans.
While the Americans choose to lie low during their phases, the German platoon's LMG squad joins the Panther and infantry gun on overwatch. With a solid fire base established the Germans make their first move forward with a squad emerging from the woods and advancing on their left flank. The other squad covers the move by placing covering fire on the farmhouse and maintaining it over a succession of phases.
The Americans roll a double phase, something that is always frustrating when your best plan is to stay concealed. I resist the strong temptation to deploy and fire at the squad in the open, instead I elect to bide my time. Nonetheless, while the Americans only watch and wait, there has been a steady accumulation of CoC points and the double phase sees them acquire their first full CoC die.
Despite the lack of American activity the German approach remains cautious. The squad in the open edges forward tactically. Meanwhile the Unterfeldwebel has other elements of the platoon maintain a steady stream of covering fire on the house.
To my continued frustration I roll another double phase, but decide once again to let it pass. Under the cover of a smoke grenade the German Obergefreiter from the squad in the open detaches two men as a scout team and sends them forward. I suspect Dave will try to threaten one of my jump-off-points and provoke an American response.
Both sides seem to be rolling a lot of 6s in their command rolls and Dave manages a rare roll of 66664 - a double phase, turn end and a random event. The random event turns out to be a mortar barrage and when we determine where it will fall a roll of 5 indicates one half of the centre of the table. It catches the German squad in the open.
The scout team suffer a point of shock. The remainder of the squad suffer shock but also lose one man and see the Obergefreiter wounded. Their force morale holds steady but it's clear luck is not going the way of the Germans at the moment.
The turn end means the Germans must spend their subsequent phase returning the Panther and leIG18 gun to overwatch.
At this point I roll the third American double phase of the game so far. Yet again I judge it is too early to deploy and choose to remain concealed. I hope I'm not wasting all my good luck before the action starts to heat up.
The following series of phases see the Germans continue to push the scout team forward cautiously while the remainder of the squad follow in their wake.
Yet another double phase is rolled for the Americans, but aside from gathering more CoC points I do nothing. With the German scouts closing on the rearmost American jump-off-point I'm tempted to deploy. While it might prove easy enough to wipe out that team I'm not sure there is much else I would gain. Instead I'd find myself on the receiving end of a volley of German 75mm HE shells and a hail of MG42 rounds. In fact I'm prepared to sacrifice that jump-off-point if need be.
The Germans meanwhile continue to press forward cautiously.


However my decision to remain concealed comes into question when the Germans roll 66221 - a double phase. The scout team are already carrying a point of shock from an earlier move at the double, but can only activate on a 1. A dash to the jump-off-point in this phase would be tempting but that would leave the scout team in a very precarious position with two points of shock. Given they have a following phase the scout team refrains from moving quickly and opts to advance normally. Dave is hoping there is a 1 in the next command roll.
The following command roll is 66411 which means the Germans will have at least three phases in a row and can activate the scout team once again during this phase. This could end badly for the Americans. The Germans sense this might be their moment and the platoon Unterfeldwebel sends the second squad forward, moving at the double out of the woods.
Despite accumulating more shock Dave wants to capitalise on the opportunity to activate the scout team once again. They are beyond the command range of any NCOs and so he may not be so fortunate in the next phase. He decides to send them at the double to take control of the US jump-off-point, which they do successfully.
The next German command roll is 44333. While it means the run of phases will come to an end it nonetheless provides a very useful selection of activation dice. Both German squads move forward tactically towards the crossroads.
The Panther moves forward slowly and the gunner is placed on overwatch.
With two German squads out in the open I sense now is the time for the Americans to burst into action. A squad deploys entrenched at the crossroads.
They have a number of possible targets and the squad leader orders the BAR team to deal with the scout team at the jump-off-point.
He orders the rifle team to fire on the remainder of the scouts' squad that have advanced as far as the road.
The BAR team has caught the scout team in the open and both men are hit. That sees the team wiped out and German morale drops a point to eight.
The rifle team then open fire.
Despite being in tactical positions the Volksgrenadier squad loses three men and sees the squad Obergefreiter hit and lightly wounded. This time German morale holds steady.
That's a good opening for the Americans but now they must face fire from several German units on overwatch. The first to engage them is the LMG squad in the woods.
There are no American casualties, but the BAR team suffers a point of shock and the rifle team two points.
Far more threatening are the Panther and leIG18, which both open fire.
In this instance the threat turns out to be far more menacing than the reality. Despite eleven HE dice there is only a single hit and that has no effect on the entrenched Americans.
The Americans haven't finished just yet. The 50cal team deploys entrenched next to the squad and opens fire at the rearmost of the German squads.
They may be tactical, but that cover will be negated by the fire of the HMG.
The Germans lose a single man and suffer a point of shock.
Just as I'm feeling I can inflict substantial damage on the exposed Germans they roll 66543 in their command phase. The Panther rumbles forward slowly and fires a round of HE at the BAR team.
At the same time the platoon Feldwebel orders the leIG18 to target the same team.
These HE rounds prove much more effective and the BAR team lose a man and take an additional point of shock.
The attached rifle team also suffer more shock.
The Unterfeldwebel then orders the rifle grenadiers to fire.
They inflict a further point of shock on each team. That shock is accumulating rapidly and the squad face another German phase. I have to hope the entrenchments offer some protection from this storm of German fire. Lastly, the Unterfeldwebel orders the LMG squad to fire.
I don't think I can just sit here and take this punishment and so decide to use one of the CoC die I have accumulated to interrupt with the 50cal team.
Unfortunately it makes little impact. The hits are spread across the two LMG teams and the rifle grenadiers and the end result is a rather meagre single point of shock on each.
The German LMGs open fire, hitting one of the men in the rifle team and adding more shock. The Americans are very close to pinning down.

In the following German phase the Panther continues driving forward slowly and fires another round of HE, this time targeting the 50cal team.
The fire has no effect on the HMG team, but the squad's rifle team suffer a further point of shock and, as I feared, that is enough to see the squad pinned down.
The Unterfeldwebel then instructs the leIG18 infantry gun to fire a round at the 50cal team. Once again the fire has no effect on the HMG team, but it does hit a man in the rifle team. Unfortunately that man is the squad leader and he is killed. That's a real blow and American force morale drops to ten.
The Unterfeldwebel then instructs one LMG team to fire at the 50cal team while the other places covering fire on the same target.
Once again the HMG team prove a hardy crew and the fire has no effect. However, with the squad already pinned and suffering a lot of shock, that covering fire will further hamper the effectiveness of any American fire in the coming phase.
The Germans are determined to take advantage of the turn of events and one of the squads advances towards the crossroads.
The danger in exposing my platoon to German fire has become all too apparent, however one of the Volksgrenadier squads has been made ineffective and there is another squad in the open that can find little protection from American fire.
The next American command roll is 66221. Finally I have a double phase that I can exploit and this might just be the fleeting chance I need to turn the tide and hold the crossroads. The 50cal team prepares to open fire, but before it does the Germans interrupt.
The nearest Volksgrenadier squad has advanced to within close range, where their StG44 assault rifles can be at their most deadly.
Despite a hail of automatic fire the Americans benefit from the hard cover of their entrenchments, nonetheless one of the men in the rifle team is a casualty. That could have been a lot worse.
The return fire from the 50cal kills one of the Germans and inflicts two points of shock on the squad.
I now seize an opportunity to make the most of the double phase. The platoon sergeant joins the squad and uses all of his command initiatives to rally off shock.
That reduces the shock to less than the number of men, at which point I use my remaining CoC die to end the turn. The upside is that the squad is no longer pinned, however the turn end does mean we need to roll for the loss of the American jump-off-point which takes US force morale down to eight. Nonetheless this now frees up the squad to fire much more effectively and with the covering fire removed from the 50cal team I'm hoping to make the most of the next phase.
The subsequent command roll of 65411 means I am able to do just that. The 50cal team open fire at the nearest German squad.
They are within close range meaning the HMG will hit on a 3 or more.
The fire is devastating. The squad is in open ground and takes eight hits which results in four casualties and a further point of shock. The Obergefreiter is not one of those hit, but he sees his squad reduced to a single man.
The shock is enough for the two surviving men from the squad to break and fall back. The sight of which takes German morale down two points to six.
With the 50cal having dealt with that threat the platoon sergeant rallies more shock from the rifle squad before ordering them to fire on what remains of the other German squad on the road.
There is a single casualty but due to the Alte Kampfer characteristic the man hit cannot be the leader. That means the casualty must be the sole survivor of the squad and so it results in the demise of that squad, which is wiped out. That's another blow to German morale which drops to five.
The American fire has driven off the two squads but the Germans have not given up yet. In the next phase they hurl whatever they can at the crossroads. The Panther continues rumbling forward slowly and fires at the 50cal team.
At the same time the Unterfeldwebel rallies shock from the LMG squad and has one squad fire at the American HMG while the other puts down covering fire.
Not to be outdone the rifle grenadier team also let loose a volley of grenades. The fire is coming at the 50cal team from all directions and in all shapes and sizes.
The sum total of all this fire sees one of the 50 cal crew hit, the loss of another man from the rifle team and more shock.
The next American command roll is 55531 and it's enough for the platoon sergeant to spur the men into action. He rallies shock from the rifle team and then orders the squad to target the lone Obergefreiter in the road.
The already wounded leader is hit again and suffers a second wound that is enough to kill him. That's another blow to German morale which drops down to three. The sergeant then orders the 50cal team to deal with the two remaining men from the other squad.
The last surviving man from the squad is a casualty which means that squad is wiped out. Once again German morale falls and is now down to two.
The Germans are restricted to three command dice but a roll of 221 proves useful. The Panther opens fire with its main armament and bow machine gun.
It is joined by both MG42s from the LMG squad.
The 50cal team lose two men as casualties which is enough to see the team pinned down.
The rifle team also lose two men and with their accumulated shock the squad is pinned down once again. The German fire is starting to take its toll but I suspect it is too late to turn the tide.
In the American phase the sergeant rallies shock and orders the squad to fire at the lone Obergefreiter, the last surviving member of the two squads.
The leader is hit and wounded, which takes German morale down to one.
The 50cal team now targets the same leader and this time he suffers a second wound which kills him.
That takes German morale to zero and forces them to withdraw, leaving the Americans in control of the crossroads. Once again this map proves a very difficult one for the attacker. As Dave commented after the game, one American squad and a 50cal team were able to hold off an entire Volksgrenadier platoon supported by a tank and an infantry gun. The Volksgrenadiers may be equipped with powerful assault rifles but the small squads make them quite brittle. Furthermore, as Green squads they make for easier targets which is not helped by having to cross so much open ground.
Despite that, when the Germans were able to bring all their fire to bear they were able to cause the Americans a number of casualties and inflict enough shock to see them pinned down twice. This went some way to justifying my decision to hold off deployment until as late as possible, had I deployed any earlier all that German fire may have taken its toll.
Dave shares his thoughts after the game:
'Alas, the best laid plans of mice and men! Who could have foreseen the barrage ending with a turn end on the first roll? The run of phases tempted me to be overly bold. I was hoping the scout team would manage to capture one jump-off-point while I tried to advance the sturm squads to within close range of the farmhouse position. While that was successful in drawing the Americans out, my covering/HE fire was not effective enough to prevent my advancing squads being torn up by US fire, particularly by the 50 cal. It seems the German infantry are simply too brittle to be exposed or carry out any kind of useful offensive role in this open terrain.'
The Americans suffered six casualties and one junior leader killed. However they ended the game in possession of the table and with force morale at eight to the German zero those six casualties will be patched up and returned to the platoon. A man will be promoted from the ranks to fill the shoes of the squad leader so it leaves the platoon having lost only two men permanently. The victory was not painless and yet despite the loss of one of the NCOs the men's opinion rises to +4.
The Germans lost 16 casualties, including two junior leaders, which means they lose eight men permanently and four wounded men will miss the next game. Another defeat with heavy casualties is a further blow to the men's opinion which now drops to -6. Meanwhile the commander's outlook goes from aggressive to energetic. The net result of all this will mean a -3 modifier to the German force morale roll in the next game.
That was the sole German attack for Campaign Turn 5 and so we now move to Campaign Turn 6. You can follow what happens during that turn
in this post.