
In the previous scenario the Japanese forced the British Malay Regiment to pull out of Buena Vista village and retreat further up the ridge. Here, around a pillbox built to defend the Singapore naval base, the British are prepared to make a more determined stand.

With limited reinforcements available they have had to conserve their force by inflicting casualties and then withdrawing, however at some point they must try to halt or stall the Japanese advance. Here seems as good a spot as any.
 |
| Map © Rosio Espin and Karwansaray BV Originally published in Wargames, Soldiers and Strategy #101. |
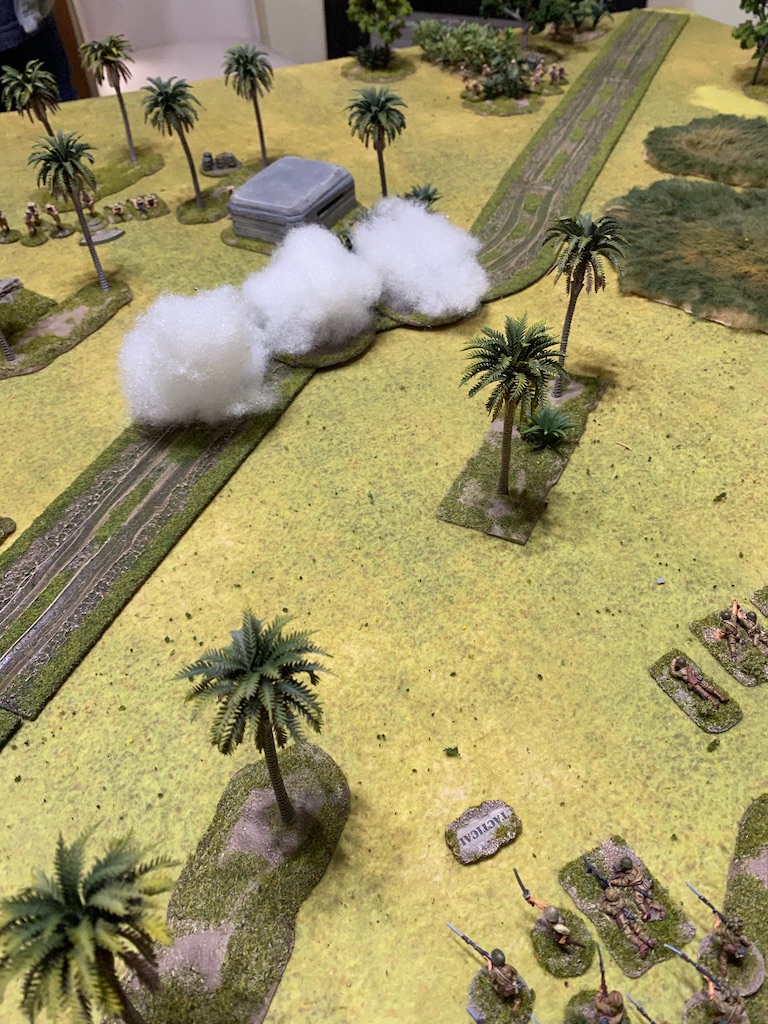
The pillbox is a critical part of the defence. However when we looked at the scenario map it became apparent that if we set up the table as indicated there was a strong chance the Japanese could overrun the pillbox in the patrol phase. This didn't seem right, so we adjusted the table to site the pillbox further back towards the British edge.

This is an 'Attack & Defend' scenario as published in the core rule book. To win the Japanese must drive the British from the table without letting their own force morale drop below three. The Japanese will start with force morale at nine while the British will be at eight.
The patrol phase opens with five free Japanese moves, which makes it abundantly clear how easy it would be to overrun the pillbox had it not been positioned further back. Both sides end up with their jump-off-points spaced across the table, giving the Japanese the option to come from several directions but with the British well placed to counter those moves.
 |
| Map © Rosio Espin and Karwansaray BV Originally published in Wargames, Soldiers and Strategy #101. |
The Japanese platoon that fought the last two scenarios had suffered seven permanent casualties and would have six wounded men unavailable for this game. Given that would leave the platoon short of the equivalent of an entire rifle squad I have called for reinforcements and assigned a fresh platoon for this game.


After rolling a miserable two for the supports in the last game I do the opposite for this one and roll ten. That will give the Japanese the maximum possible support level of ten, while the British will have eight.
If I was the British I would be looking at putting a Vickers MMG team in the pillbox and then using entrenchments and wire to construct a defensive line. Whatever they select I am expecting to have to break into a tough position. To deal with some of those defences I will call on an engineer squad. Once the fixed defence are placed before the game begins I'll decide on the final composition of the squad, but at this stage I'm thinking of a flamethrower team and a wire cutting team.
Given the cover available to the defenders I'm not certain a mortar barrage will help and so I consider using armour. At some point I'm going to have to get into the defensive position and armour might just help break through wire and overrun infantry positions. The British platoon has an anti-tank rifle and while they could call on a 2 pounder AT gun I suspect they will have other priorities. So I decide to call on two Ha Go tanks. They might give me an edge.
Before we start the British place two areas of wire blocking off their right flank. That helps determine the type of engineer squad I will need and I settle on one composed of a wire cutting team and a flamethrower team.

The attack is dictated much by the terrain and this is going to call for a fairly straightforward frontal assault. I expect to see entrenched units and they will most likely appear covering the wire and the gap between that and the pillbox. While I don't have an off-table barrage I plan to use the limited smoke rounds carried by the grenade discharger squad to mask off the pillbox and let me concentrate on the surrounding infantry.
Before we start the British place two areas of wire blocking off their right flank. That helps determine the type of engineer squad I will need and I settle on one composed of a wire cutting team and a flamethrower team.


I'm hoping between the tanks and the engineers I can force a way through for my platoon. If there is a downside to my support choice it's that I may have a command problem with so many units to control.
The Japanese open with a good command roll of 43332. They start by deploying the grenade discharger squad in the centre and the corporal puts two of the teams onto overwatch.


They are joined by one of the rifle squads and the Gunso, the platoon second in command.

He puts the squad and the third team of the grenade discharger squad on overwatch.


Making use of the threes in the command roll both Ha Go tanks deploy from the back of the plantation.


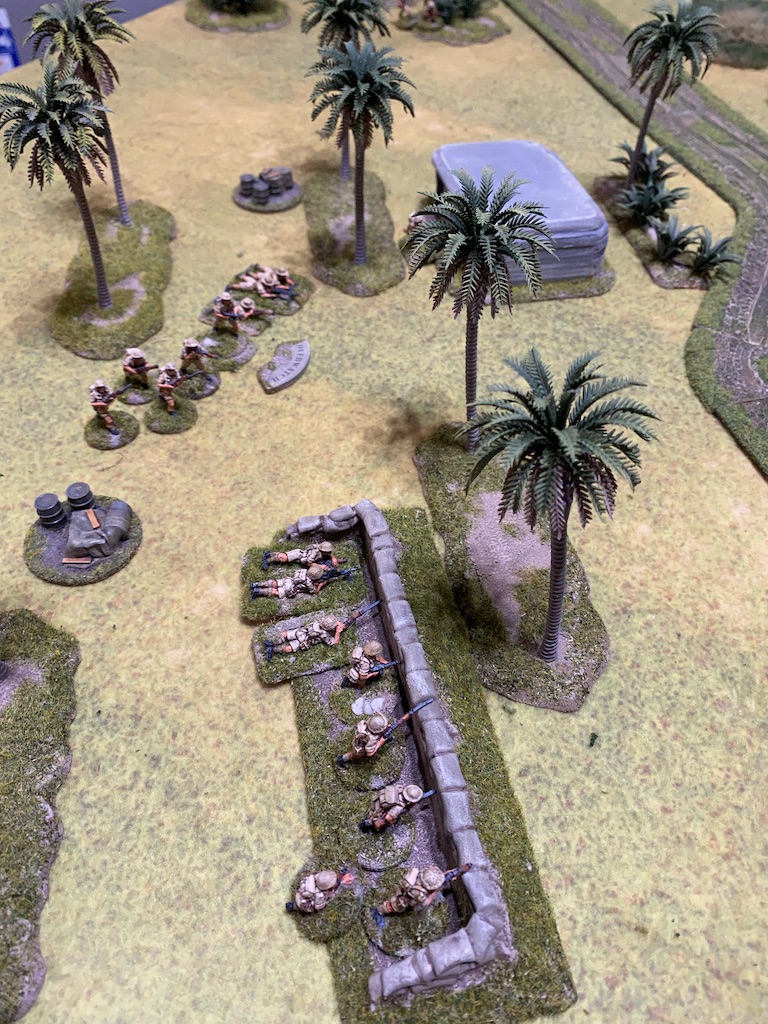
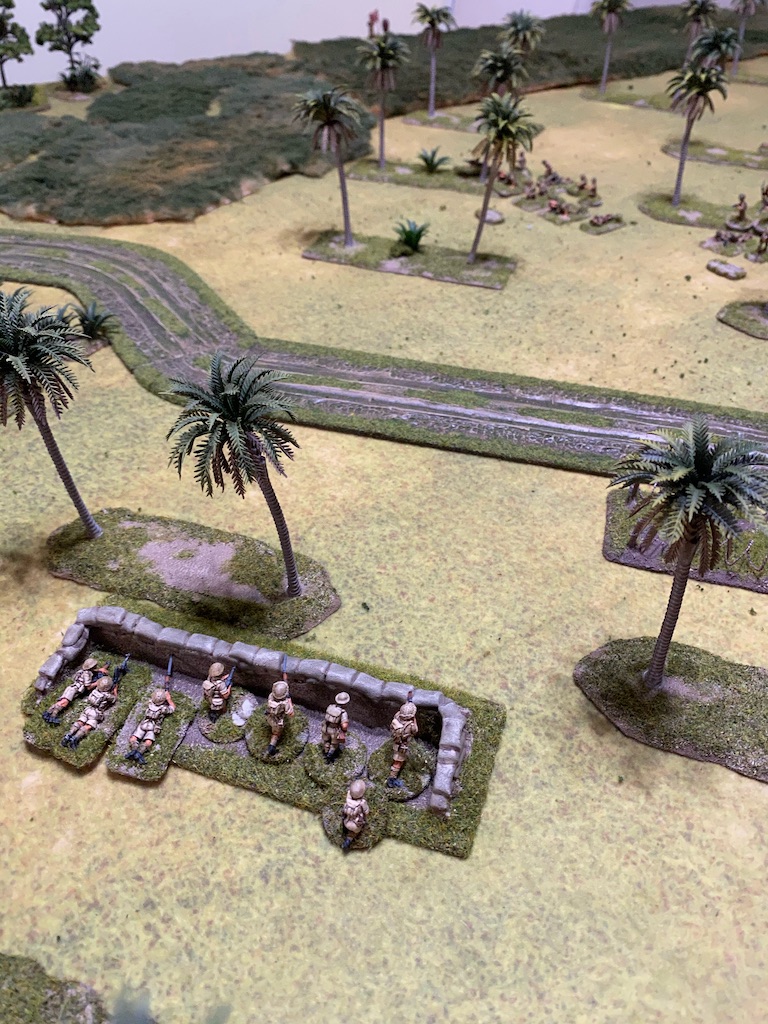
The British start with a double phase, not always the best opening command roll for a defender, but Dave decides to make sure he is ready for any Japanese advance. As expected an entrenched section deploys between the pillbox and the wire. The section corporal puts both teams on overwatch.


A Vickers MMG team deploy into the pillbox. They try to see if they can observe any Japanese in the plantation but they fail to locate a target.


The platoon sergeant then takes up position behind the pillbox and places the Vickers crew on overwatch.


Their following command roll is 55544, a useful addition of CoC points, but other than that there is little more for the British to do.
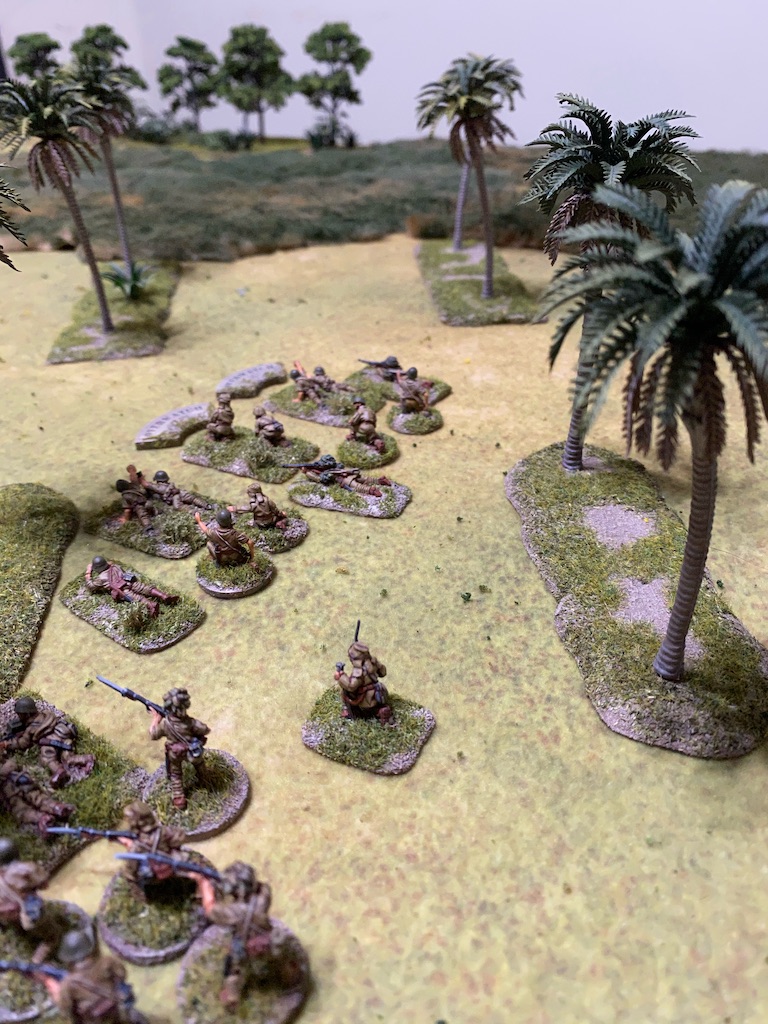
When the Japanese phase arrives the Gunso orders both the rifle and grenade discharger squads to move forward tactically through the plantation.


The MMG opens up, but the Japanese have made best use of cover by moving tactically and the fire has no effect.

The entrenched section are on overwatch and they too observe the grenade discharger squad as it works its way furtively through the plantation.


Limited command dice in the Japanese phase sees little else other than one of the Ha Go tanks driving flat out through the plantation heading towards the sound of gunfire.


In the British phase a second section deploys into the jungle on their left flank.


The platoon's third section, the one with the Lewis team and the recently promoted section leader, deploys between the pillbox and the entrenched section. The corporal uses his one command initiative to put the Lewis team on overwatch.
Once again the platoon sergeant orders the Vickers to fire at the grenade discharger squad.


The sergeant then orders the entrenched section to do the same, however this time they have lost sight of the enemy and are unable to fire.

As his last action for the phase the sergeant puts the rifle team from the Lewis gun section on overwatch.


The Japanese command roll in the next phase is 66431. A double phase and an opportunity to push the attack forward. The driver of the second Ha Go is ordered to drive flat out and catch up with the other tank.

While the Vickers has had little effect so far that is unlikely to remain the case for long. The Gunso orders the grenade discharger squad to fire smoke in an attempt to screen off the pillbox.
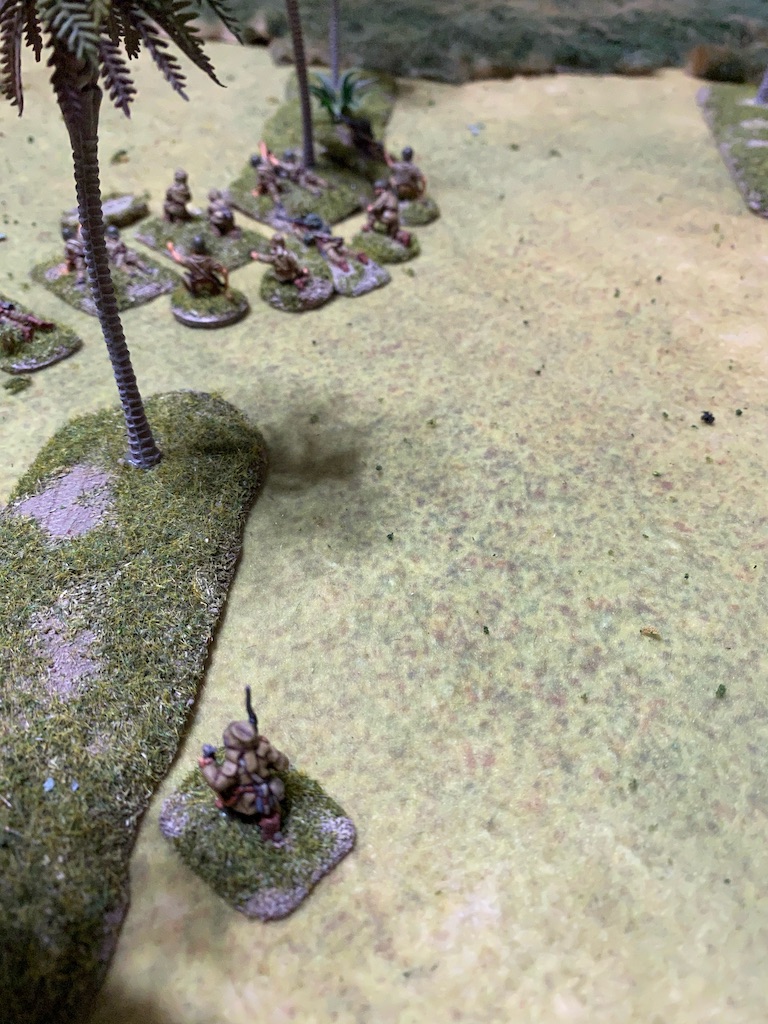

The following Japanese command roll is 65544, which means there will be a delay bringing the tanks forward. In the meantime the Gunso orders both the rifle and grenade discharger squad to move forward tactically. I see little point rushing the British positions until I'm able to bring the tanks and engineers into action, so for now I plan to advance cautiously.


In the British phase the platoon sergeant orders the Lewis gun section to move at the double around to the right of the entrenched section.

He then puts the Vickers team onto overwatch.

The entrenched section opens fire at the Japanese rifle squad opposite.


The squad suffers two casualties. Finally the British fire starts to take a toll.

In the Japanese phase the lead Ha Go drives full throttle through the plantation bringing it close to the front line.


A second rifle squad deploys on the Japanese left.

They see through the plantation and spot both British sections. Wasting no time they open fire immediately.


With the Lewis gun section exposed and taking casualties the lieutenant orders them to move tactically and fall back. Unfortunately their shock and some bad fortune sees them fail to move at all, however they are now tactical and in better cover.

He then orders the entrenched section to open fire once again at the Japanese opposite.


In the Japanese phase one of the Ha Go tanks arrives on the front line to add support to the attack.

The squad on the Japanese left flank fires once again on the two British sections.


At the end of the Japanese phase Dave uses his CoC die to end the turn. That sees all the smoke drift away.


In the British phase the Lewis gun section manages to withdraw out of the plantation and to relative safety. For now they are beyond Japanese line of sight. Nonetheless the weight of Japanese fire is starting to make itself felt and force the Malays from their position.

The platoon sergeant orders the Vickers to fire at the grenade discharger squad.


The medium machine gun is not proving particularly effective today and the Japanese suffer only a single point of shock.


The squad lose another man. Neither side has suffered much shock in these opening exchanges of fire but we have both taken a number of casualties.

The next Japanese command roll is 63333. Ideal for moving the squads and tanks. The lead Ha Go drives forward slowly firing its MG.


The squad on the Japanese left moves forward slowly and fires, but it has no effect.


Behind them the engineer section deploys.

The British then have a bit of good fortune with a command roll of 66441. The platoon lieutenant rallies the entrenched section and orders them to continue firing.


The Japanese rifle squad continues to take casualties, losing another man and suffering a further point of shock.


No one is hit but the squad suffers a further four points of shock.

The sergeant then dashes toward the jungle on the left flank and once he's within command range he orders the section to come forward.


With the platoon lieutenant now deployed the anti-tank rifle team will need to roll to see if they can join the platoon. They do this successfully and emerge from behind the pillbox.

The gunner has a line of sight to the side armour of the Ha Go.


Then the unexpected happens. The round penetrates the side armour resulting in three AP strikes. The weak armour of the Ha Go offers no protection and the round ignites something within the tank which sees it explode in flames.
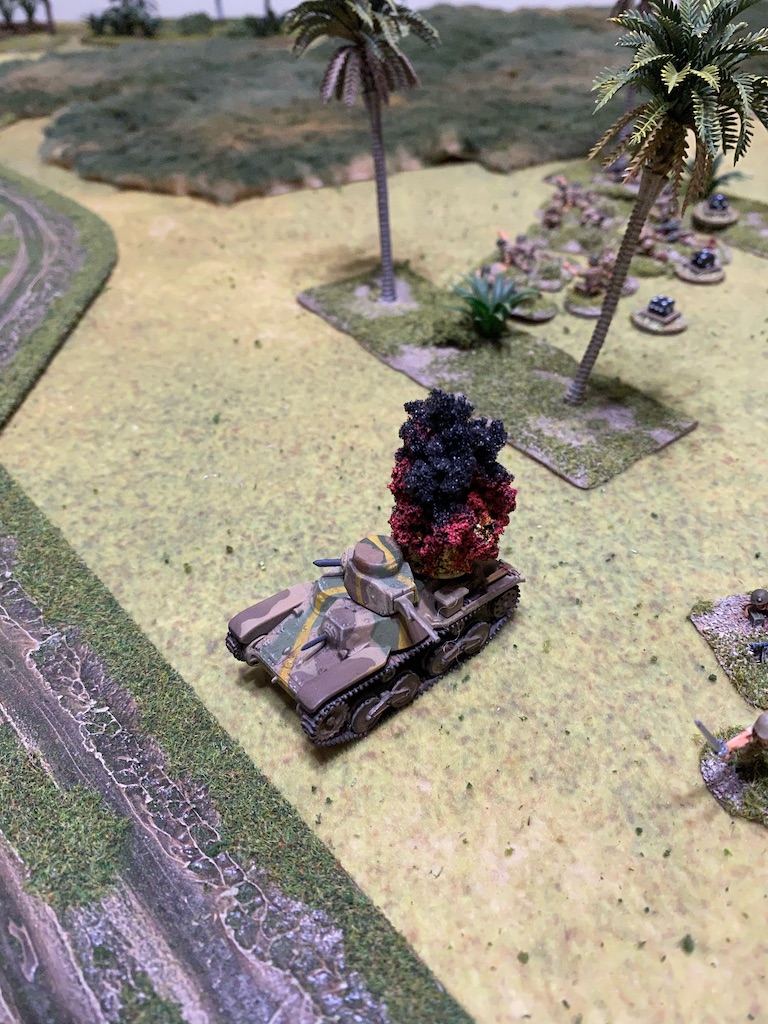
That was a surprise and a setback for the Japanese. Not only that, but the squad next to the tank is in danger from the resulting explosion. Fortunately they suffer only one hit and that has no effect. That is small consolation considering the subsequent two point drop in Japanese morale for the loss of tank commander and the Ha Go itself. A dispiriting sight for the Japanese but a much needed lift for Dave's morale.

The misery looks set to continue for the Japanese when the next British command roll is 66433. The run of phases is set to continue. First things first, the corporal of the Lewis gun section tries to get his section in order and rallies shock.

The entrenched section then continue to maintain their fire at the squad opposite.


That squad seems impervious to casualties, but it suffers even more shock and may soon be in danger of pinning.

The AT rifle team move tactically to take up a new position, ready to target the other Ha Go should it move into view.

British pressure now becomes relentless with a command roll of 66411. Will this run of phases never end? Once again the platoon sergeant directs the Vickers team to fire on the grenade discharger squad.

Once again the Japanese avoid any casualties but do see their shock level increase to near unmanageable levels.

He then commands the section in the open to fire and advance slowly.

Once more the grenade discharger squad reels under the impact of the fire and the shock continues to mount.

The sergeant then moves to join the AT rifle team.

The entrenched section continues to blast away at the Japanese opposite.

The squad loses yet another man and their shock increases to four.

The run of British phases finally comes to an end but there is still much that can be activated in the next phase. The Lewis gun section corporal continues to rally the section.


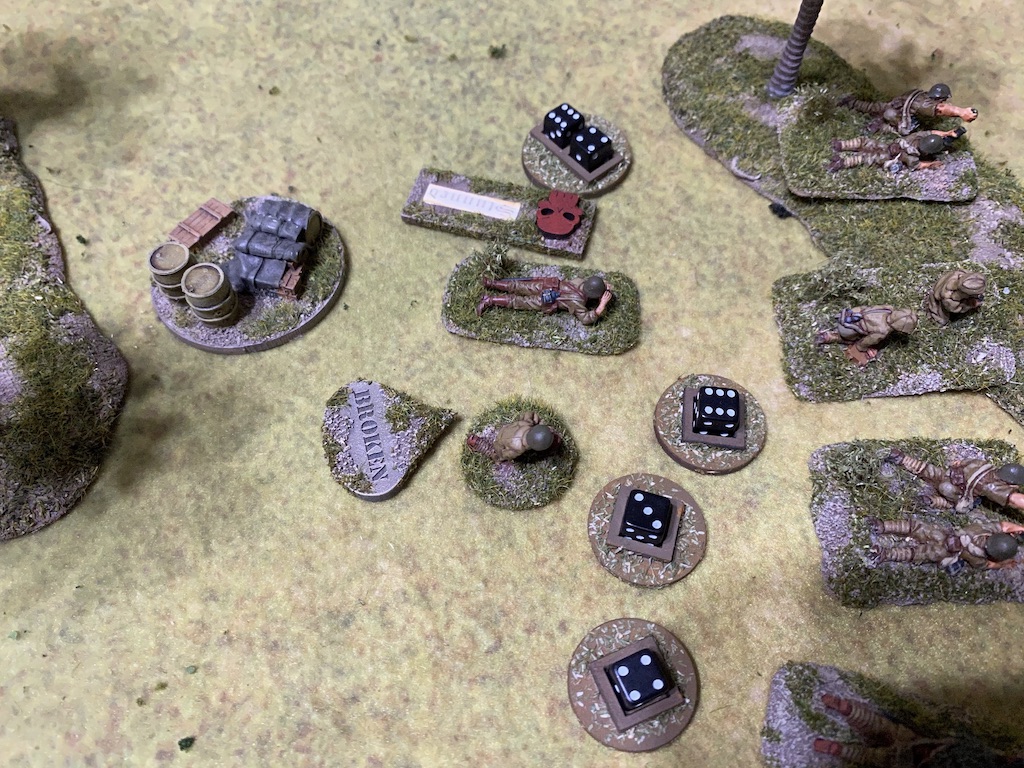

That run of phases took the Japanese from a fairly strong position to a shattering rebuff. There is no way they can continue and so the only option is for the platoon to withdraw when the Japanese phase arrives. A sudden reversal of fortune and a decisive victory for the men of the Malay Regiment.
The shattering of Japanese morale while British morale remained at eight means all seven British casualties can be recovered from the battlefield, patched up and returned to the platoon. The same cannot be said for the ten Japanese casualties, five of whom are lost permanently and three wounded. Another man has been dispersed following his inability to withdraw to the jump-off-point, but hopefully he will return at a later stage.
The defeat sees the Japanese CO's opinion drop to +1, but this loss has dealt a much heavier blow to the men's opinion which now drops to -4. The opposite is the case for the Malay Regiment whose CO's opinion is no longer negative and rises to zero, while the men's opinion becomes positive rising to +1. Overall the mens' spirits must be good as the Lewis gun section feel confident they are well lead and the section corporal is accepted by the men.
So the Japanese will have to return to this map for a second attempt to drive the British from what proved to be a stronger position than it first appeared. You can follow what happens next in this game report.
You find reports for all the games in this campaign and many other campaigns on the Chain of Command Campaign AAR page here.
Last Stand on Opium Hill, a campaign for Chain of Command, appears in Issue 101 of Wargames, Soldiers and Strategy Magazine. My thanks to the magazine and publisher for permission to reproduce the maps.
If you are interested in more action set in the Far East you can follow another campaign between the Australians and Japanese that takes place in Malaya a few weeks prior to this current campaign. Click here for the first game report for the Malaya 1942 campaign.

A splendid report as usual Mark, thank you. Although they had a relatively good defensive position the Brits did appear to have a sticky wicket. That run of phases certainly evened things up and that daring assault carried the day. Certainly not the way I first saw the game panning out, but that's the joy of the uncertainty in Chain of Command.
ReplyDeleteThanks Phil. Yes quite a turnaround, wasn't it? Certainly took me by surprise but all credit to Dave for taking advantage of the opportunity and mounting a bold counterattack. Splendid stuff.
DeleteA splendid win for the beleaguered Malay Regiment. Sometimes an aggressive defence really pays off, especially if you can get so many continuous phases. Terrific AAR.
ReplyDeleteThanks Carole. It's all about seizing the opportunity and Dave certainly did that and it paid off handsomely. I had a run of phases in the last game, so no complaints from me about that.
DeleteA terrific game, with an unexpected but cheering result for the Malay Regt.
ReplyDeleteUnexpected indeed and against the run of play, but well deserved I think.
DeleteAnother great AAR. I'm tempted to say that luck was on the side of the Malayan Regiment, but I think it's more accurate to say that it was changing sides every few phases.
ReplyDeleteThat mortar squad was living on borrowed time, and that counterattack in such a strong defensive line took me by surprise, but it was the right choice.
Can't wait for part 4!
Thanks Matias, the Malays may have had some good luck but it's all about how you use it and I think Dave made some very good decisions and turned the game in his favour. I have no complaints it was a well deserved victory.
DeleteExcellent! Thanks for an other smashing AAR. Didn’t see the Malayan victory coming.
ReplyDeleteYes, I think that took everyone by surprise - not least me! Well deserved though and excellent use of the opportunity a run of phases offers. So much could have gone differently - the AT rifle team may not have rolled enough to deploy, it may not have hit the Ha Go as it was partially obscured etc. His assaulting section that attacked the grenade discharger squad might not have moved fast enough. In the end it all paid off.
DeleteNice report. And after the Japanese triple phase in the previous game that was decisive, the Malay Regiment deserved some luck. They used it well.
ReplyDeleteGreat report and the table terrain and miniatures look amazing! It was a fun read and I lost count on how many double phases the British had, but that will sure blunt an attack. I’ve also never had much luck with armor in CoC. 😀
ReplyDelete