I've always wanted to try my hand at making my own terrain mat but frankly the prospect has always been fairly daunting. Having a small terrain project go a bit wrong is no big disaster, but a 6x4 terrain mat and all the time and material involved was another matter altogether. On the other hand I've seen a lot of people making their own on their blogs and in videos, so finally I decided to pluck up the courage and give it a go myself. A desert mat for my Sudan project seemed a good place to start, not least because it wouldn't require flocking and had the potential to be fairly straightforward.

The plan was to use a tried and true method by applying acrylic caulk to fabric (sorry, no original ideas here folks!). So the first place to start was finding the best sort of fabric and I settled on a good quality painter's drop cloth. These come in various thicknesses of fabric and in different quality. I looked at those with plastic backing and while they are relatively inexpensive the weave of the fabric is very coarse and I wasn't convinced this would work well for the project. Working on the basis that you get what you pay for I invested in the best quality canvas drop sheet at the local hardware store.

The sheet comes folded and so I let it hang for a couple of days to let the creases drop out.

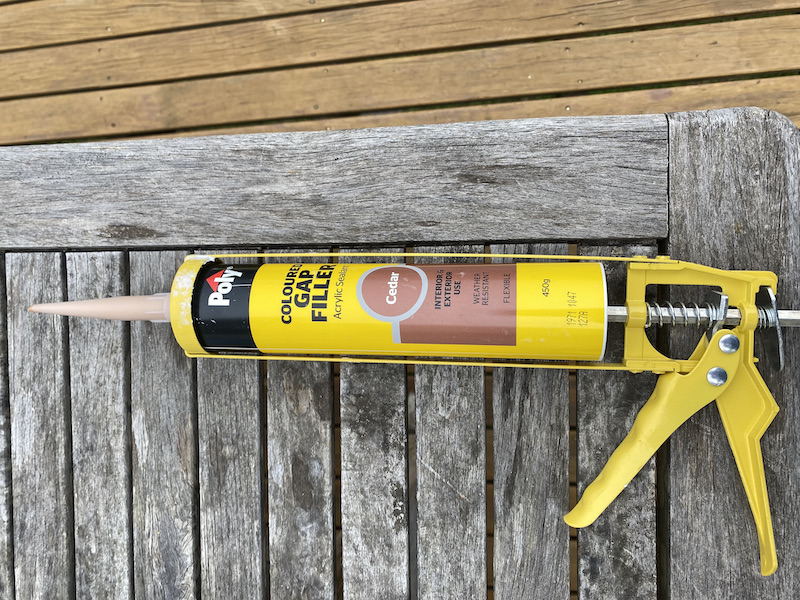
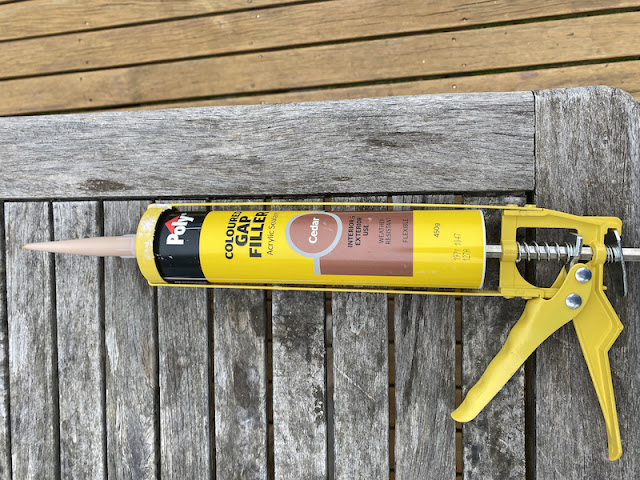
I used a small section to conduct a few trials before embarking on the full size mat. Caulk is readily available at hardware stores and I've used the material before when making roads. It normally comes in white but is also available in a range of colours. The advantage of a coloured caulk is you won't get any unsightly white blemishes appearing if the surface of the mat is damaged or chipped. I managed to find a caulk coloured 'Cedar' which was a dull brown and conducted tests spreading it and working out how to apply texture.
I've seen two methods used, one is to apply the caulk and then sprinkle sand and other texture material onto it while it's still wet. The other is to make up a mix of caulk, PVA glue, water and sand and then apply the mixture. You can see the result in the pictures below. On the left is the surface after sprinkling sand while the caulk is wet, on the right after applying a ready mixed caulk/sand combination.

I think either would work okay but settled for sprinkling the sand onto the surface of the wet caulk. In either method I was impressed with the adhesive quality of the caulk which stuck well to the surface of the fabric and also held the sand very rigidly. Once dry it was almost impossible to remove the sand and was an indication that under normal usage it should prove robust enough for storage, transportation and gaming. As extra insurance I thought there was no harm adding PVA to the caulk for even more adhesion.
Here's a close up of each, first with the sand sprinkled on top of the wet caulk.
Second, the premixed caulk and texture.
The real test came once paint was applied and it was at that point it was clear that my preference would be to sprinkle the sand. It had a more subtle finish. Here is the painted premixed caulk.
And here is the sprinkled sand.
Scaling it to the figures I would be using also helped determine what was going to look best. Here's the pre-mixed caulk and sand.
And my preferred look, with the sand applied after the caulk.
Once I'd settled on the technique I moved on to attempting the full size mat. I don't have a single table large enough and so was using two trestle tables pushed together. I was doing this under the house on ground that is not completely even and therein was the first lesson. Ideally you have a perfectly flat and even surface to do this on, for reasons that will become apparent.
I've heard stories of caulk and paint seeping through fabric and in the worst cases adhering the mat to the table. To avoid either of these I put a layer of plastic sheet under the fabric first.
To avoid the effects of shrinkage it's advisable to clamp the fabric securely. If nothing else it holds the fabric firmly in place while you spread the caulk.
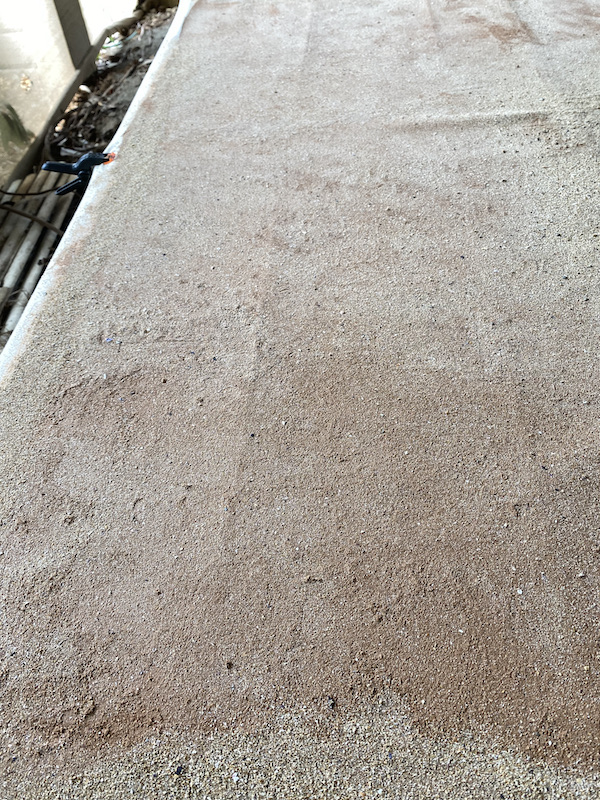
When it came to spreading the caulk and applying the sand and small rocks everything went well and I had no problems. I worked in sections of about 2'x2' at a time which meant the caulk remained wet and adhesive to take the sand. A few things I didn't anticipate were that creases from the plastic sheet underneath the fabric and the small divide between the two trestle tables could come through into the caulk, as you can see below.
As it turns out this wasn't quite as bad as it appeared. The caulk remains soft and pliable (which is what makes it so suitable for a game mat) and so anything placed under the mat will make an impression on the surface. However this is mostly temporary, in other words, once you remove the object making the impression then the mat falls flat. Once I removed the plastic sheet and hung the mat for a day during warm weather then the creases fell out, which was quite a relief. That said, the lesson learned is to do this on the flattest surface possible.
I went through a few variations of colour before I was happy. I used Dulux acrylic emulsion paints and applied them with a paint roller after diluting the paint with water at about a 2:1 ratio. Once dry the surface was dry brushed in lighter shades.
The test pieces were base coated in Brown Land and dry brushed with Arava. The pictures below show the second colour palette - a base colour of Deep Bamboo (a lighter brown), dry brushed with Arava.
I wasn't totally happy with these colours, which were drabber than I wanted. Images of the desert in Sudan show a fairly strong yellow/orange tint to the sand and I thought introducing some of this colour would help make the mat colour feel much warmer.

While the intention is that the mat works for games in the Sudan, I also want it to work for other arid locations like Afghanistan, so I didn't want this to be too distinctive a colour. Nonetheless I made up a new base colour by mixing Scarab and Deep Bamboo for a more mustard shade which I would then dry brush again with Arava. Overall this gave a warmer colour which I think works much better.
Depending on how the light hits it the more mustard colour becomes very apparent and overall I am much happier with this result as it really seems to lift the mat.
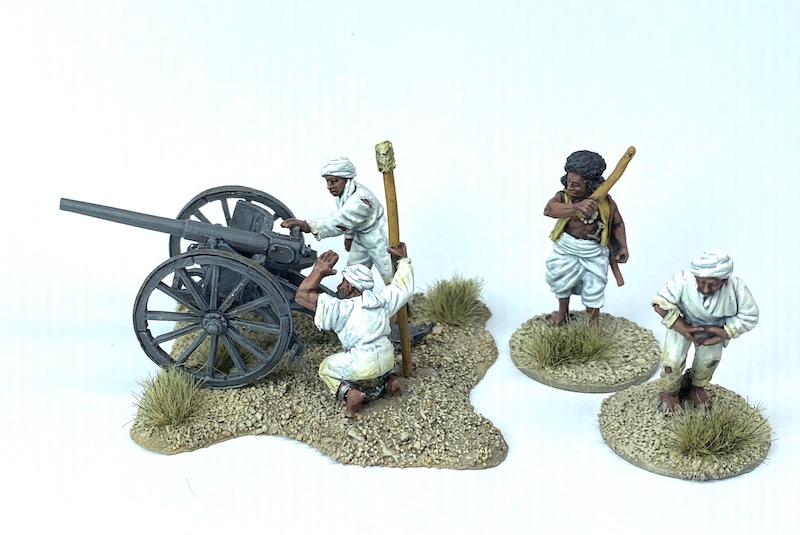
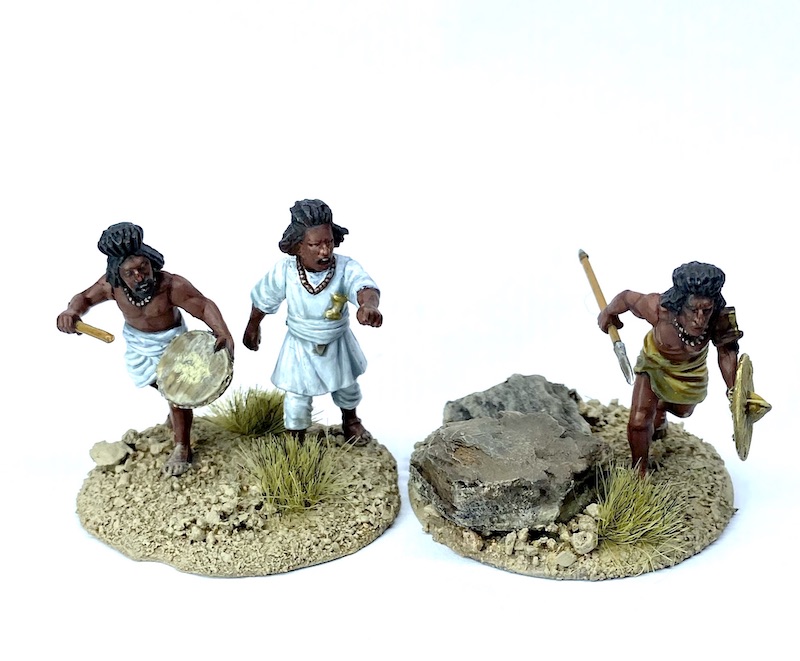
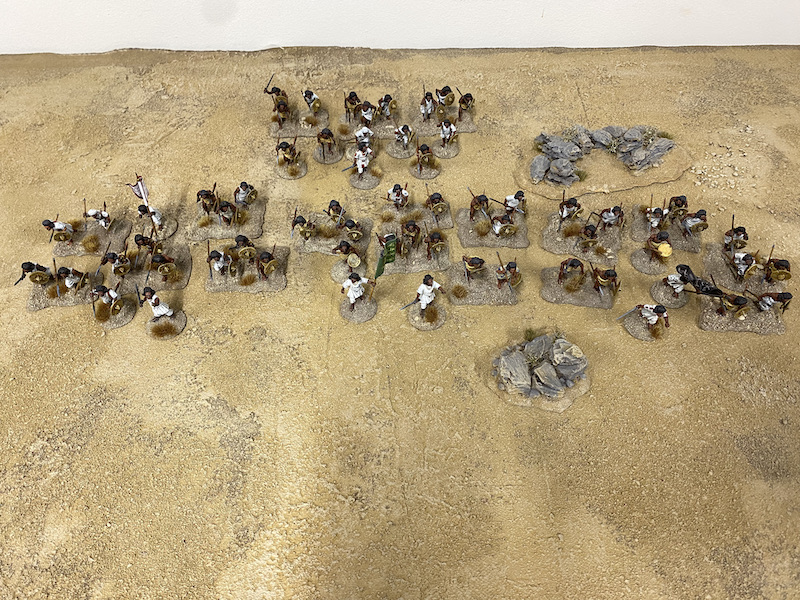
Here it is with my host of Beja.
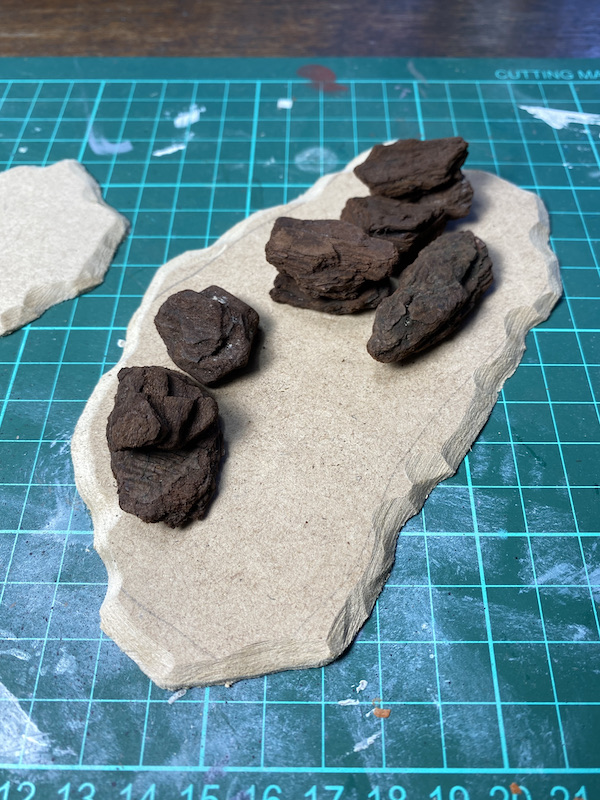
I've been working on scatter terrain to add to the table and the small rock formations you see in the pictures above are the first of these. They are made using dried tree bark. I know this is something railway modellers have been doing for decades but I've never tried it myself. I've no idea why, because they are very effective.
I'm not quite happy with the colour of the rocks, I've been very unimaginative painting them grey and looking at photographs I'm going to go back and try them in a more reddish brown base colour.
Overall though I have to say that I'm really happy with the way this has turned out. It gives me a new game mat that could see service in any number of locations, be it the Western Desert in the Second World War or Palestine during the Crusades.