Showing posts with label Woodland Scenics. Show all posts

Friday, 28 March 2025

Making Pine Forests

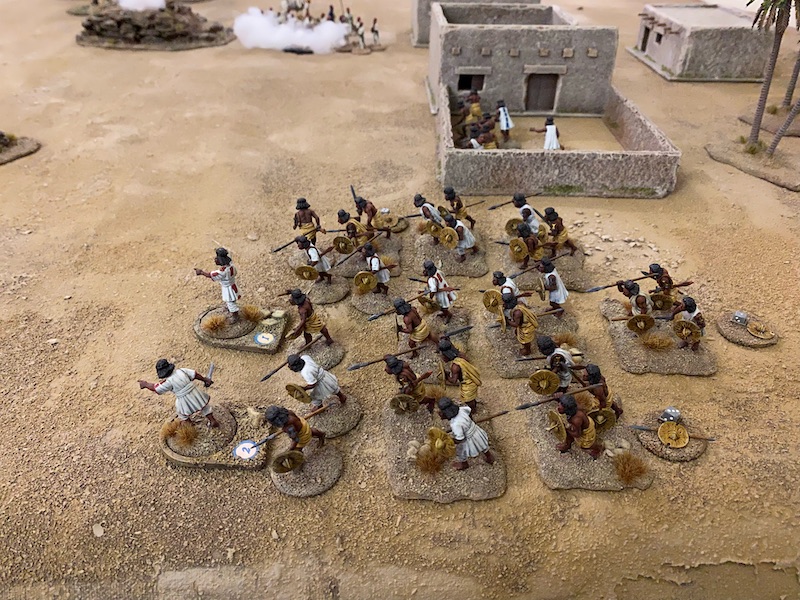
There is something about having large trees as terrain pieces that really lifts the look of a table. In the real world, trees tower over houses and other buildings. They often dominate a skyline. If I can achieve something of that with a game table then I think it goes a long way to giving it a more natural look. Sometimes, it doesn't even require that many tall trees.

On other occasions, it can require a lot of trees, especially if playing in the Far East.

So, when it came to starting a Chain of Command campaign set in the Hurtgen Forest, I needed to give serious consideration to how I wanted to represent those pine forests. 


I never planned to achieve a look this dense, but I wanted to at least capture something of the visual aspect. After all, it is such a distinctive feature of contemporary photographs from the battle. 


A few years ago I created several bases of pine trees for the Bloody Bucket campaign, which is set in the Ardennes. Pine trees are a feature of many European landscapes, be it areas like the Ardennes and Hurtgen Forest, or further east in Prussia and western Russia. It's not as if I wouldn't find a use for them in other settings.

Originally, I bought a box of relatively cheap trees of varying heights from a seller on eBay.


I lightened their colour and based them in groups of two and three.

They served their purpose well enough for our Bloody Bucket games.

That was all great, until someone at our club (yes Mac, I'm looking at you) turned up with pine trees with much longer trunks. What a difference it seemed to make. They had the extra height, which I think is so effective, but more importantly, they really looked the part. That's the look I wanted for the Hurtgen Forest games, so down the rabbit hole I jumped.

There's nothing out of the ordinary here in terms of their construction. It really is just a matter of adding a top piece of pine foliage to a straight piece to represent the trunk and then putting them on a base. I decided I would do this with the existing trees I had, but I would also need to order more. 

The thing about trees is that, in most cases, they are scale agnostic. A tall tree for a 20mm figure.....

....is a not so tall tree, for a 28mm figure.

As always, storage is an issue and so I figured this into my plans. Construction is straightforward enough, given the trees arrive ready made.

I find the tree colour a bit dark and I like to break up the single colour tone with a highlight. I do that using my airbrush and lightly spray Yellow Green. I spray at an angle, always pointing the airbrush down when spraying from above. The idea is to only cover the lighter, upper surface of the foliage. 


I'm adding only a single colour, but it does a great job of giving some tonal variation to each tree.


The trunks were made from different thickness of wood dowel, bought in bags from a local craft store.


I cut them to size using The Chopper, my trusty cutting tool that is perfect for terrain jobs like this.


To make the most efficient use of storage space, the trees won't be permanently attached to the bases. Those bases were made from MDF, cut in random shapes and with their edges chamfered for a more natural look. 


To make a simple plug to attach the tree base I used pieces of round toothpick. I used a pin vise to drill a suitably sized hole in the end of each piece of dowel and in the MDF base where each tree would be located.


I did this at both ends because that is also how the tree foliage will be attached.


I have a ready supply of toothpicks on hand for many jobs, I find them very useful.


It's then just a matter of using PVA glue to attach a small length of the toothpick into the end of the dowel.


The wood dowel is a little too perfectly round for my liking and so I roughed them up a bit with a craft knife.


In particular, I slightly tapered the ends, where the foliage will be inserted.


Next, they were all painted with a brown acrylic paint.


When dry they were washed with Citadel's Agrax Earthshade, but to be honest, any dark brown wash would do. 


At this point the natural wood grain of the dowel shows up, as does the work done with the craft knife.


The final stage is to glue in the top foliage and give the trunks a gentle dry brush with a pale grey colour.


The bases were textured with sand and then flocked, in the same way as I do all my basing, so that figures and other pieces of terrain can also sit comfortably together - be they in 20mm or 28mm.


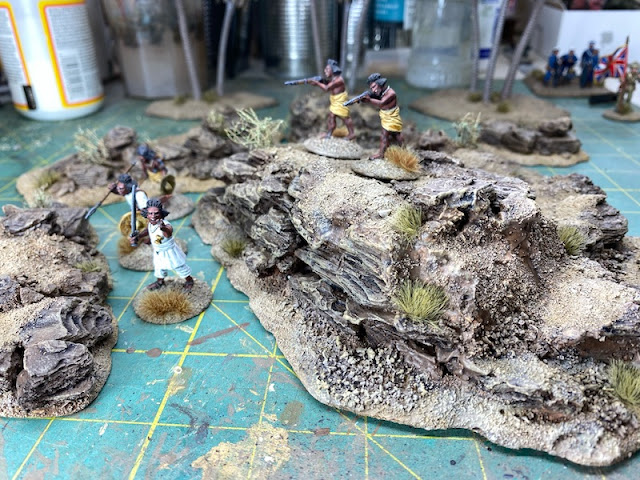
Despite the extra box of trees, I found creating a convincing forest on a 6x4 table was still a challenge. I needed to pad it out with various other trees from my collection to achieve a convincing density. While I don't think I quite captured the appearance of the photographs, I think it gave a good impression.


I felt it worked particularly well from a figure's perspective and was suitably atmospheric. As it turned out, and this was something quite unintentional, these taller trees actually helps with figure placement, so they have proven functional as well. That's a good result in my book!


Monday, 20 June 2022

Terrain, bases and leader markers for games in The Sudan

I like the idea of terrain that can be versatile for different periods and locations. The trees I originally created for 20mm games in NW Europe are large enough to work for my 28mm AWI games in North America. The same trees have helped fill out my jungle terrain when playing 20mm Second World War games in the Far East yet also populated 28mm tables for the Hundred Years War. That sort of thing is not so straightforward once you move your games into the arid terrain of the desert. It means very few pieces will translate and so my recent venture into the Sudan has called for more terrain and game aids.

One of those are sabot bases. The ones I use currently were made for Sharp Practice in North America and won't work in the desert. While I find sabots useful for moving formations of figures I don't like the way they can appear on the table as raised platforms. It's probably just a personal thing but they do seem to break the immersion (I can't help thinking the miniatures look like they're performing on a stage). For me there's a simple enough solution which is to bevel the edges using the sanding attachment on my Dremel rotary tool.


It's just a matter of doing this freehand as you are after a naturalistic look.


What is remarkable is the difference it makes. I'm not sure if it's an optical illusion, but it's hard to believe the two bases pictured below are exactly the same thickness.

The next steps are to add texture and paint in exactly the same way as I do the figure bases. In the case of the desert they don't even require any flock other than the odd tuft.


I think they become much less obvious and intrusive once the figures are in place.

I'd hate to suggest that I'm fussy or obsessive about this (yeah, right, I hear you say) but I also dislike empty sabot slots during a game. Once again it breaks the illusion and the immersion, but there are several simple enough fixes which involve creative use of round bases. I use mini dice to record things like morale or shock and so having these the same size and style as the figure bases means they can be dropped quickly into a slot emptied by a casualty. Similarly I've made a few blank bases to perform an identical role. 


The blanks are quick and easy enough to make and I think well worth the effort. Of course eventually the entire sabot can be removed from play once the number of casualties increases. 

I've found that even the most experienced Sharp Practice players have a problem remembering which leader relates to which card or chit. I've found the easiest way to handle this is to create specific leader bases that show the number of the corresponding card and the leader's status level (represented by the appropriate number of rocks).


Naturally there is a matching set for each side and I've produced the same for the Dervish leaders.

In the Sudan variant for Sharp Practice Mahdist groups can often start the game with a certain amount of Fervour, which acts like shock but in a positive way. As I had a number of spare shields and weapons left over from the Perry plastic sets I thought I would make up themed markers for these. Once the fervour has been lost the groups take shock much like other units and so all I do is use a different coloured dice to indicate fervour and shock. 


Lastly the Mahdists have the ability to Go to Ground and find a better level of cover. I wanted a simple themed marker to use for this and just added a few large rocks to a base to help record when a unit has done this. 


Finding a basing system that works and a handful of game aids to keep track of action on the table can go a long way to keeping a game flowing and making it more enjoyable. So far I'm happy with what I've done for these games in the Sudan. 

I didn't want to use sabot bases for the Mahdists, so they are based together in threes, twos or individually which allows for the look of a tribal mass while not appearing regimented. At the same time it enables quick movement of figures much like a sabot base. The 3,2,1 combination allows for casualty removal and I've found it very effective for basing units armed with edged weapons who tend to move en masse.


The leader figures are easy to identify and yet their basing blends in with the mass of other figures. 


As does the marker used to record their fervour, or alternatively....


... their level of shock.


Similarly, it's clear to see when they've 'Gone to Ground'.

While I'm very much enjoying playing games set in the Sudan, like any new(ish) project it's called for the creation of more pieces of terrain. Having made a desert game mat the next project has been to build the terrain to populate it. The latest additions have focussed on trees, patches of scrub, and, a few more rocky outcrops.

At the same time as I created the desert mat I made several rocky outcrops like the one pictured below and you can see more about how I made them in this post.

After a couple of games I soon realised I didn't have enough. That led me to dig out a box of old terrain pieces and give them a revamp. 

Several years ago I made areas of scrub for my 20mm games. Unfortunately I'd gone a bit overboard on the foliage for the scrub to the point that the pieces were not particularly functional, with figures balanced precariously on top of the vegetation. 


I'd been tempted to dispose of them but as you never know when something might come in useful I'd stored them away. I thought with a little bit of work they could be transformed into rocky outcrops. So the first thing was to strip off the foliage. It was all re-usable and so I've stored it in a bag. Like I said, you never know when something will come in handy, even if it's not obvious at the moment.


I didn't bother removing all the static grass as it would soon be buried under filler, sand and paint. The bases were originally built up using insulation foam and so I cut into that and embedded pieces of dried bark, exactly the same material I had used in my original rocky outcrops. They were then blended into the terrain using filler.


The rest of the base was covered in PVA and a layer of sand. Extra small rocks were added using cat litter. Then they were painted to match the other pieces and the desert terrain mat.


Lastly a few small pieces of foliage were added sparingly using tufts.


There's a tendency to think automatically of palm trees when creating desert terrain but acacia trees also proliferate in those arid regions (their fruit being the principal ingredient of gum arabic). I had a few spare small tree armatures from Woodland Scenics and so made an attempt at making them. The most distinctive features are the way their branches fan out and the way the foliage sits atop them.

The Woodland Scenics armatures can be bent and shaped in many different ways and so I spent a bit of time experimenting with various forms. Once I was reasonably happy I then shaped rubberised coconut fibre to the basic contours of the foliage.


I think the key is to try and get the foliage to look like it is perched on the top of the branches and not full like European type trees. I made a few adjustments before finally setting on the shape I wanted. Once done the final additions was miniature leaves from model railway scenery manufacturer Noch.


The areas of scrub were simple enough to make. I cut small pieces from a coir door mat and placed them at irregular intervals on an MDF base. These were textured with sand and small clumps of rocks (in this instance aquarium pebbles). The rocks were picked out in a darker colour in much the same way as I paint those on the rocky outcrops.


Everything was then tied together with a good dry brush to match the other terrain pieces.

Last, but not least, the most important part - using them in a game. Here are a few of the various pieces in a recent game.