Friday 24 March 2017

Australian platoon gathers pace

The #3 section of the Australian platoon nears completion.  Figures are finished and I just need to varnish and flock their bases.  These are some of the better sculpts and I'm pleased with the overall look of the platoon.


 As can be seen from the Platoon commander figure in the centre in the picture below, some of the proportions are way off and even noticeable from a distance.


However I'm really pleased with the Eureka sets that have just turned up as these are the same poses but wearing slouch hats.  The heads and faces are also different sculpts and these are much more in proportion and the faces less expressive.


Here they are next to some of the Japanese:


I'm keen to see what these look like with paint on, so I've been busy.  The Japanese have had some base coats applied and the diggers in slouch hats have been based and primed.


As you can see in the background I have a palm tree.  I bought a bag of these on eBay from a seller in China at some ridiculously low price including free postage.  So while I had the primer in the airbrush I thought I might as well prime one at the same time as the figures.  I thought I could experiment with colours to see what works best.  I want to recreate the palm plantations that featured prominently around Buna and in other locations.  Once I've settled on colours I plan to be doing a lot of these, so this will be an upcoming terrain project in addition to some other jungle/tropical terrain.

Here's my inspiration:

 [Artist: Geoffrey Mainwaring] [AWM ART 27547]


So here's my first attempt at the palm tree.  I think this works reasonably well.  I'm happy with the trunk and will probably end up going with something very similar.  The foliage needs a bit more work to vary the colours and tones although the pictures don't show what is already there very clearly they could do with a bit more.  I think they will be very effective when arrayed on the table.


Wednesday 22 March 2017

Come on you Aussies....Pacific Chain of Command

My regular group of gaming friends are mainly board game players.  Wargamers, but board gamers rather than miniatures.  Many have commented on the miniatures games I've run at our monthly meeting at Paddington RSL in Sydney and several have expressed an interest in playing something in the Pacific.  So with this in mind I'm putting together an Australian and Japanese platoon with some supports (and scenery, of course).  I searched for 20mm figures and found a few Australian sets out there, but the most comprehensive seemed to be from Eureka.  I must say I had a few reservations about the Australians based on the Eureka website, some of the proportions looked a bit off.  In particular large heads and some of the faces seemed very caricatured.  On the plus side they had sets with helmets and with slouch hats and my thinking was these would also work as British for Burma, including Chindits.

First off I started on the figures with helmets.  My hunch was right on some of the proportions.  Not all figures, but some have to my mind horribly caricatured faces; heads that are too big and helmets that are too small.  Then there are others that I really like, so it's a mixed batch.   I also wanted to hold final judgement until I had some paint on them. Overall then, with the exception of one or two figures I'm happy with the way they look.

My order included the bren teams in slouch hats (I had ordered them in helmets), but I so liked these figures I was happy to keep them.  The slouch hats either hide the large heads or have been sculpted differently, either way these figures look much better proportioned.  I have an order of more figures on the way, this time with slouch hats, so I'll be interested to see if this applies to those figures as well.

Interestingly the Japanese don't seem to suffer from the same problem despite being from the same sculpture, the only figures with over sized heads are the NCO/Officers.

So here are some work in progress pictures of the first two sections.  I'm particularly happy with the way the bases have turned out.


A Senior leader, Junior Leader and section with some initial paint on.

Figures painted and first stage of flocking finished. 
Bases and figures finished.  Two sections plus a Senior Leader ready for the table.
The full platoon in various states of painting.  
Last, but not least, I've carried out an initial trial for my first Japanese figure to try and get the uniform colour the way I want it.  The Vallejo Japanese uniform mix is way too yellow to my mind and I'm looking for something more Khaki.  This is heading in the right direction:

"Banzai!"


Saturday 18 March 2017

Von Luck campaign Scenario One: 'Patrol on the Ring Contour'

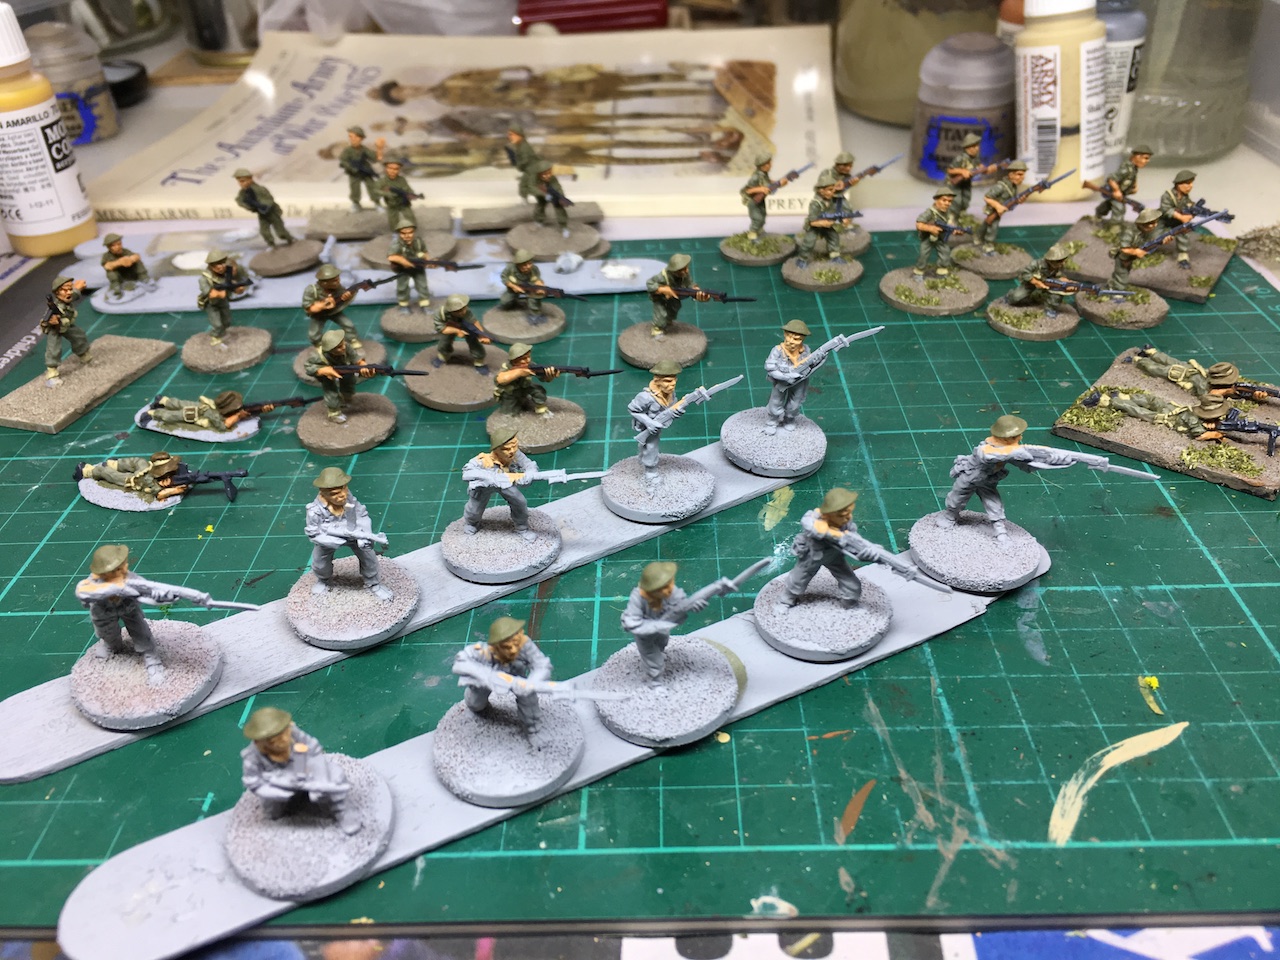
The campaign starts off with a Patrol scenario where a screen of Paras meet forward elements of Kampfgruppe Von Luck as each try to determine who or what they are up against.


The Paras have to roll to see who from the platoon has landed close to the drop zone and made it to the battlefield. All up it wasn't too bad. From the platoon HQ we had a the Lieutenant, the 2" mortar team and a sniper. I wasn't expecting the Germans to have any armour support, so I wasn't unduly worried that the PIAT team had failed to show up. #1 Section arrives automatically; #2 Section arrived in full strength, but the entire #3 Section were missing. I sensed I would miss the fire support their two Brens were likely to bring. No support points for the Paras in this scenario, so that was my lot.

The Germans have a full panzer grenadier platoon and spent their 4 support points on an 80mm mortar barrage, so my hunch that I wouldn't need the PIAT turned out to be correct.

View from the German side just prior to setting up for the Patrol phase.  

I opted for three patrol markers with the intention of moving forward quickly to control the hedge line. With the platoon understrength this would most likely be a brief encounter where the Paras could aim to inflict some casualties on the advancing Germans before falling back.

The Paras are elite and at effective range the Germans would need to roll six to hit, while I only needed a five or six. Against their firepower I felt the best bet was for some long range shooting and then to fall back. My plan was to deploy quickly and use one section to lay down suppressive covering fire (meaning at effective range the Germans couldn't even get a hit) and then sniping with the other section's Bren (using Concentrated Fire, one of the British national characteristics) to try and take out individual teams. It seemed a sound enough plan. 


With the higher force morale the Paras started with the initiative and so deployed one section early to the hedge line on Overwatch. However, with one German JoP set up only 6" back from their initial patrol marker placement, they could deploy in close range and I had a sinking feeling my plan was starting to unravel. With three 3s in the German command roll my heart sank when Dave, my opponent, deployed all three squads from his platoon and took advantage of the open fields of fire to target my single section. 

It could have been worse, but we took two casualties and two points of shock. The Para section were on Overwatch so immediately returned the fire, but only managed to put a measly two shock on one of the squads. These were only the opening phases and things didn't look good. There were three panzer grenadier squads all ready to pour out fire and one of my two sections had already lost two men. Things could turn even uglier if they hang around for another German phase. It was clear my initial plan wasn't viable.

Things then took a turn for the worse. I rolled my command dice and looked aghast as five 4s stared back at me. I needed to move the section back from the hedge before the next phase, but with the platoon sergeant missing from the drop, my only senior leader was the lieutentant. If I brought him on I'd possibly have trouble deploying other units. I really had no choice and so deployed the lieutenant, took off the two points of shock and ordered the section to fall back from the hedge.

The paras fall back from the hedge. Lots of panzer grenadiers lurking in the background.

Next German phase sees some of their squads go onto Overwatch, while others moved forward. The German FOO also decided to turn up.

The Paras next phase saw some more useful command dice, so I decided to deploy the second section. With the lieutenant on the table this required a deployment roll but I was successful and they deployed to the hedge line. With a German squad within Sten range the section fired, but only managed to kill one German and inflict 2 shock. I had hoped for a little better than that. I tried to bring on the sniper and the 2" mortar, but they failed to deploy.

The Germans phase saw them bring down a ranging shot that managed to land on top of the Bren team and kill one of the crew and add some shock. Fortunately his remaining command dice limited options for the grenadier squads and I could sense there was some caution in case the Paras deployed another section (if only I had one to deploy!).

Things didn't look good on the hedge line and so Section 2 also fell back to try to avoid the impending barrage and/or the blast of MG42s. The combined effects of the shock and terrain meant they struggled to move fast enough and so would likely find themselves under the barrage when it arrived.

In the next German phase the barrage duly came crashing down. While it did little harm to both sections they are now pinned and with no sign of a CoC dice on the horizon it would be some time before I could hope for a turn end to lift the barrage. I began to feel it was probably time to say my farewells and withdraw. We played out one more phase and it was clear the only outcome was likely to be further casualties to me for little or no gain, and so with everyone within 12" of a JoP, we withdrew.

Under a rain of mortar rounds the two Para sections are in a world of hurt.  

So, a fairly swift and clear cut German victory. The Paras suffered four casualties, resulting in two men lost permanently, one wounded and one returned to duty. The Germans suffered only a single casualty wounded and as this platoon is not available for the next scenario they will be back to full strength next time they appear. All round a very satisfying bit of work for the Germans and a lacklustre start for the Paras.

There were lots of useful lessons in this defeat. With only two sections available I needed to avoid grouping them close together once I saw his FO appear, as the barrage effectively took my entire force out of action. I don't think the hedge line is necessarily that attractive a point to stand and fight. Certainly not when you are outnumbered by panzer grenadiers. It probably would have been best to let the Germans come to me, deploy quickly and fire and then withdraw. Not a very exciting game plan but probably the most sensible in the context of the campaign. We live and learn.

Still, I didn't expect too much from the Paras in this one, especially as they start off understrength and with no support options. The Germans have had it easy, but hopefully as the fighting edges closer into Ranville and the Paras begin to see men turn up from the drop zones things will become more difficult.

You can follow what happens next in Scenario 2 Probe among the Hedgerows

Thursday 16 March 2017

Chain of Command Kampfgruppe Von Luck

In preparation for my forthcoming Chain of Command pint sized campaign 'Kampfgruppe Von Luck' I've been pulling together the various supports that may be called upon by the men of 12 Para or their opponents 125 Panzer Grenadier regiment from 21st Panzer Division.

The panzer grenadiers form part of Kampfgruppe Von Luck under the experienced command of Hans Von Luck. However the 21st Pz Div of 1944 bears no relation to the experienced 21st Pz Div that fought in North Africa. This is the division reconstructed after the fall of Tunisia and its ad hoc nature is reflected in its equipment - a wide mix of converted French AFVs.  It's some of these that I've been painting up for the campaign. We have a Unix P107(f) SPW half track; a 15cm sFH13 auf Lorraine Schlepper and a Pak 40 auf S307(f). A suitably weird and whacky bunch of vehicles. That said, the Lorraine Schlepper with its 150mm howitzer is not a weapon to be taken lightly. The Paras are not blessed with anti tank weapons, so even this rather motley collection of vehicles present some threat.


The Paras will rely mainly on their PIATs, although they also have Gammon Bombs available to select from the support lists. A 6 pounder anti-tank gun is available, but it is quite an expensive selection. I suspect I may prefer to add more infantry to support my platoon and will therefore rely on their trusty PIATs to keep those AFVs at bay. The fighting is mostly in close terrain, not well suited to vehicles and ideal ambush terrain. Any AFV that has wandered too far from its infantry support might find itself in a spot of bother. Well, that's what I'm hoping anyway. But, just in case it's needed, I've converted one of the Plastic Soldier Company's 6 pounders into any airborne 6 pounder.  I've kept it to a fairly simple conversion to alter the key elements that I think are most notable (a smaller gun shield and a narrower axle being the two key elements). The crew come from the AB Miniatures range.


You can follow how the campaign progressed by clicking here:
Kampfgruppe Von Luck campaign AARs

Tuesday 14 March 2017

Chain of Command Platoon Boards

I often find players new to Chain of Command have a little trouble getting to grips with the force composition of a platoon when first learning the game. To help them I've worked up a set of boards that will allow the figures to be grouped into their various weapons teams and sections in a way that's easy to visualise. If nothing else it helps to speed up a game when everything is neatly arranged like this. I also have a longer and more detailed post on Force Lists and Supports if you are having trouble working out how best to build a force for Chain of Command.


These boards are designed around my basing method. First up, I play in 20mm. Individual soldiers like riflemen are based on 20mm round bases. Weapons teams are generally on 40mmx40mm bases and include two core crew members. Where a third or more crew member are required these are single figures on 20mm round bases. This is a bit of a compromise that allows for some casualty figures to be removed and yet the larger base means the weapons teams are easier to distinguish from individuals like riflemen. Junior Leaders are on 25mm diameter round bases and Senior Leaders on 20mmx40mm rectangles (you can read more about by basing and other markers in the post Getting Started with Chain of Command).


Since first creating these my basing conventions have changed slightly, although this makes no difference to how I'd go about making the boards. I found certain bases too large and taking up too big a footprint on the table and so I went about changing how I base leaders and weapons teams. 


I wrote a longer post about that journey which you can read here.


The platoon boards are made of two A4 pieces of 5mm foam core board. The top piece has holes cut into it to accomodate the various figures on their bases. This is then stuck onto a bottom piece that has a sheet of paper stuck to it with text related to the figures that will be placed there. There is a similar printed sheet for the top piece. I designed these in PowerPoint. The picture below shows the top sheet for the standard German platoon in Chain of Command. I have used spray adhesive to stick the printed paper to the foam core and then cut holes using a sharp blade.


I definitely need a better blade for doing this and/or improve my cutting skills. Nonetheless I'll soldier on to explain how it comes together. So next is the bottom half with the printed sheet attached.


Then, not rocket science to see we stick one on top of the other to get this:


And then populated with the full platoon to look like this:


So my cutting skills aside, I'm pretty happy with the way this has worked out. In preparation for the Kampfgruppe Von Luck pint sized campaign I created a board for the British Airborne Platoon. I was a little more creative here, using a pale cream paper and including the Pegasus emblem of the Paras, which you can see below. 


I've created one of these for all my platoons and they obviously vary in design according to the unit structure but also the way the figures are based. For example the one below needed to accomodate quite a few prone figures on bases larger than the 20mm rounds for the standing figures. 


Generally these work perfectly for a platoon of three squads or sections but it does make it a bit of a squash when you have to fit in a fourth squad, as I had to do with the Russian Guards platoon of 1943.


I have used these when introducing new players and they work very well on two fronts. The most important being players can quickly see their force composition and how it relates to Chain of Command's unit activation and deployment. Secondly it keeps all the figures tidily organised.

You can see more of the various forces I've put together for Chain of Command on this page Second World War in 20mm.


Monday 13 March 2017

Dig In.....well, Dig Up, actually

So following on from my earlier post here are the above ground entrenchments, designed for those men on the move who just can't stay anywhere too long.  These have been built with my Chain of Command sections in mind.  One small entrenchment to take a weapons team (that I normally mount on 40mmx40mm bases) and one longer entrenchment to take a rifle team.

Using a base of MDF I built up the entrenchment walls using insulation foam shaped with a hot wire cutter.  These were then blended into the MDF base using a cheap all purpose filler, followed by a coat of PVA and some sand.  The sandbags were made from Milliput.  I rolled this out and then cut pieces with a sharp blade and by pressing down on the top they take a reasonably effective sandbag shape.  So here they are at the end of the initial construction phase:


And here they are painted and flocked and offering shelter to some full bodied Paras who can move easily if required: